[<<Prev] [Next>>]
Due to work demands, it’s been a long time since I’ve had an opportunity to do any airplane work. It definitely feels good to be back in the saddle.
The big outstanding task on the right fuel tank is the installation of the baffle. The first thing I did was clean the baffle and the inside of the tank.
Since I’m running low on Pro-Seal, I mixed one of my smaller containers. 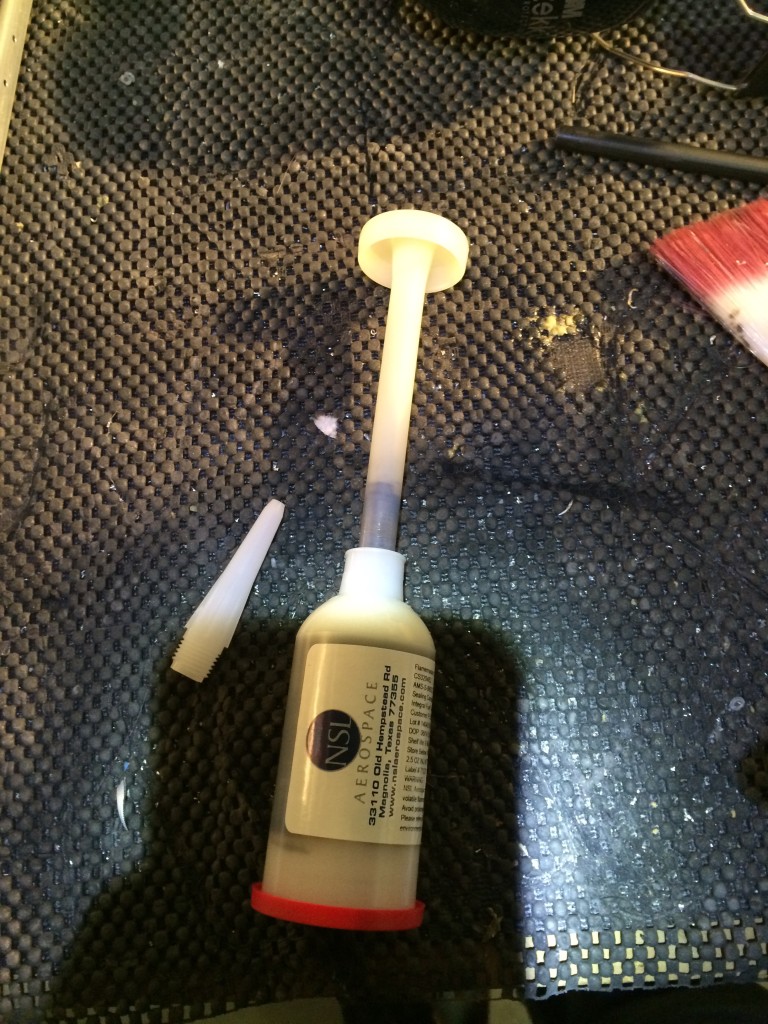
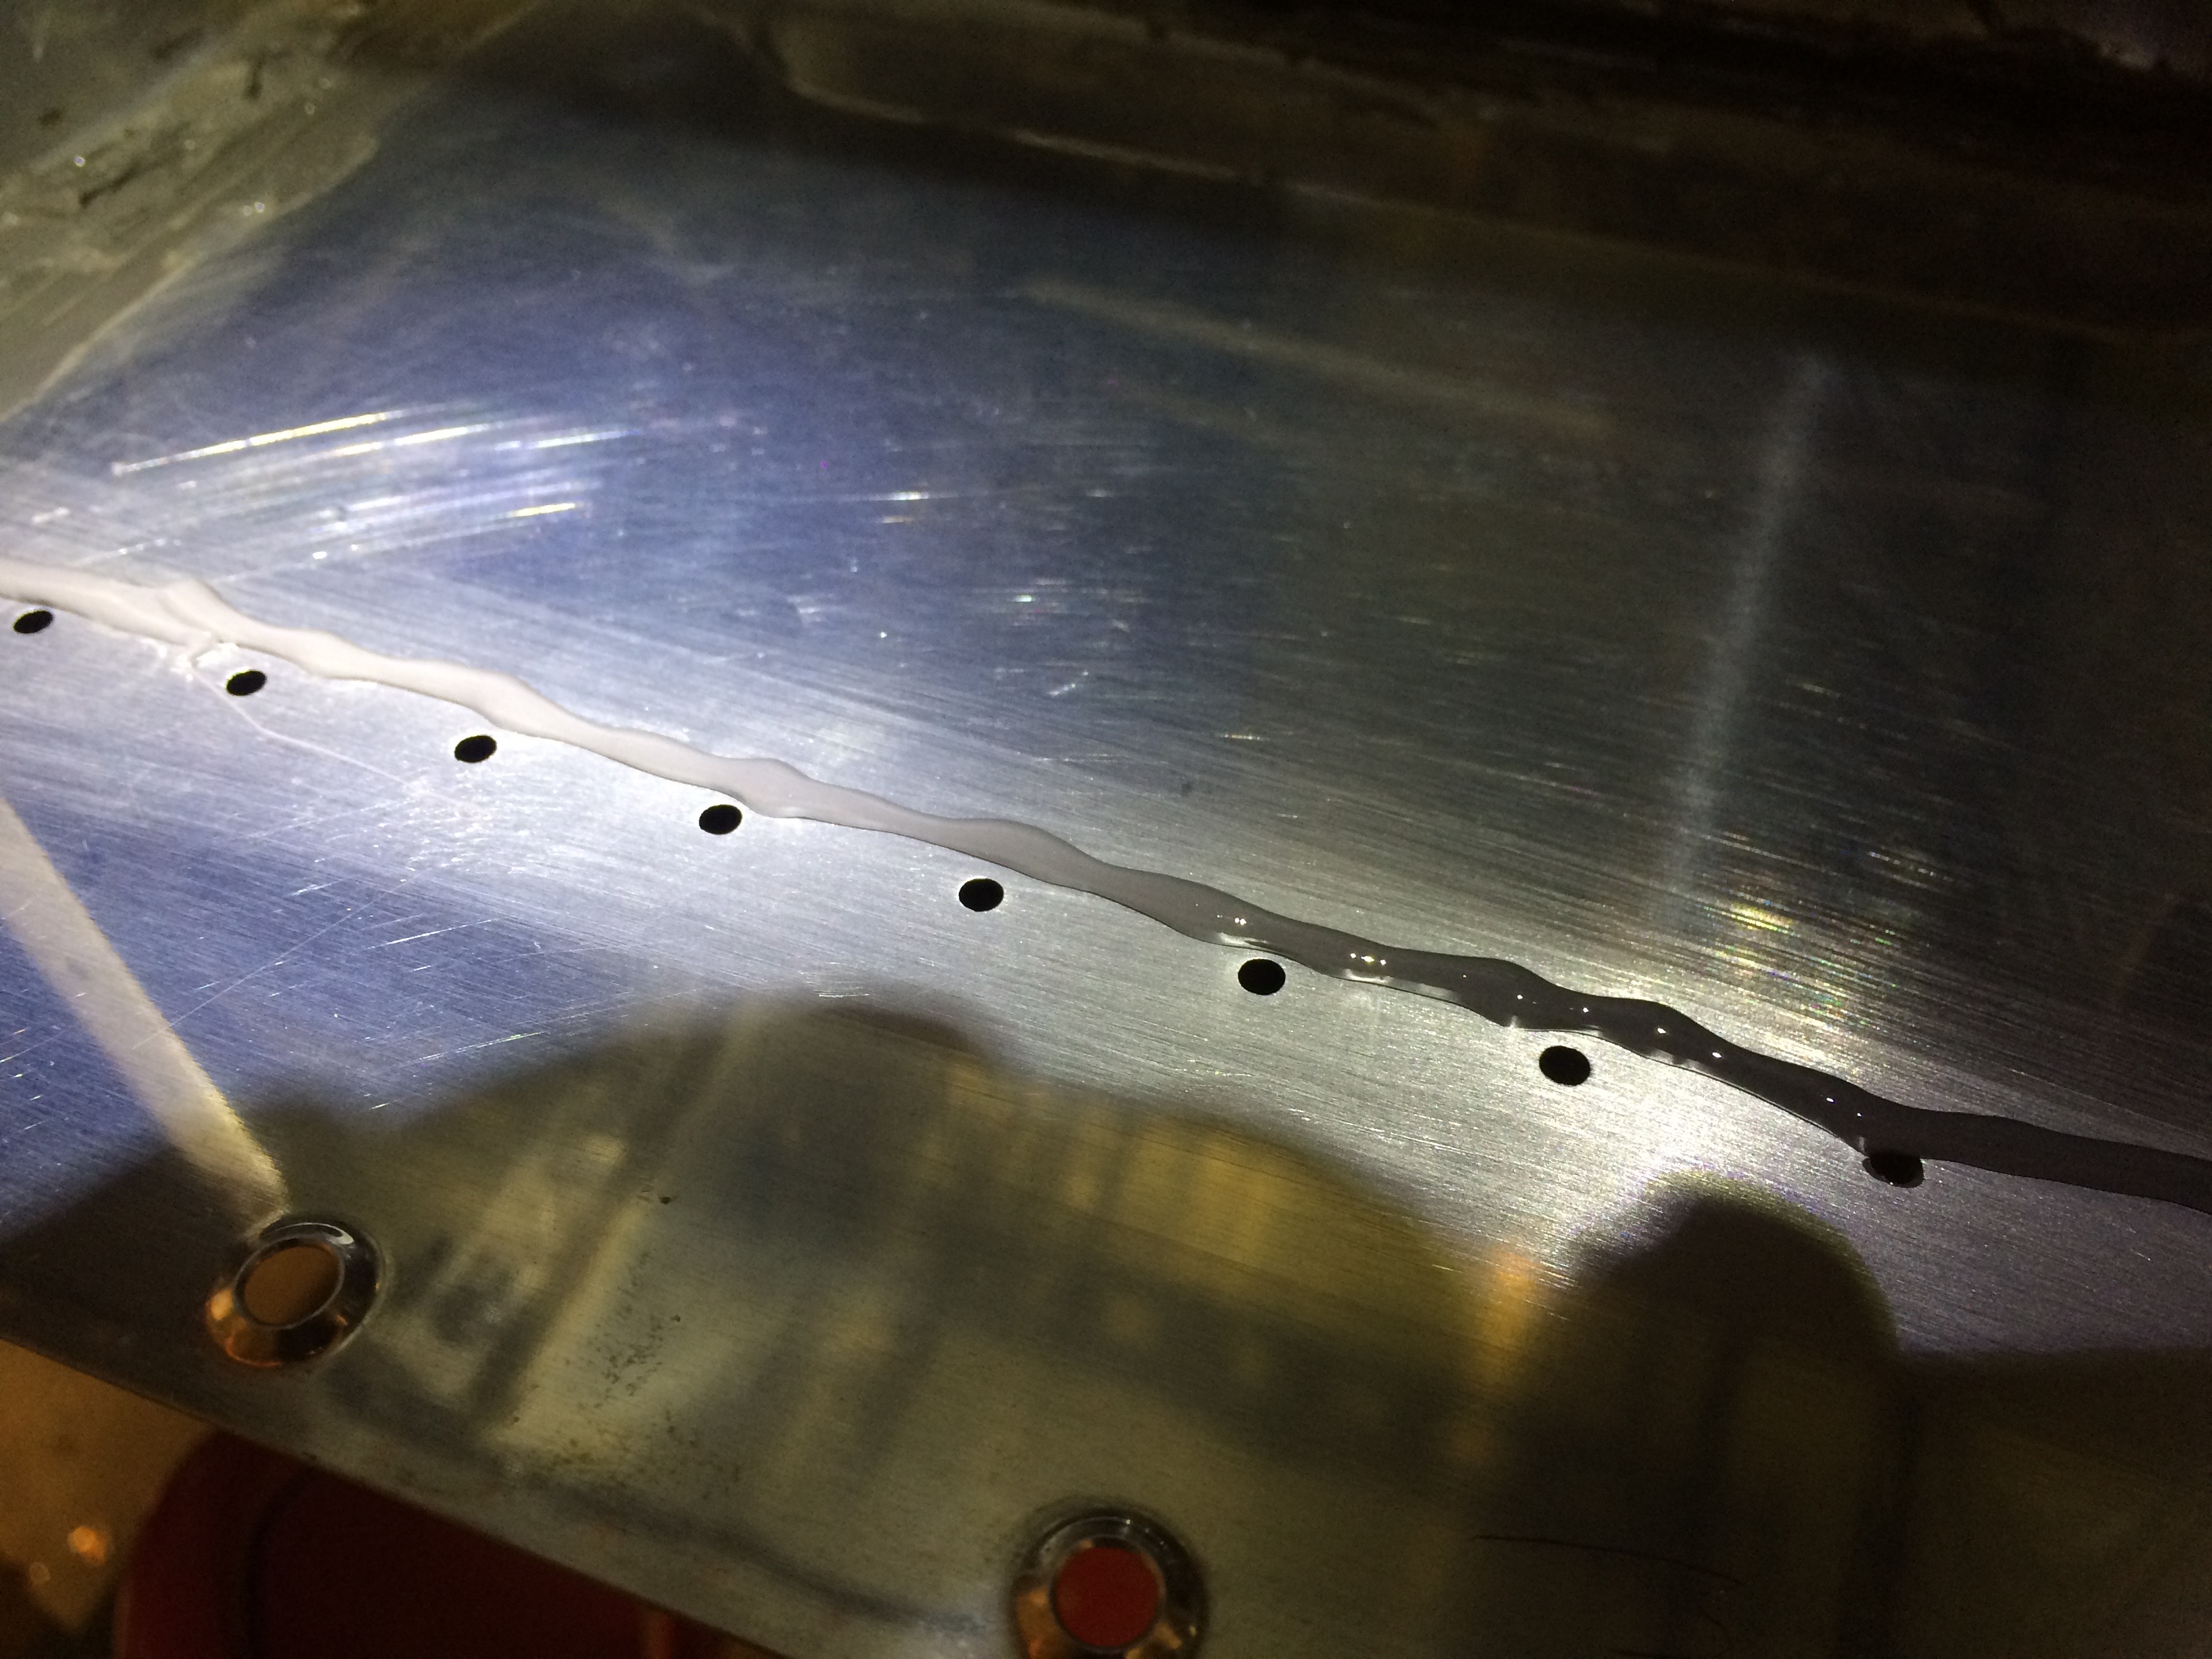
I applied a healthy bead of sealant along the holes that will be used to secure the rivets. I read later that many builders apply a thin layer of sealant on the flange of the baffle. Van’s does not tell you to do this, but it would have been a good idea. Unfortunately it’s too late now.
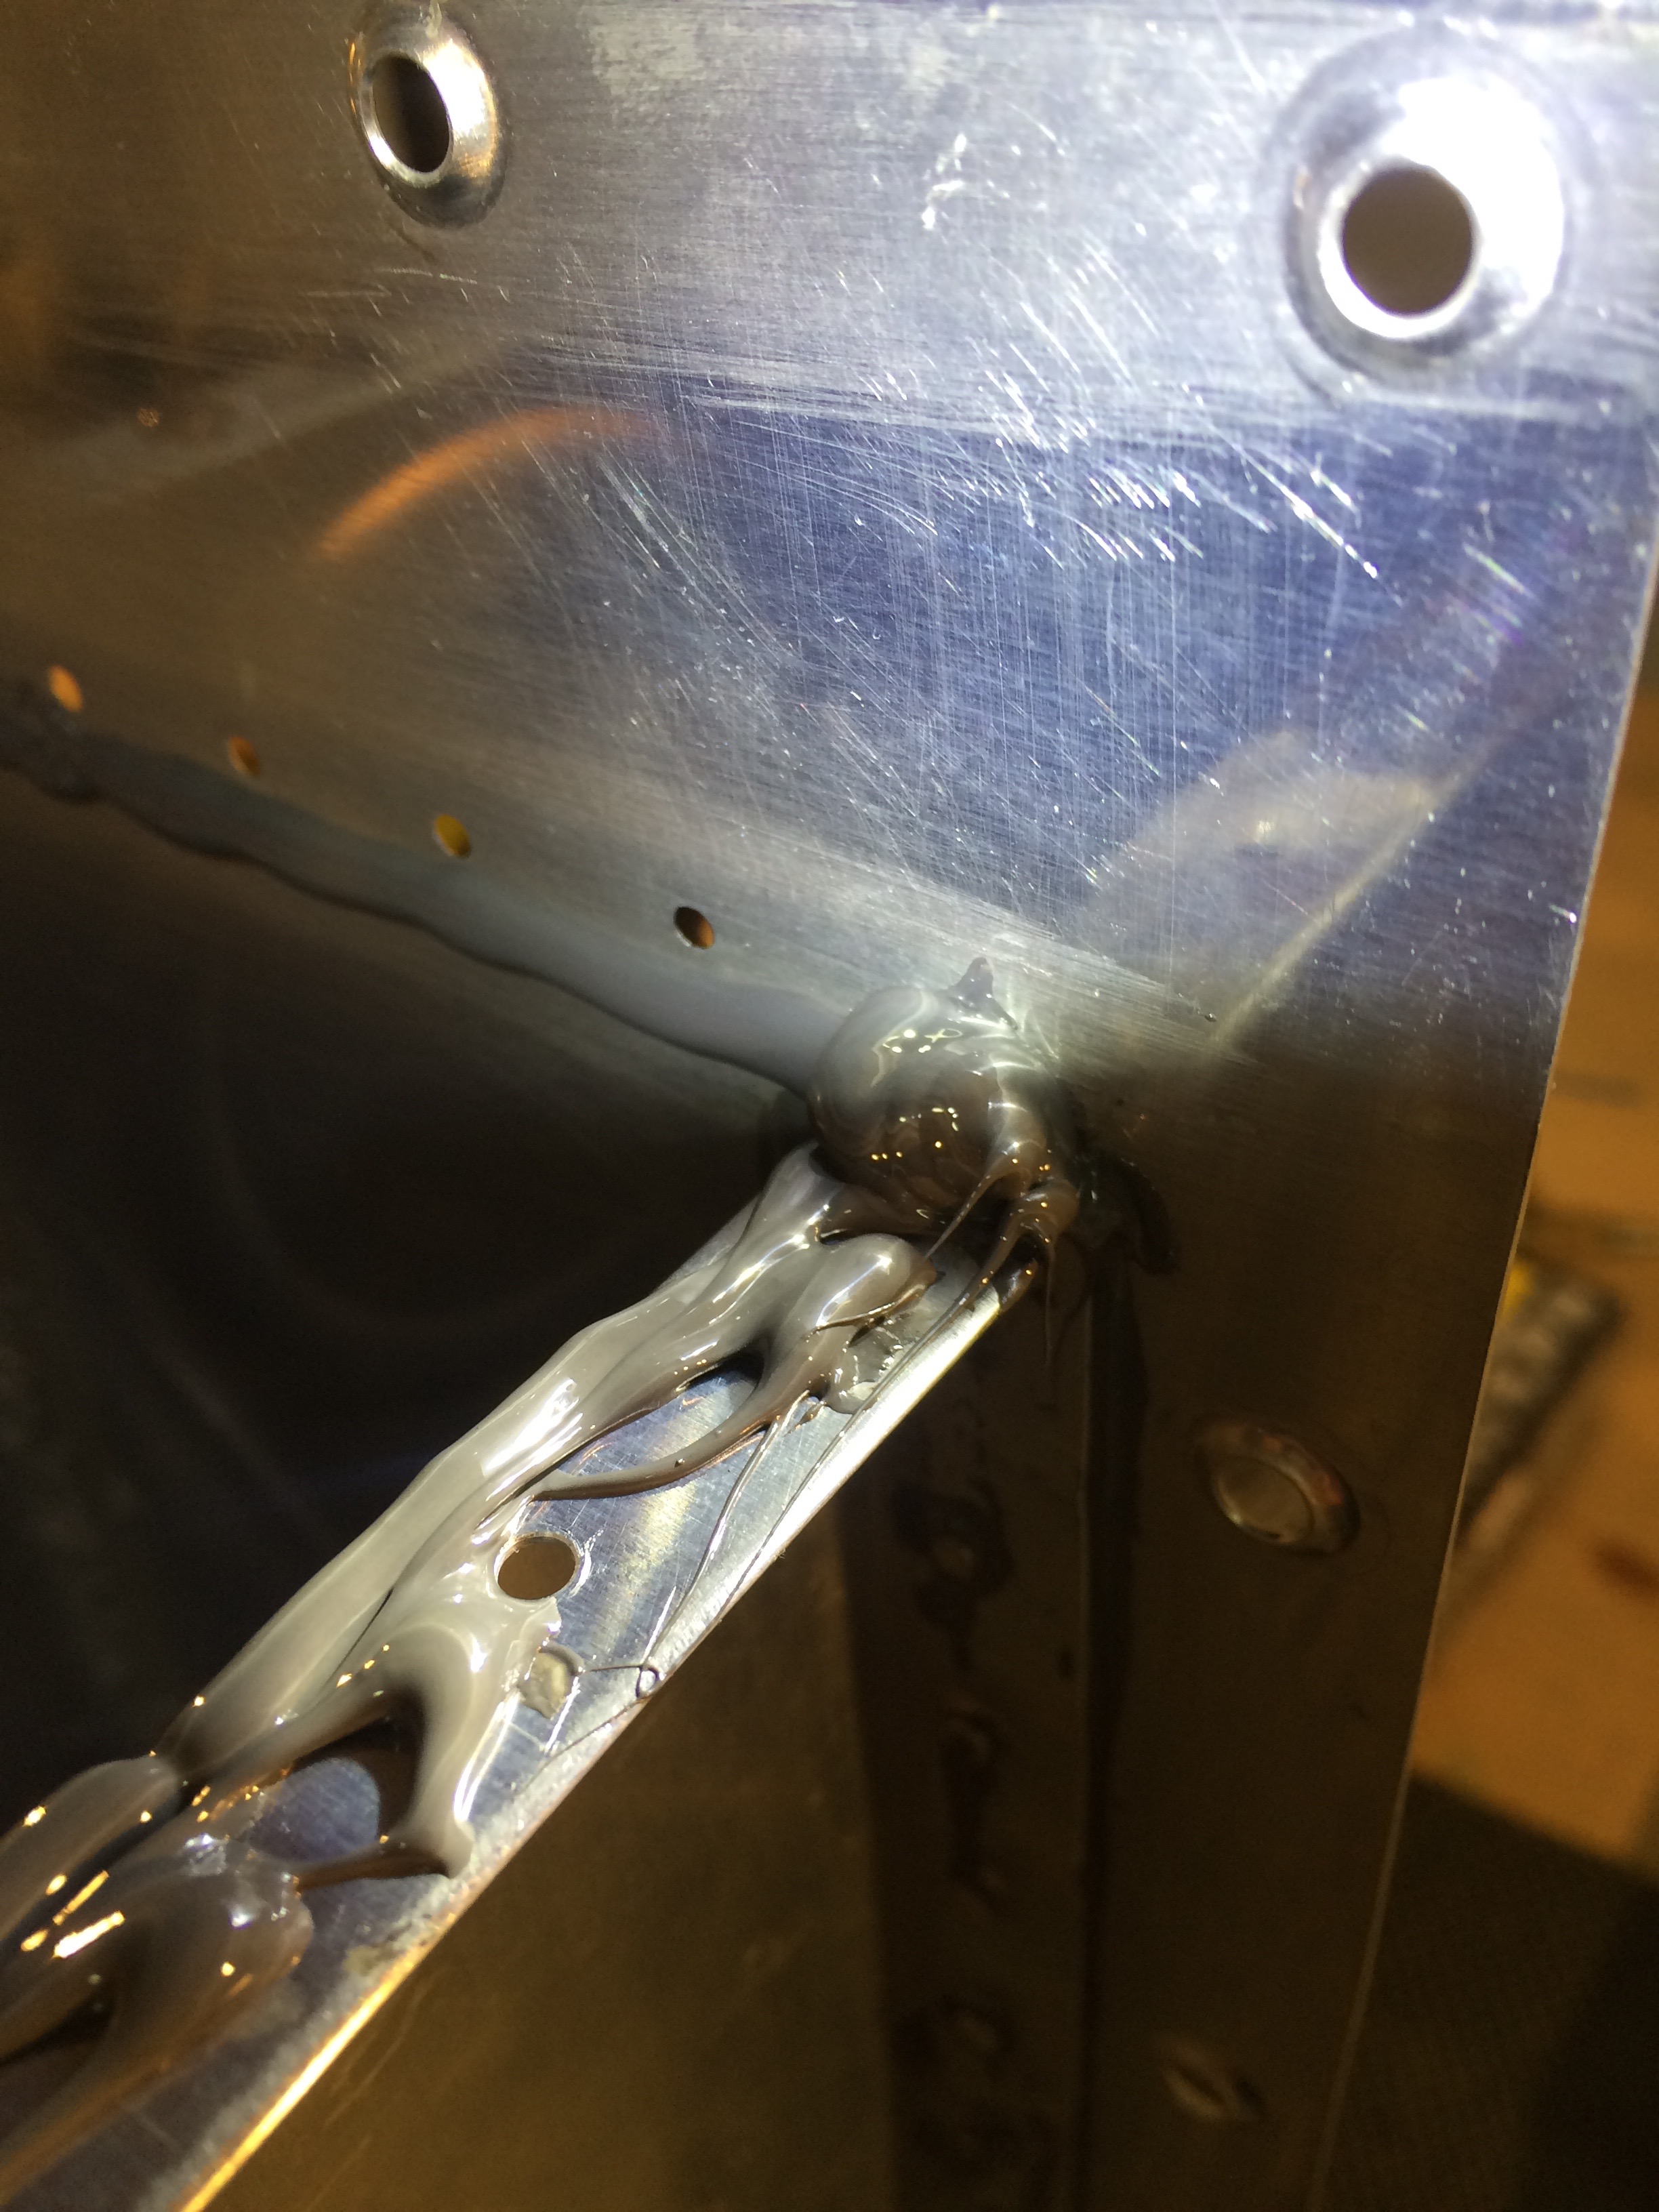
I also applied a good amount of sealant around the edges. Van’s tells you to be aware of this region because it’s a common area for leaks.
As specified, I installed a cleco in every hole to thoroughly compress all sealant. 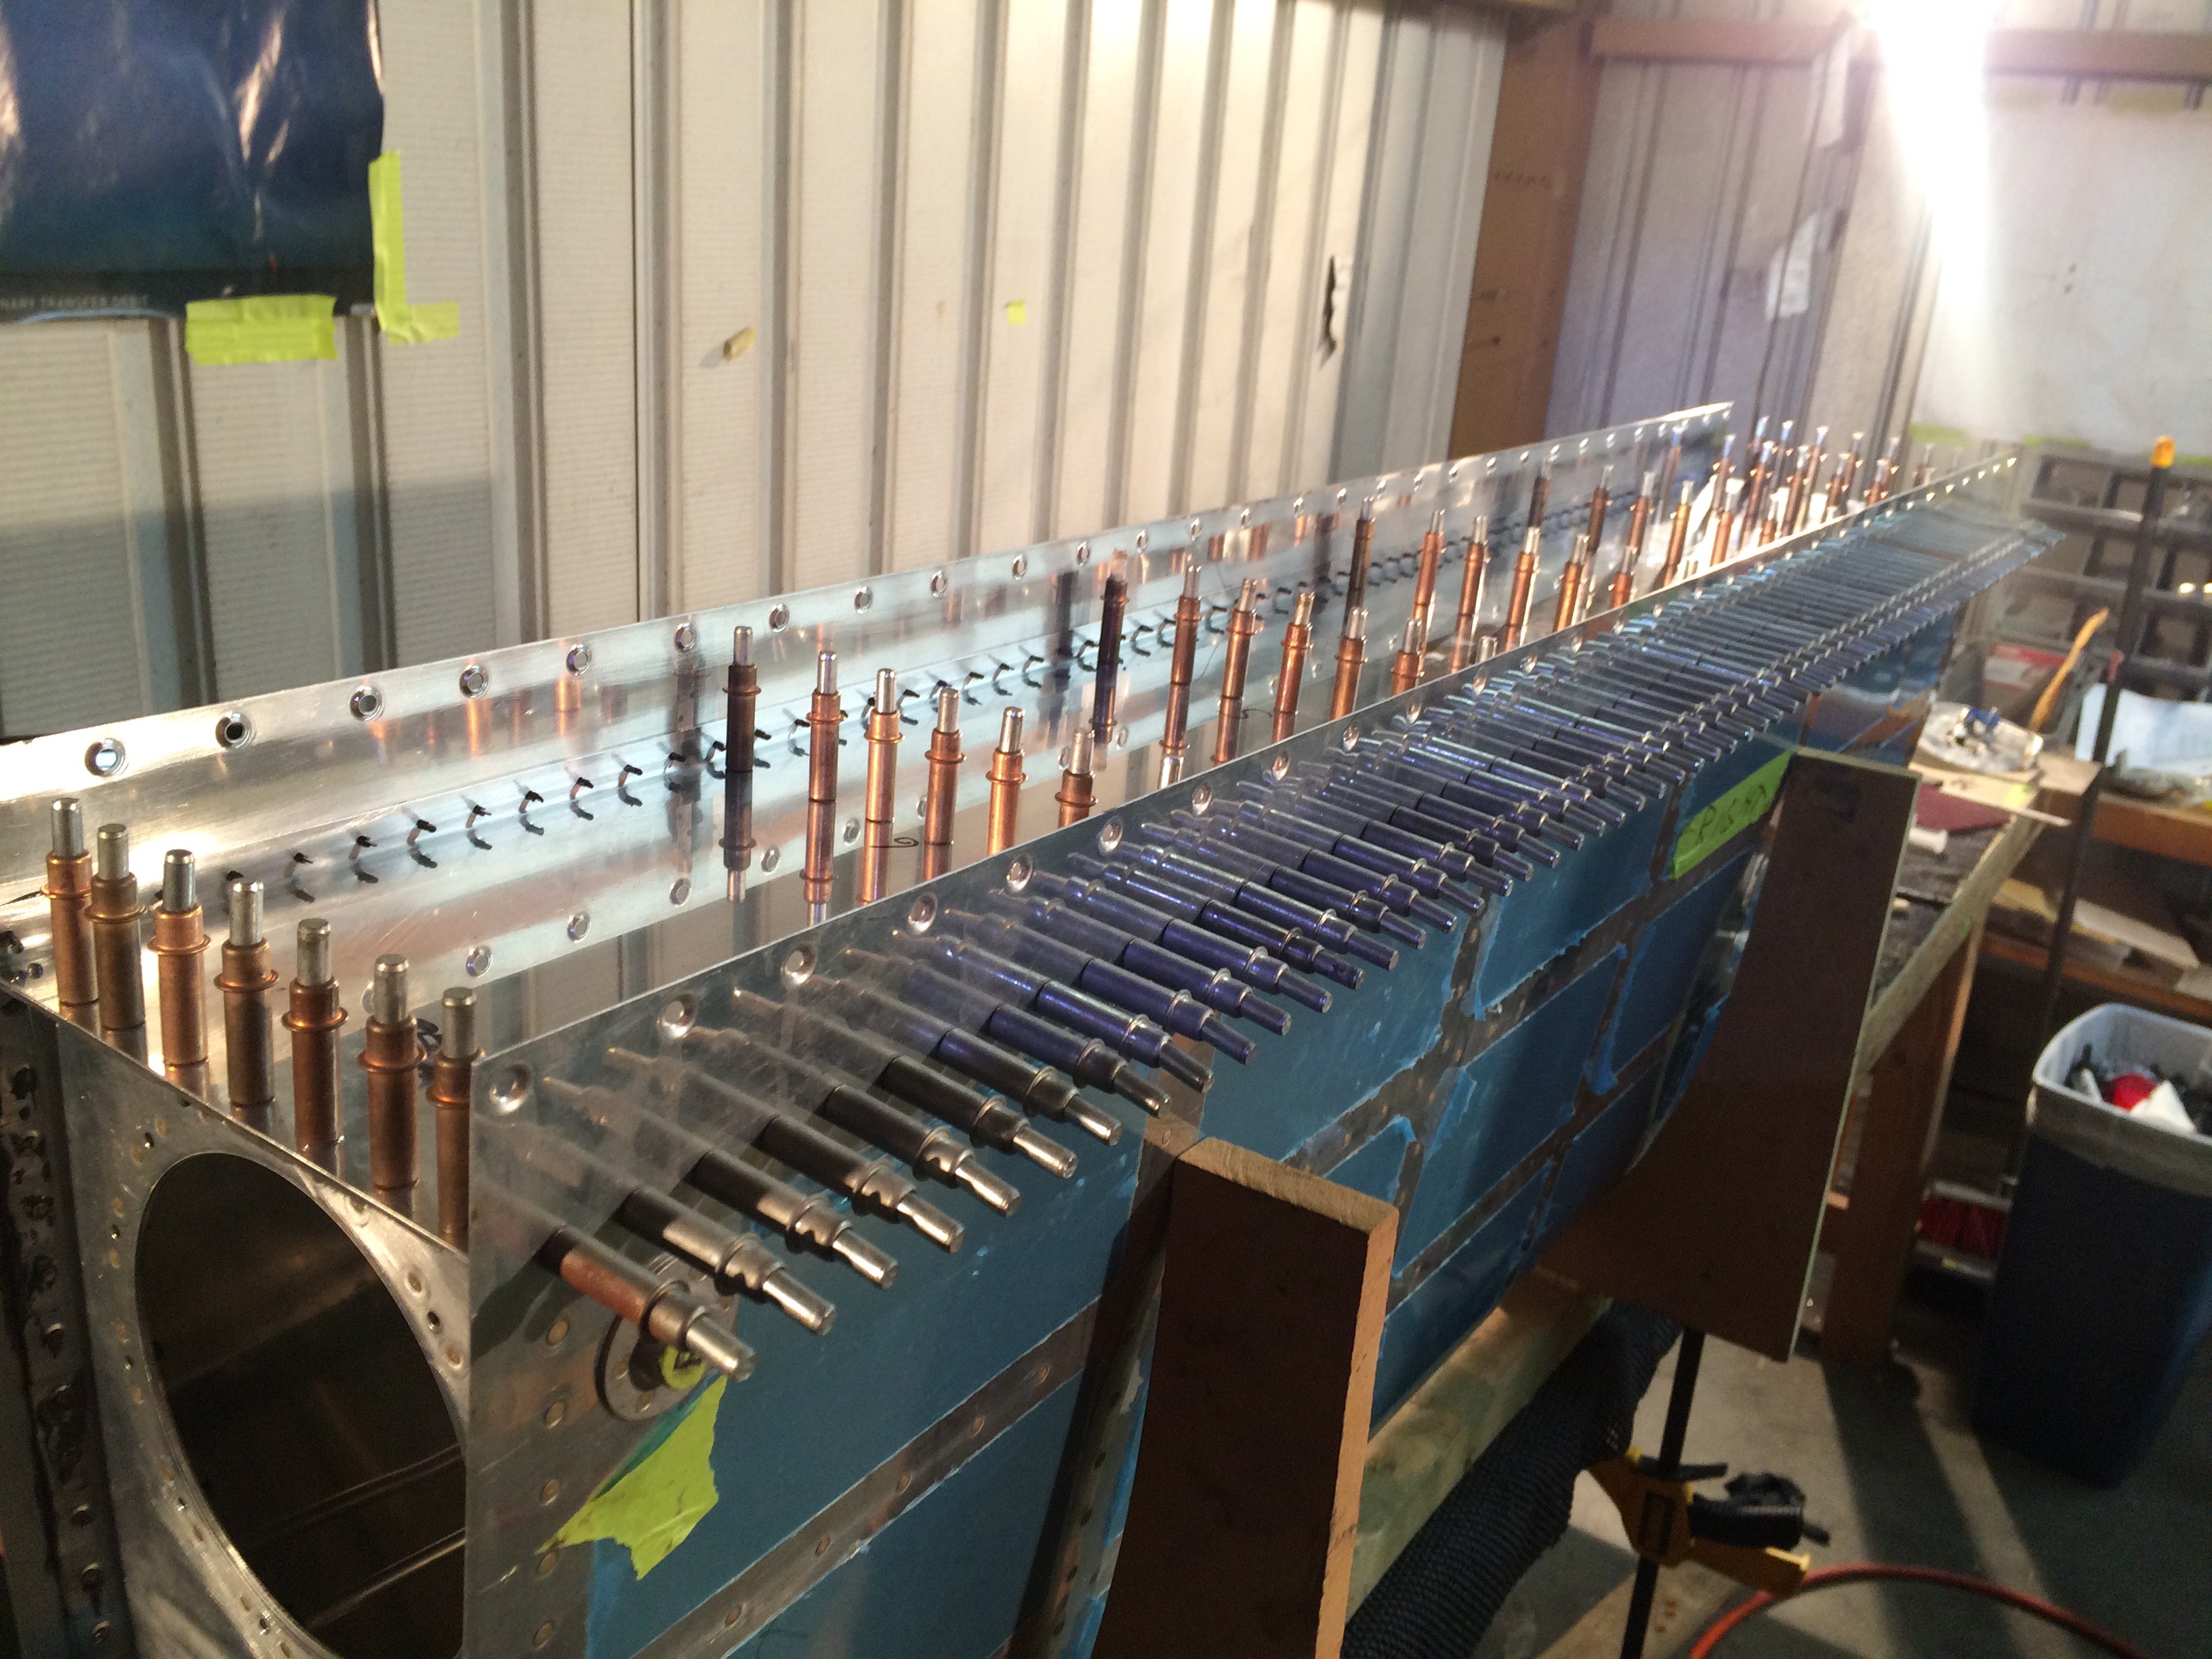
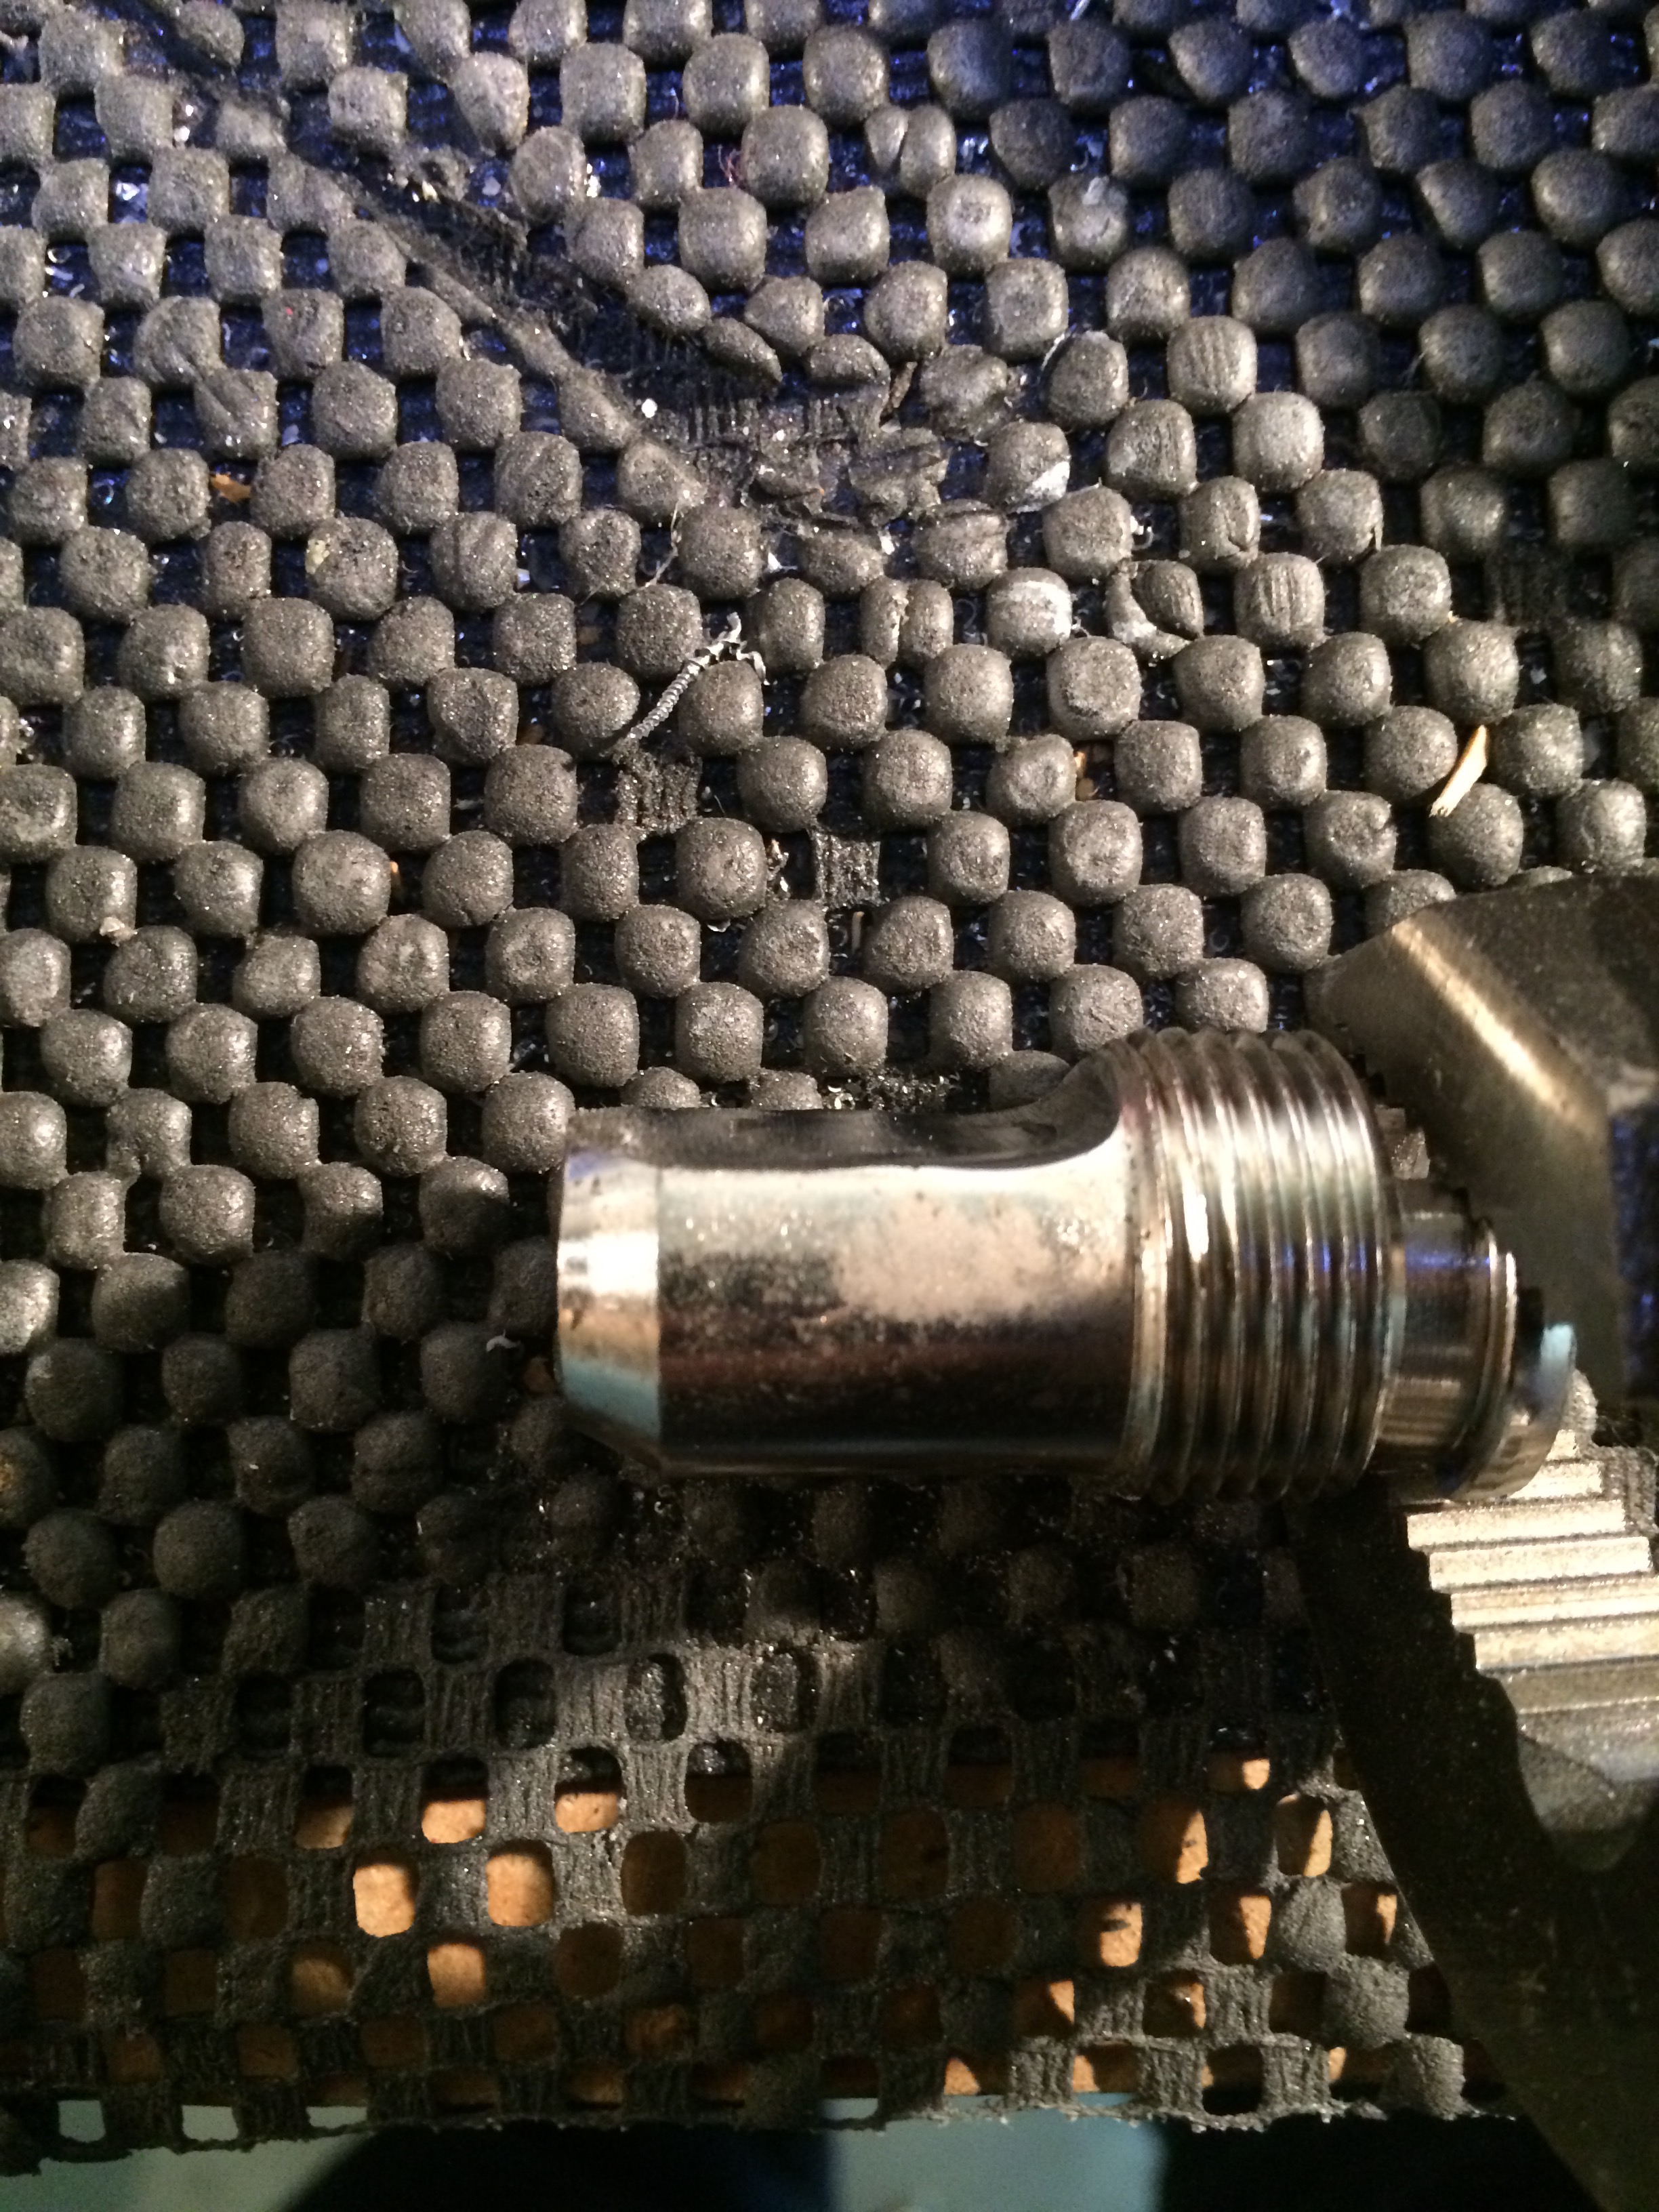
With the baffle clecoed in place, the first thing you are supposed to do is rivet the Z-brackets. To install the blind rivets around the Z-brackets, I had to grind down the nose of my rivet gun.
**insert pic of Z-bracket**
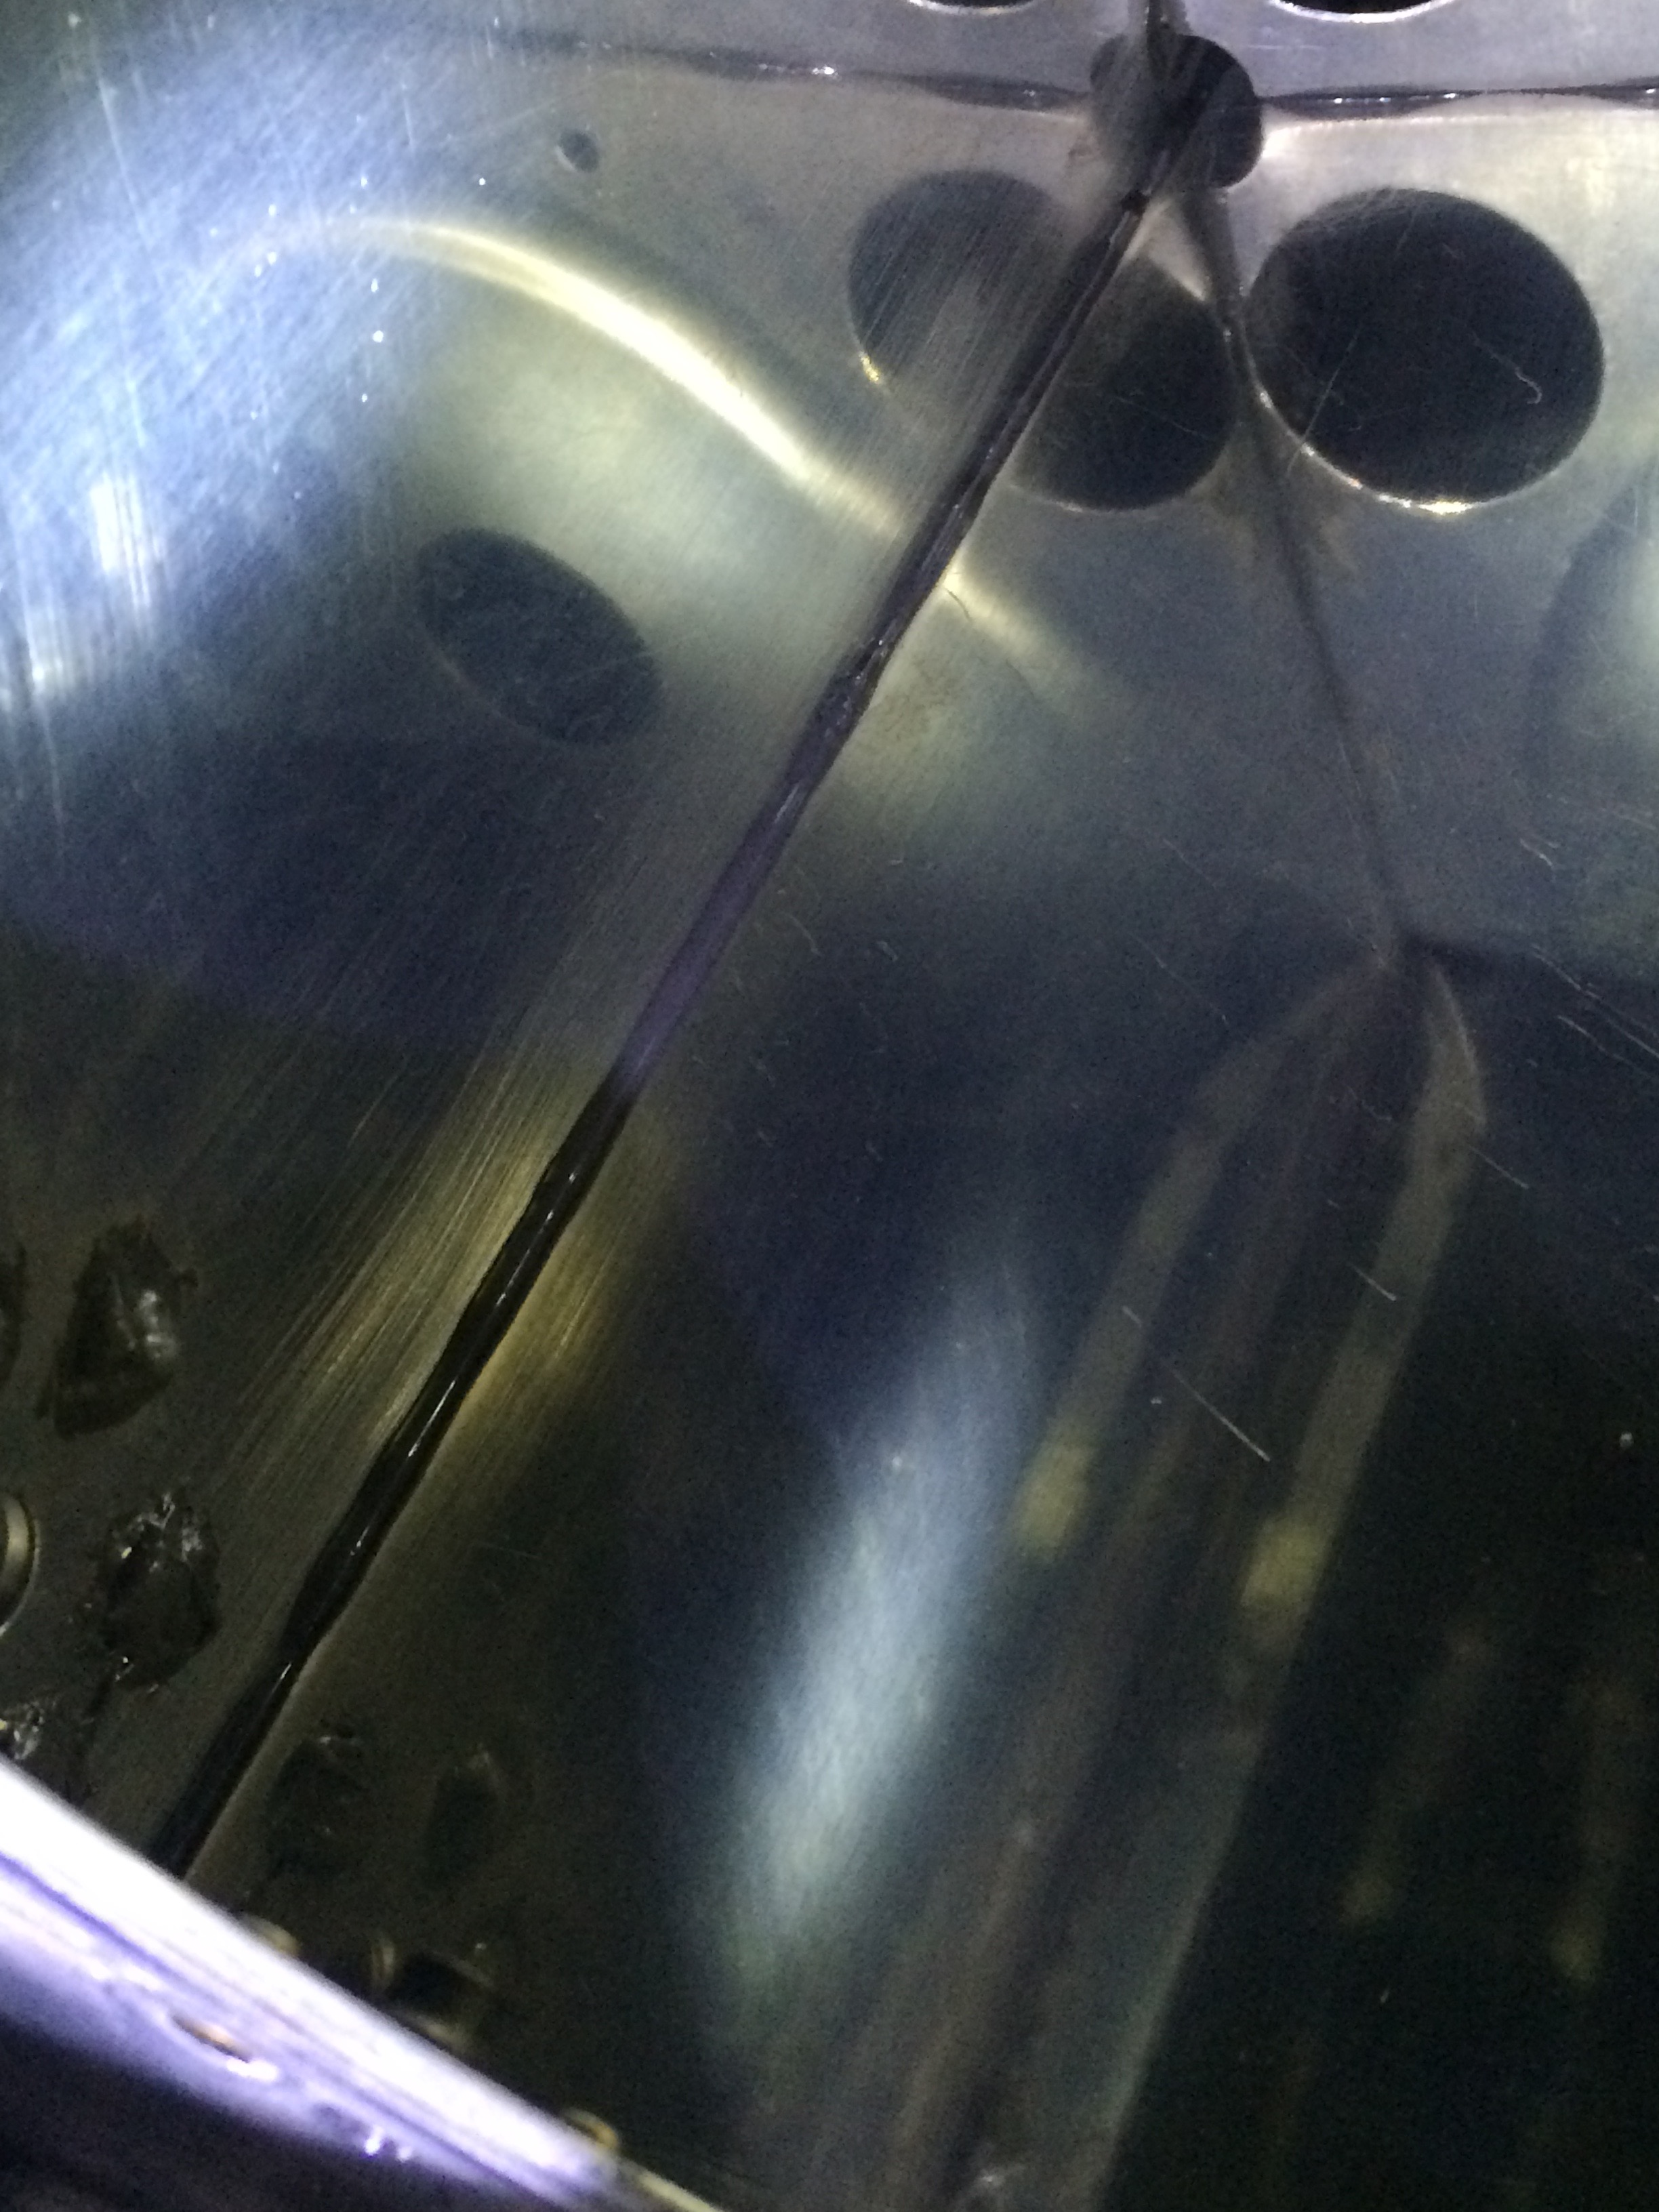
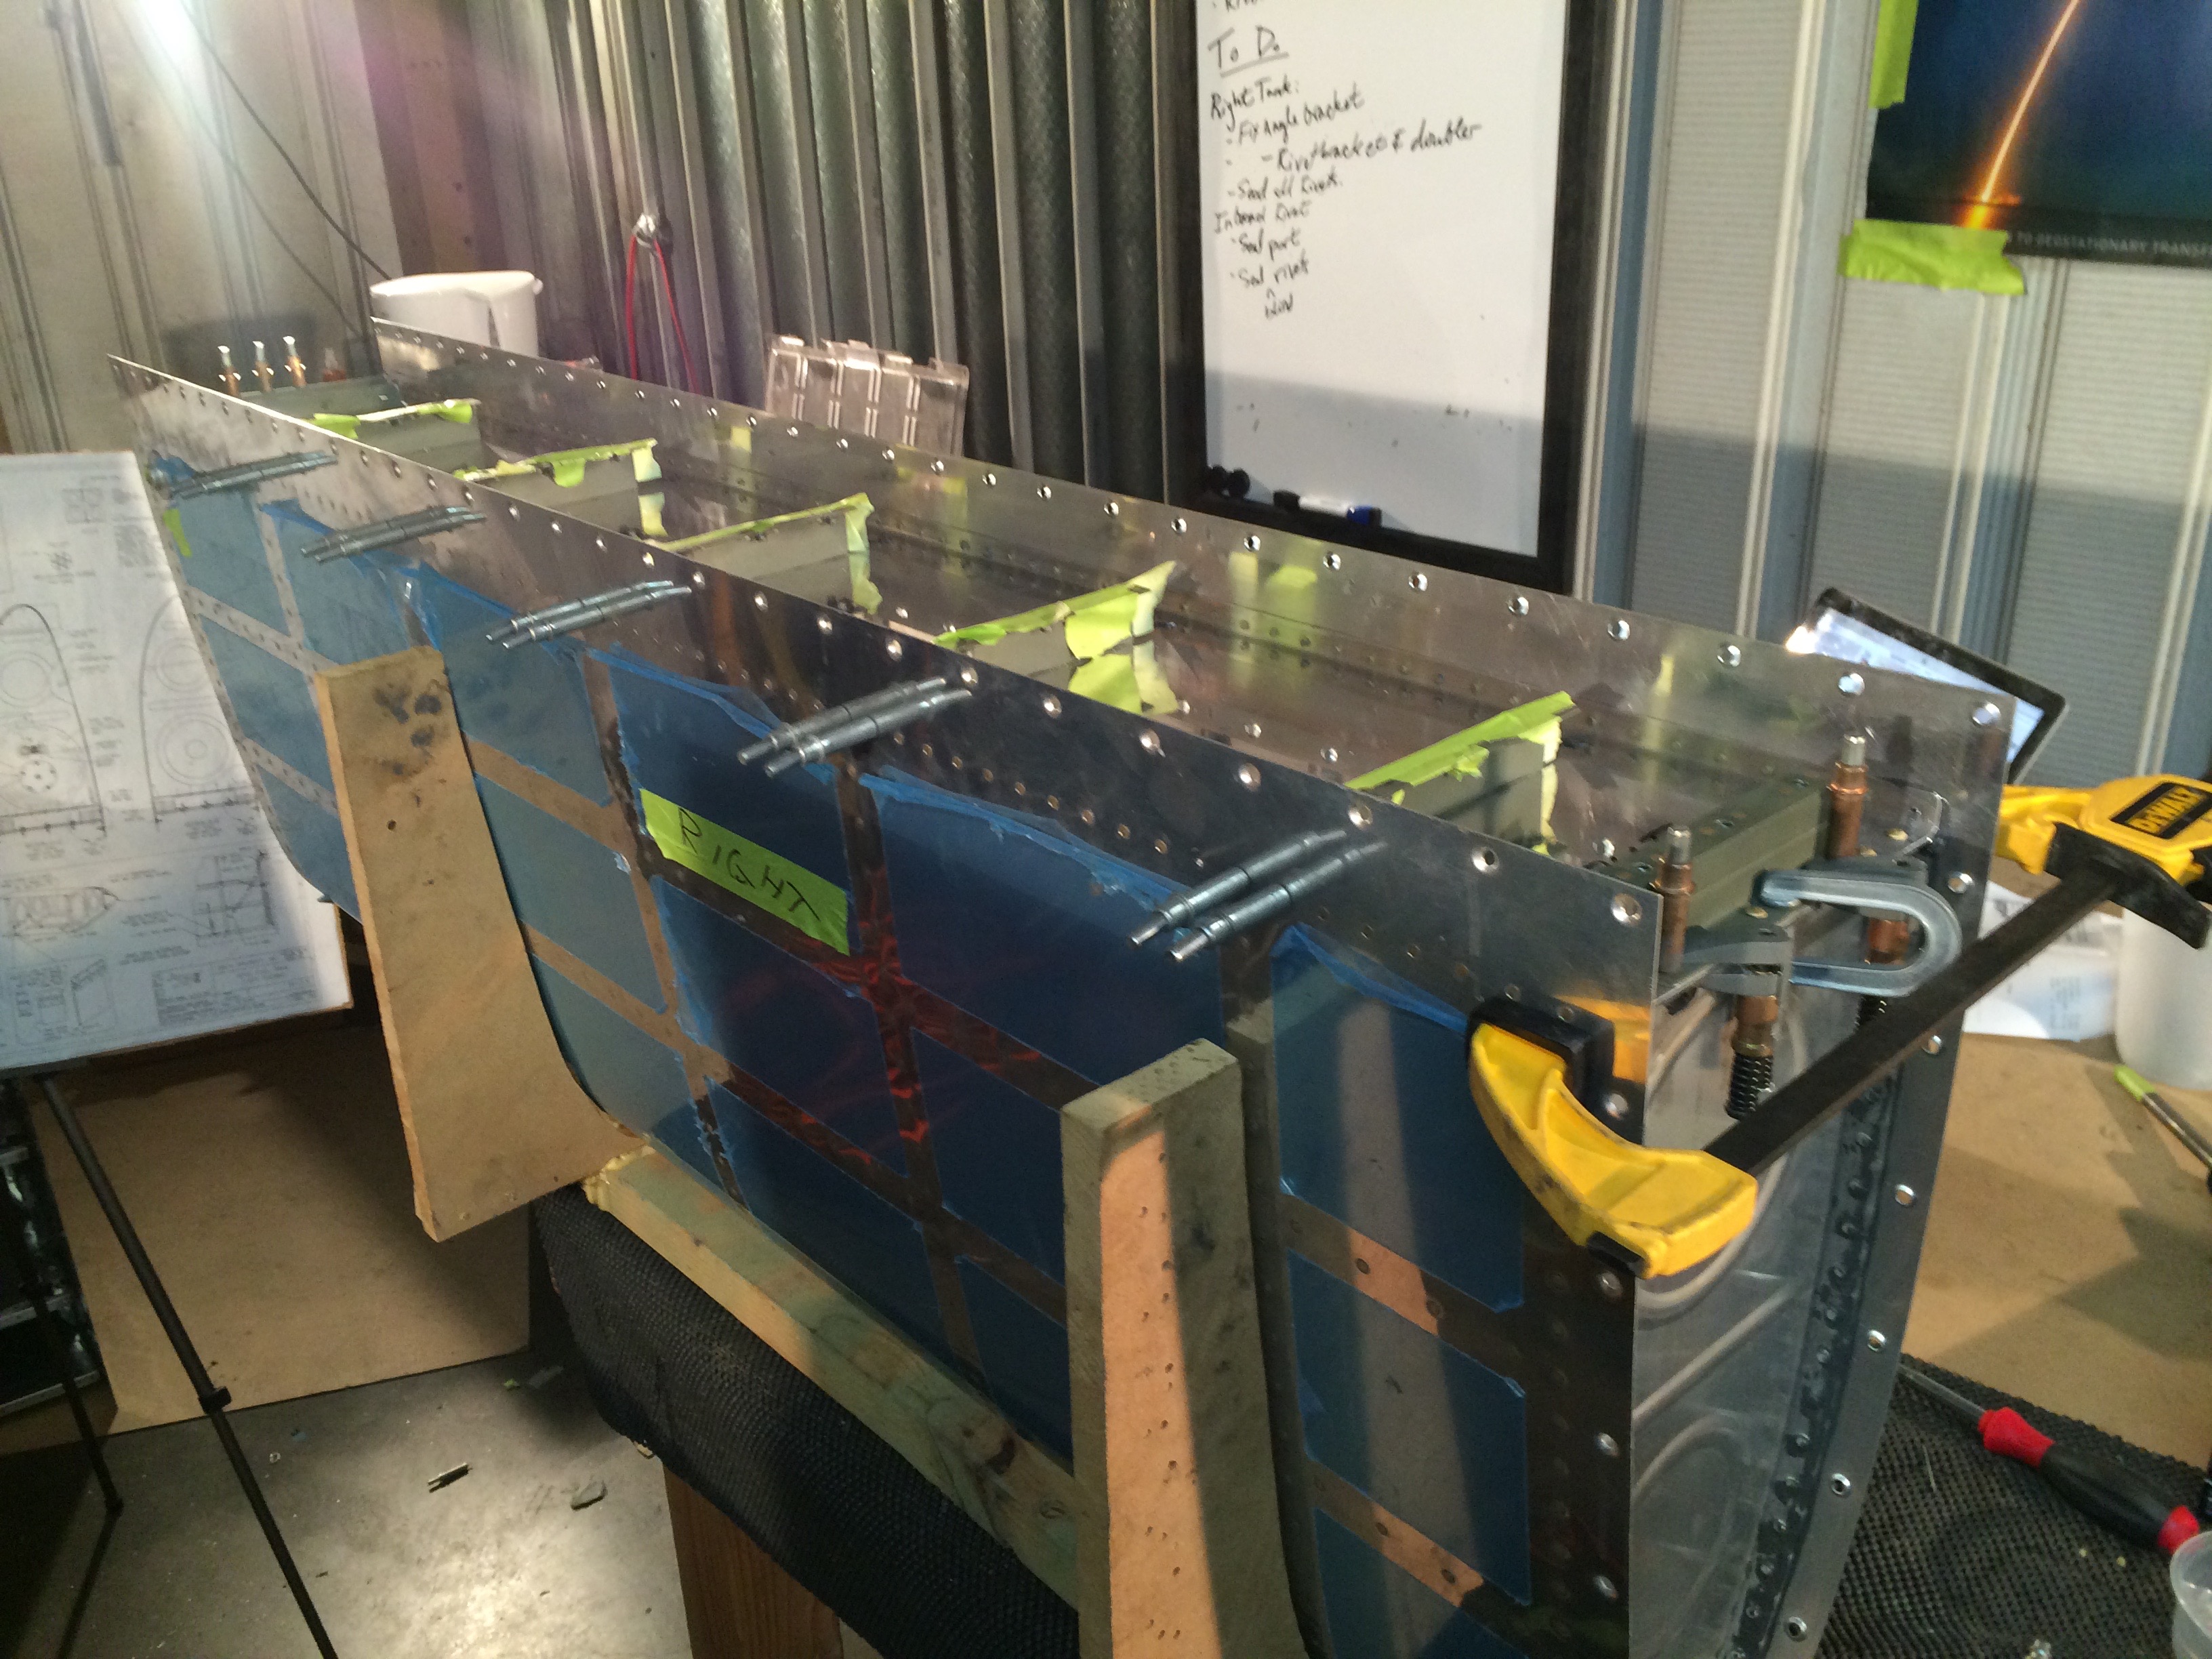
Here’s the rewards from tonight’s work. I got the Z-brackets installed and 95% of the rivets along the skin. The major loose end is the installation of the solid rivets along the inboard and outboard edges of the tank.
This picture was taken through the access hole. You can see a healthy bead of sealant between the baffle and the skin.