I wanted to get the right leading edge installed on the spar today.
I cleaned the spar with acetone and primed the countersunk holes that had been previously cut. I just used tape to mask the surfaces that don’t require primer.
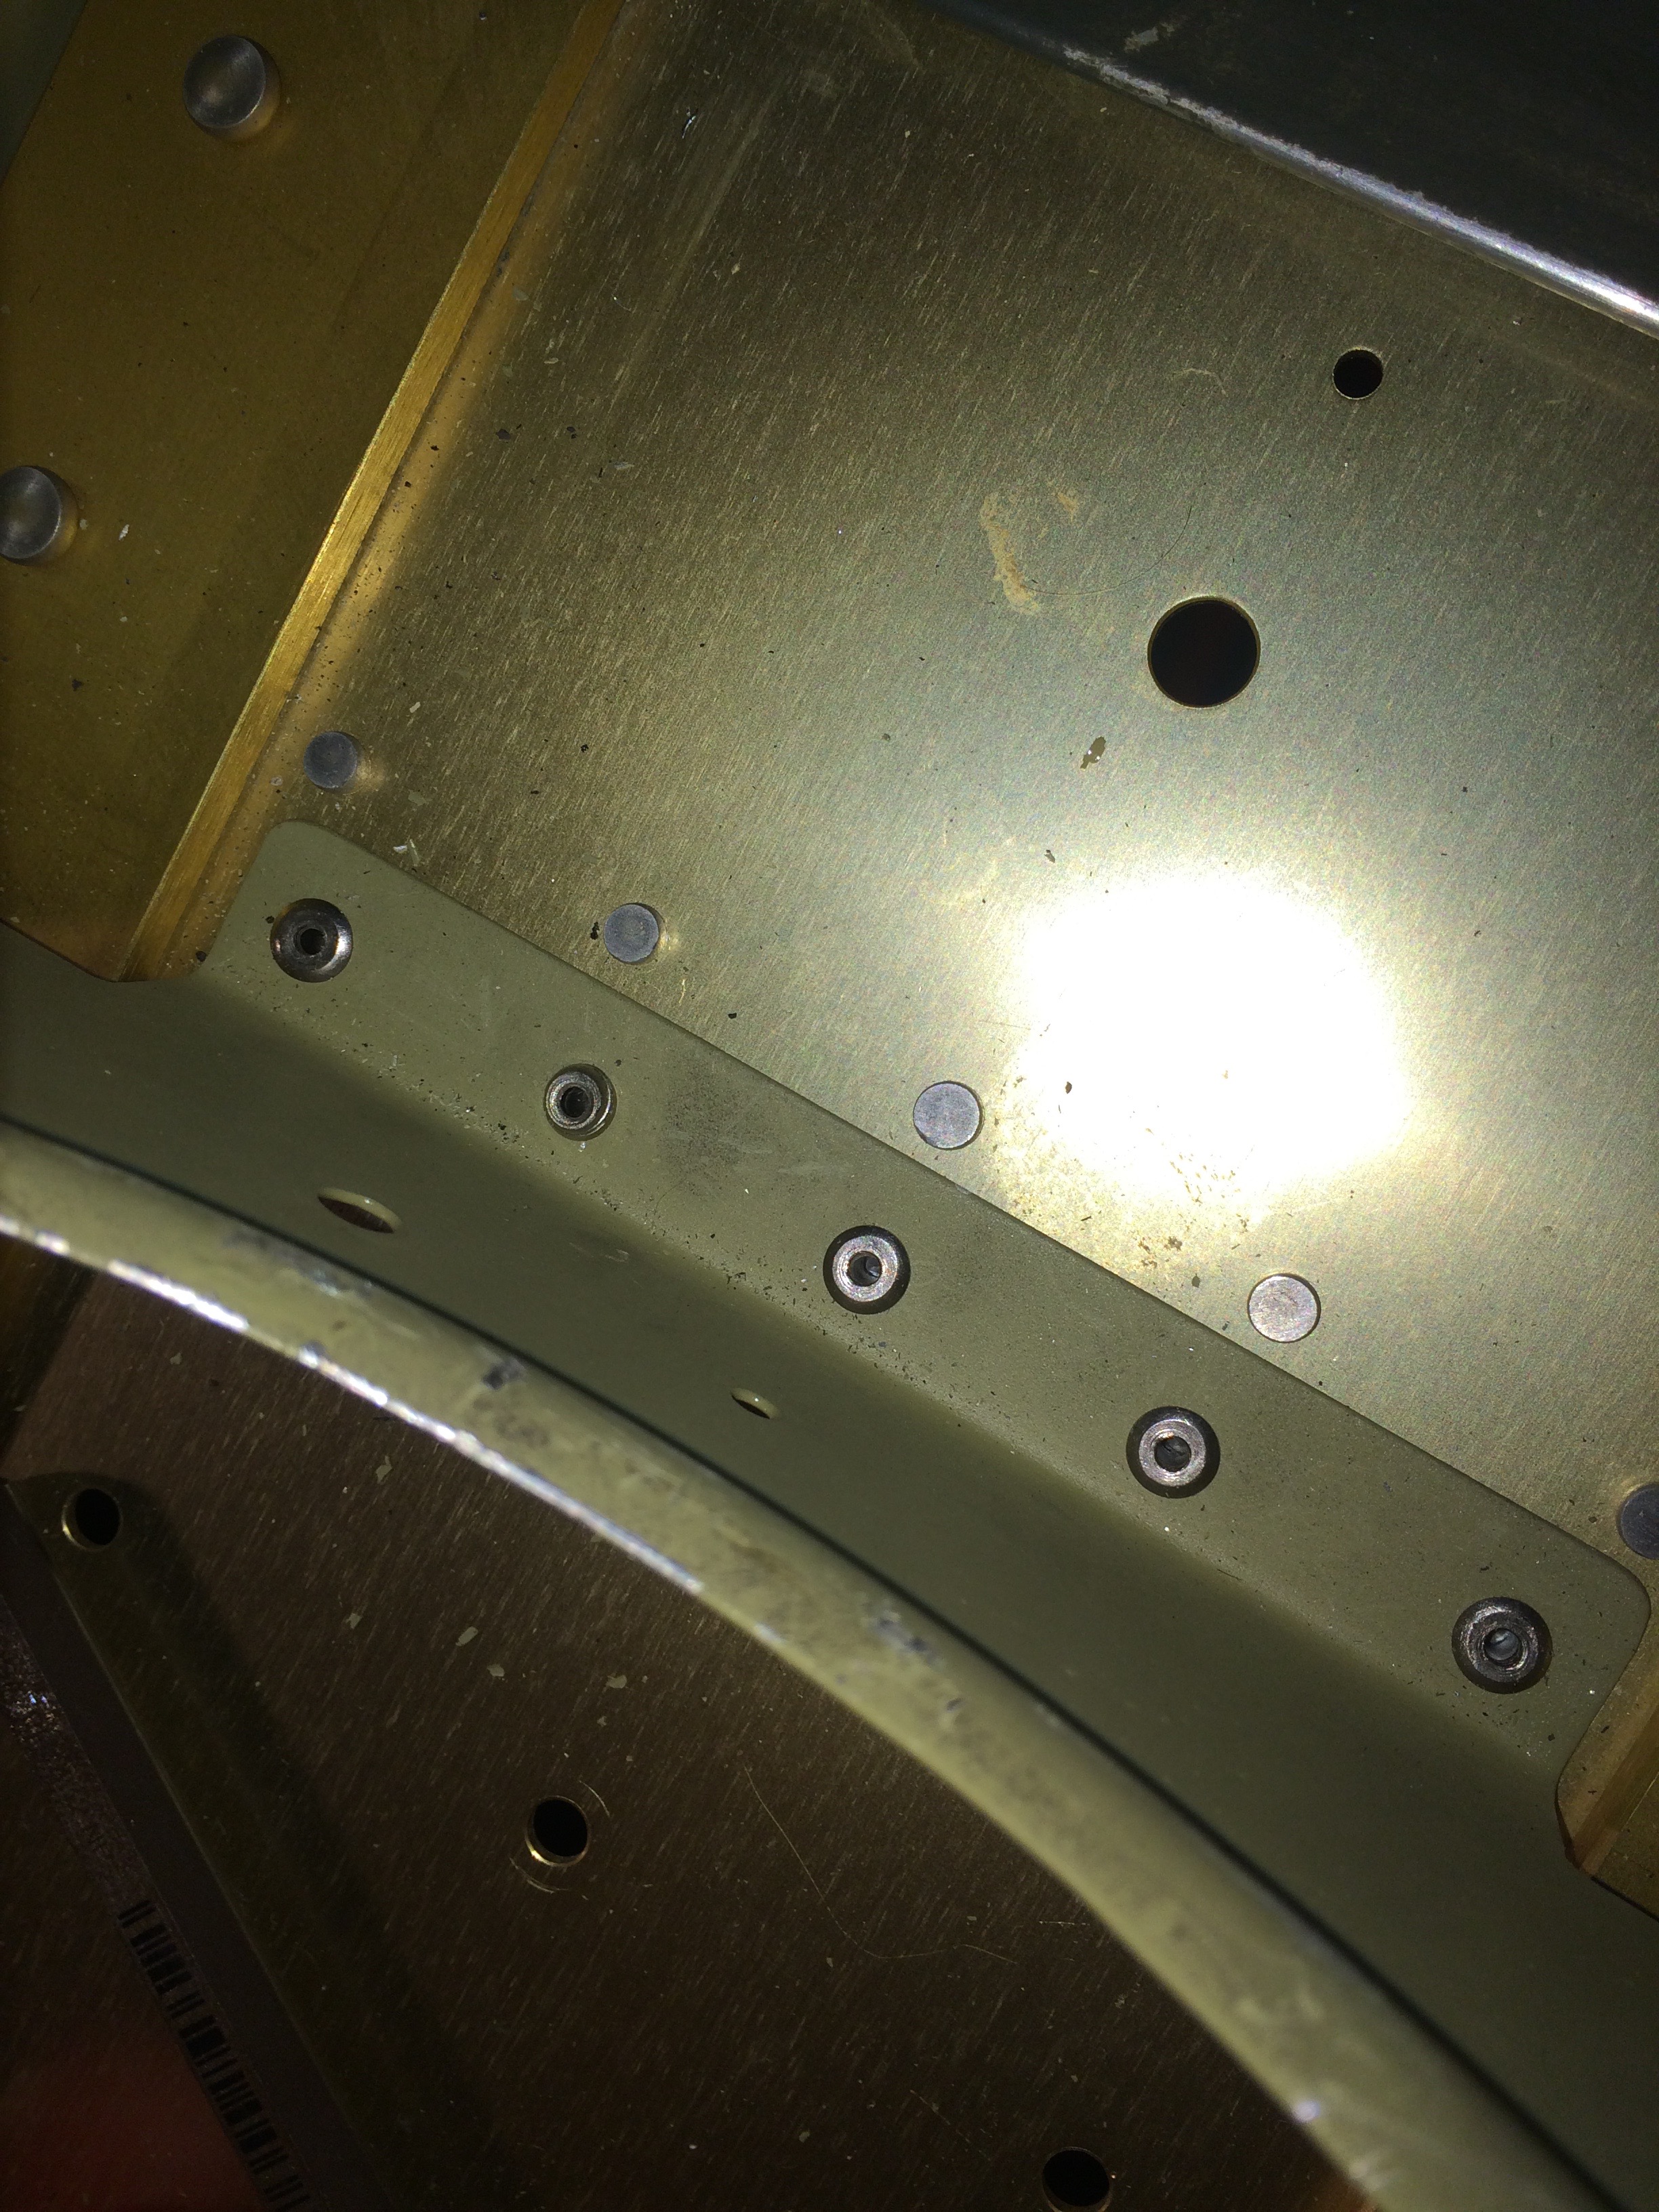
Here are the post-primed surfaces.
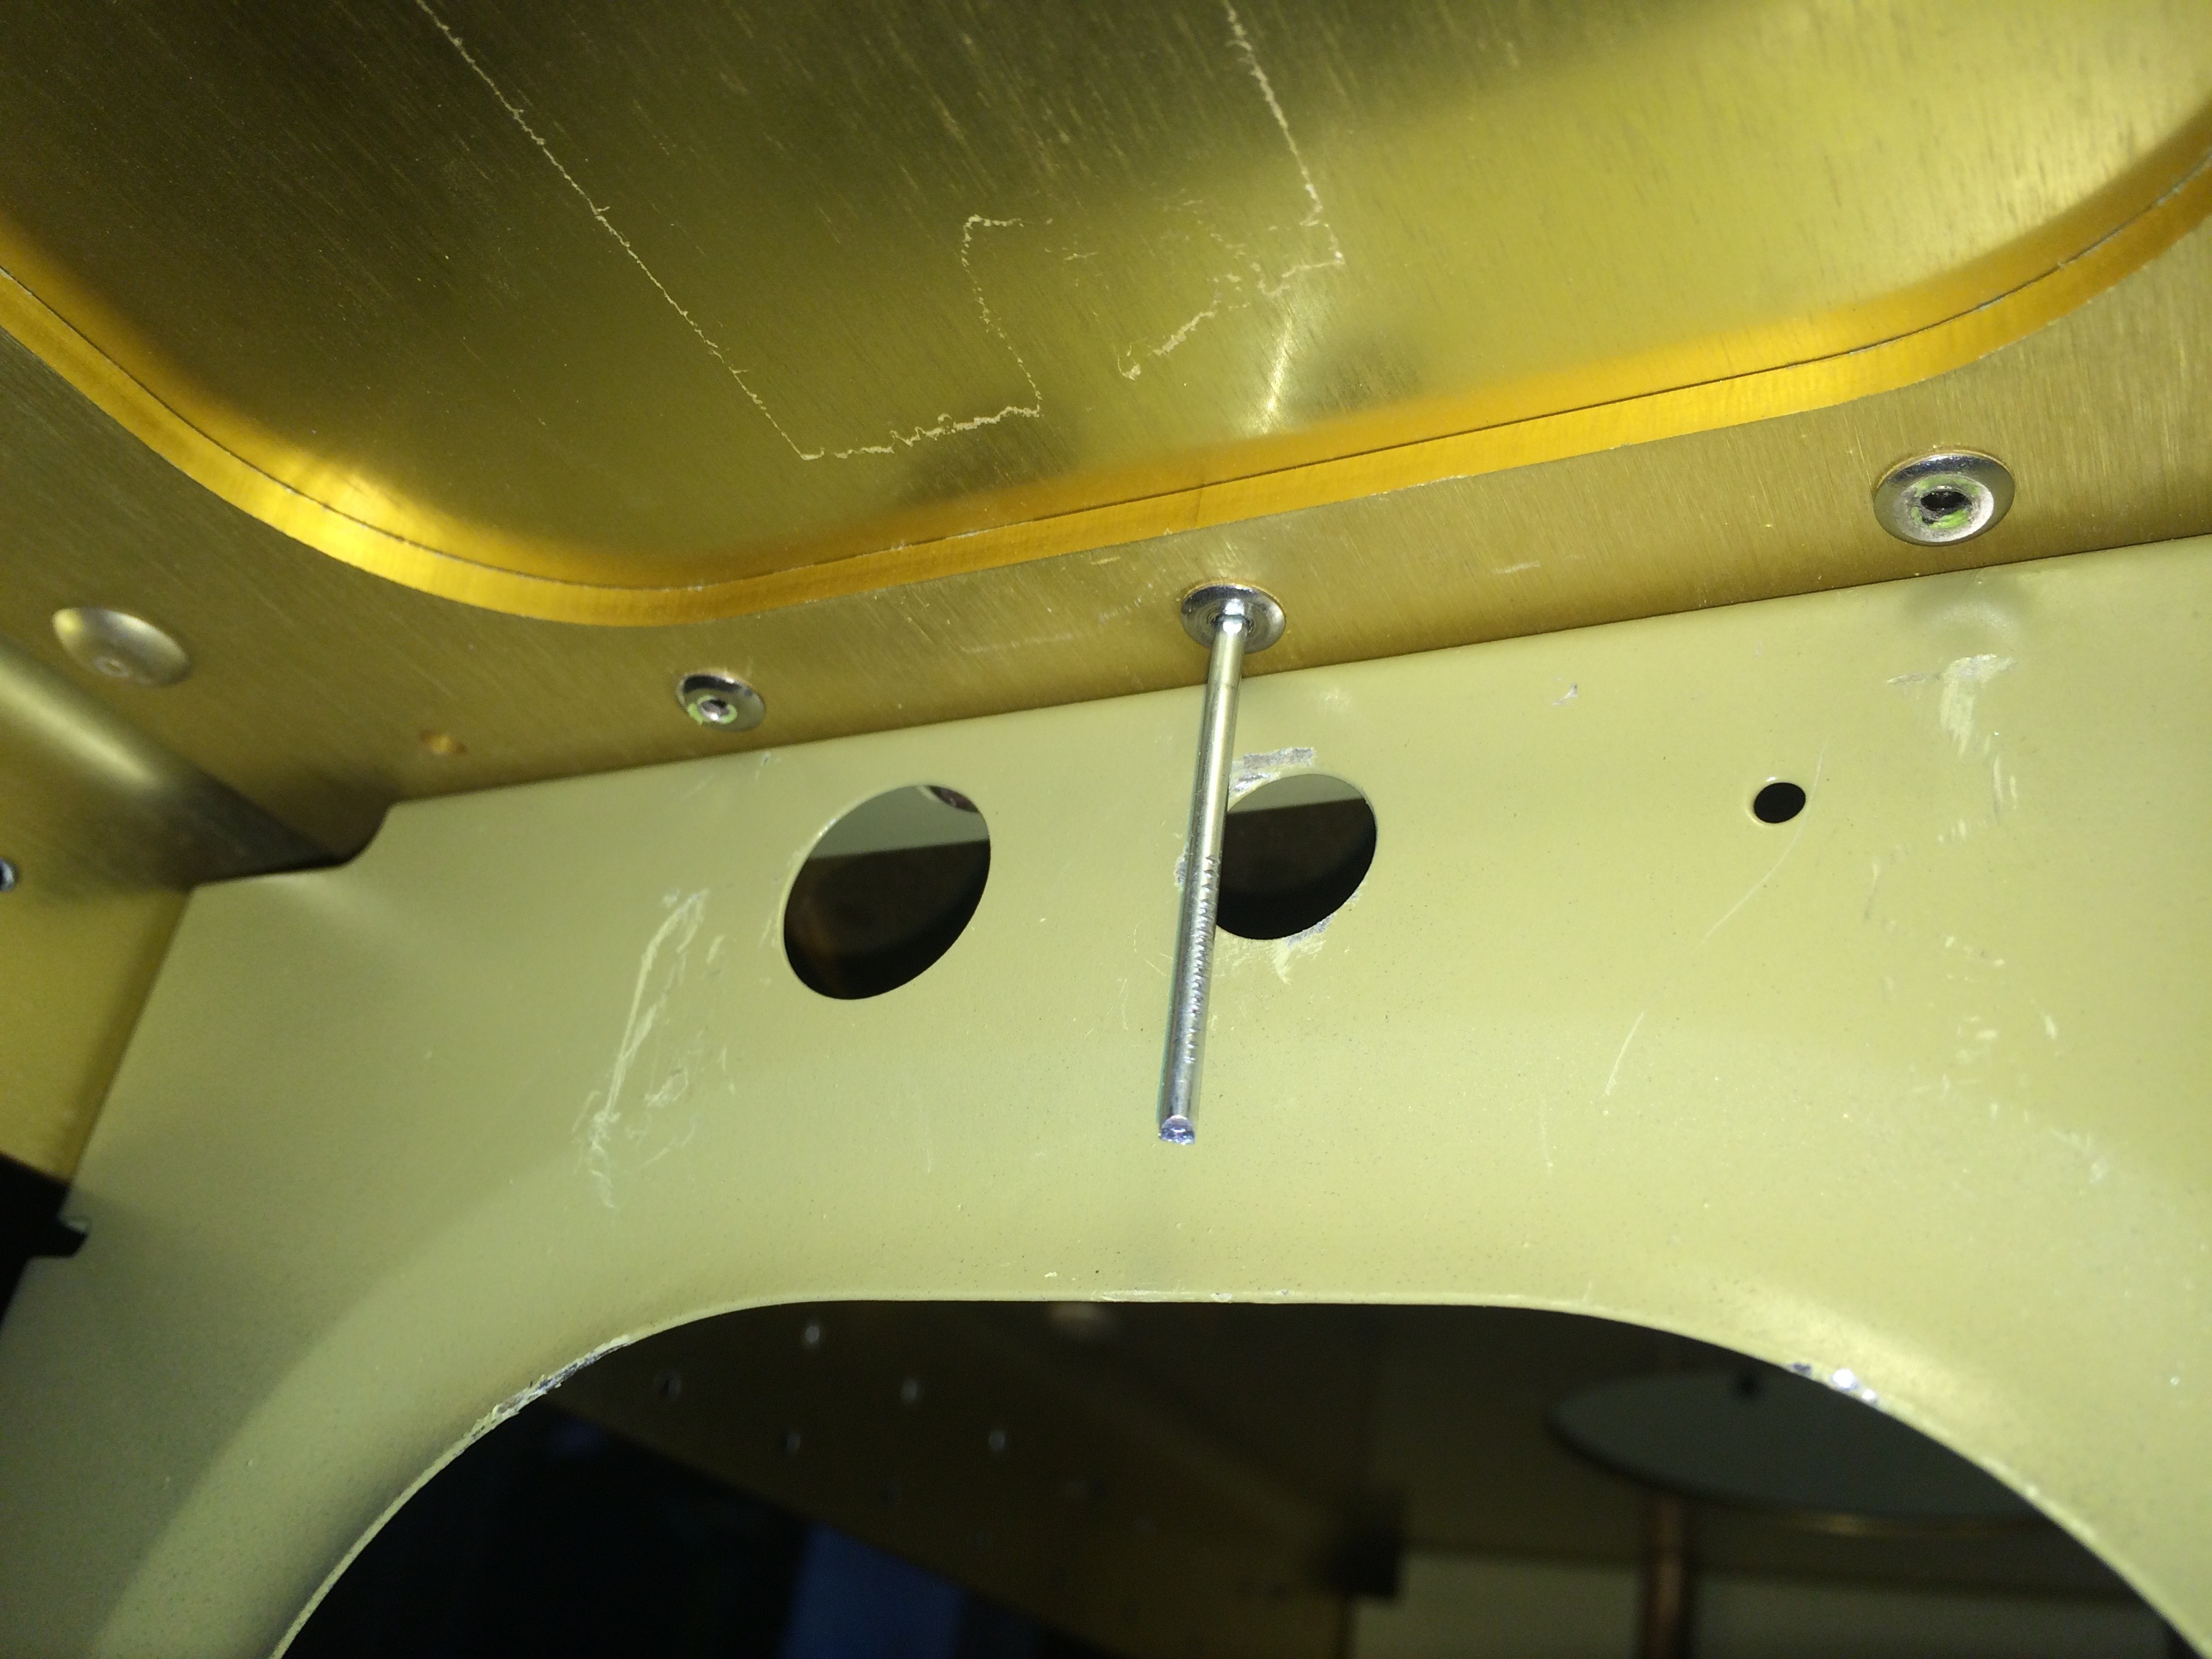
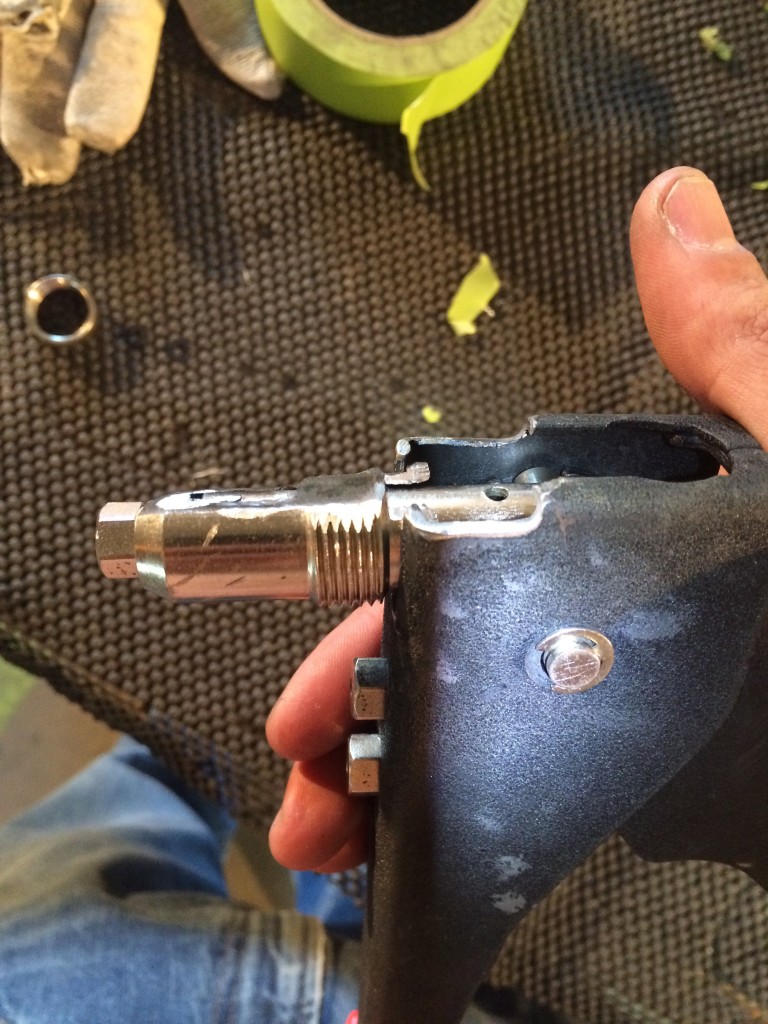
Other builders have added a spacer to the tie down eyebolt. The spacer allows the eyebolt to be torque down, rather than just hang in the threads. The hole in the leading edge skin had to be opened up the .75 inches to fit a delrin spacer. I clamped a block of wood behind the hole and used a large unibit to create the hole.
After I replaced a few rivets on the leading edge, I got ready to permanently install the assembly to the spar. I fit up the tank and the leading edge to make sure everything was looking good.
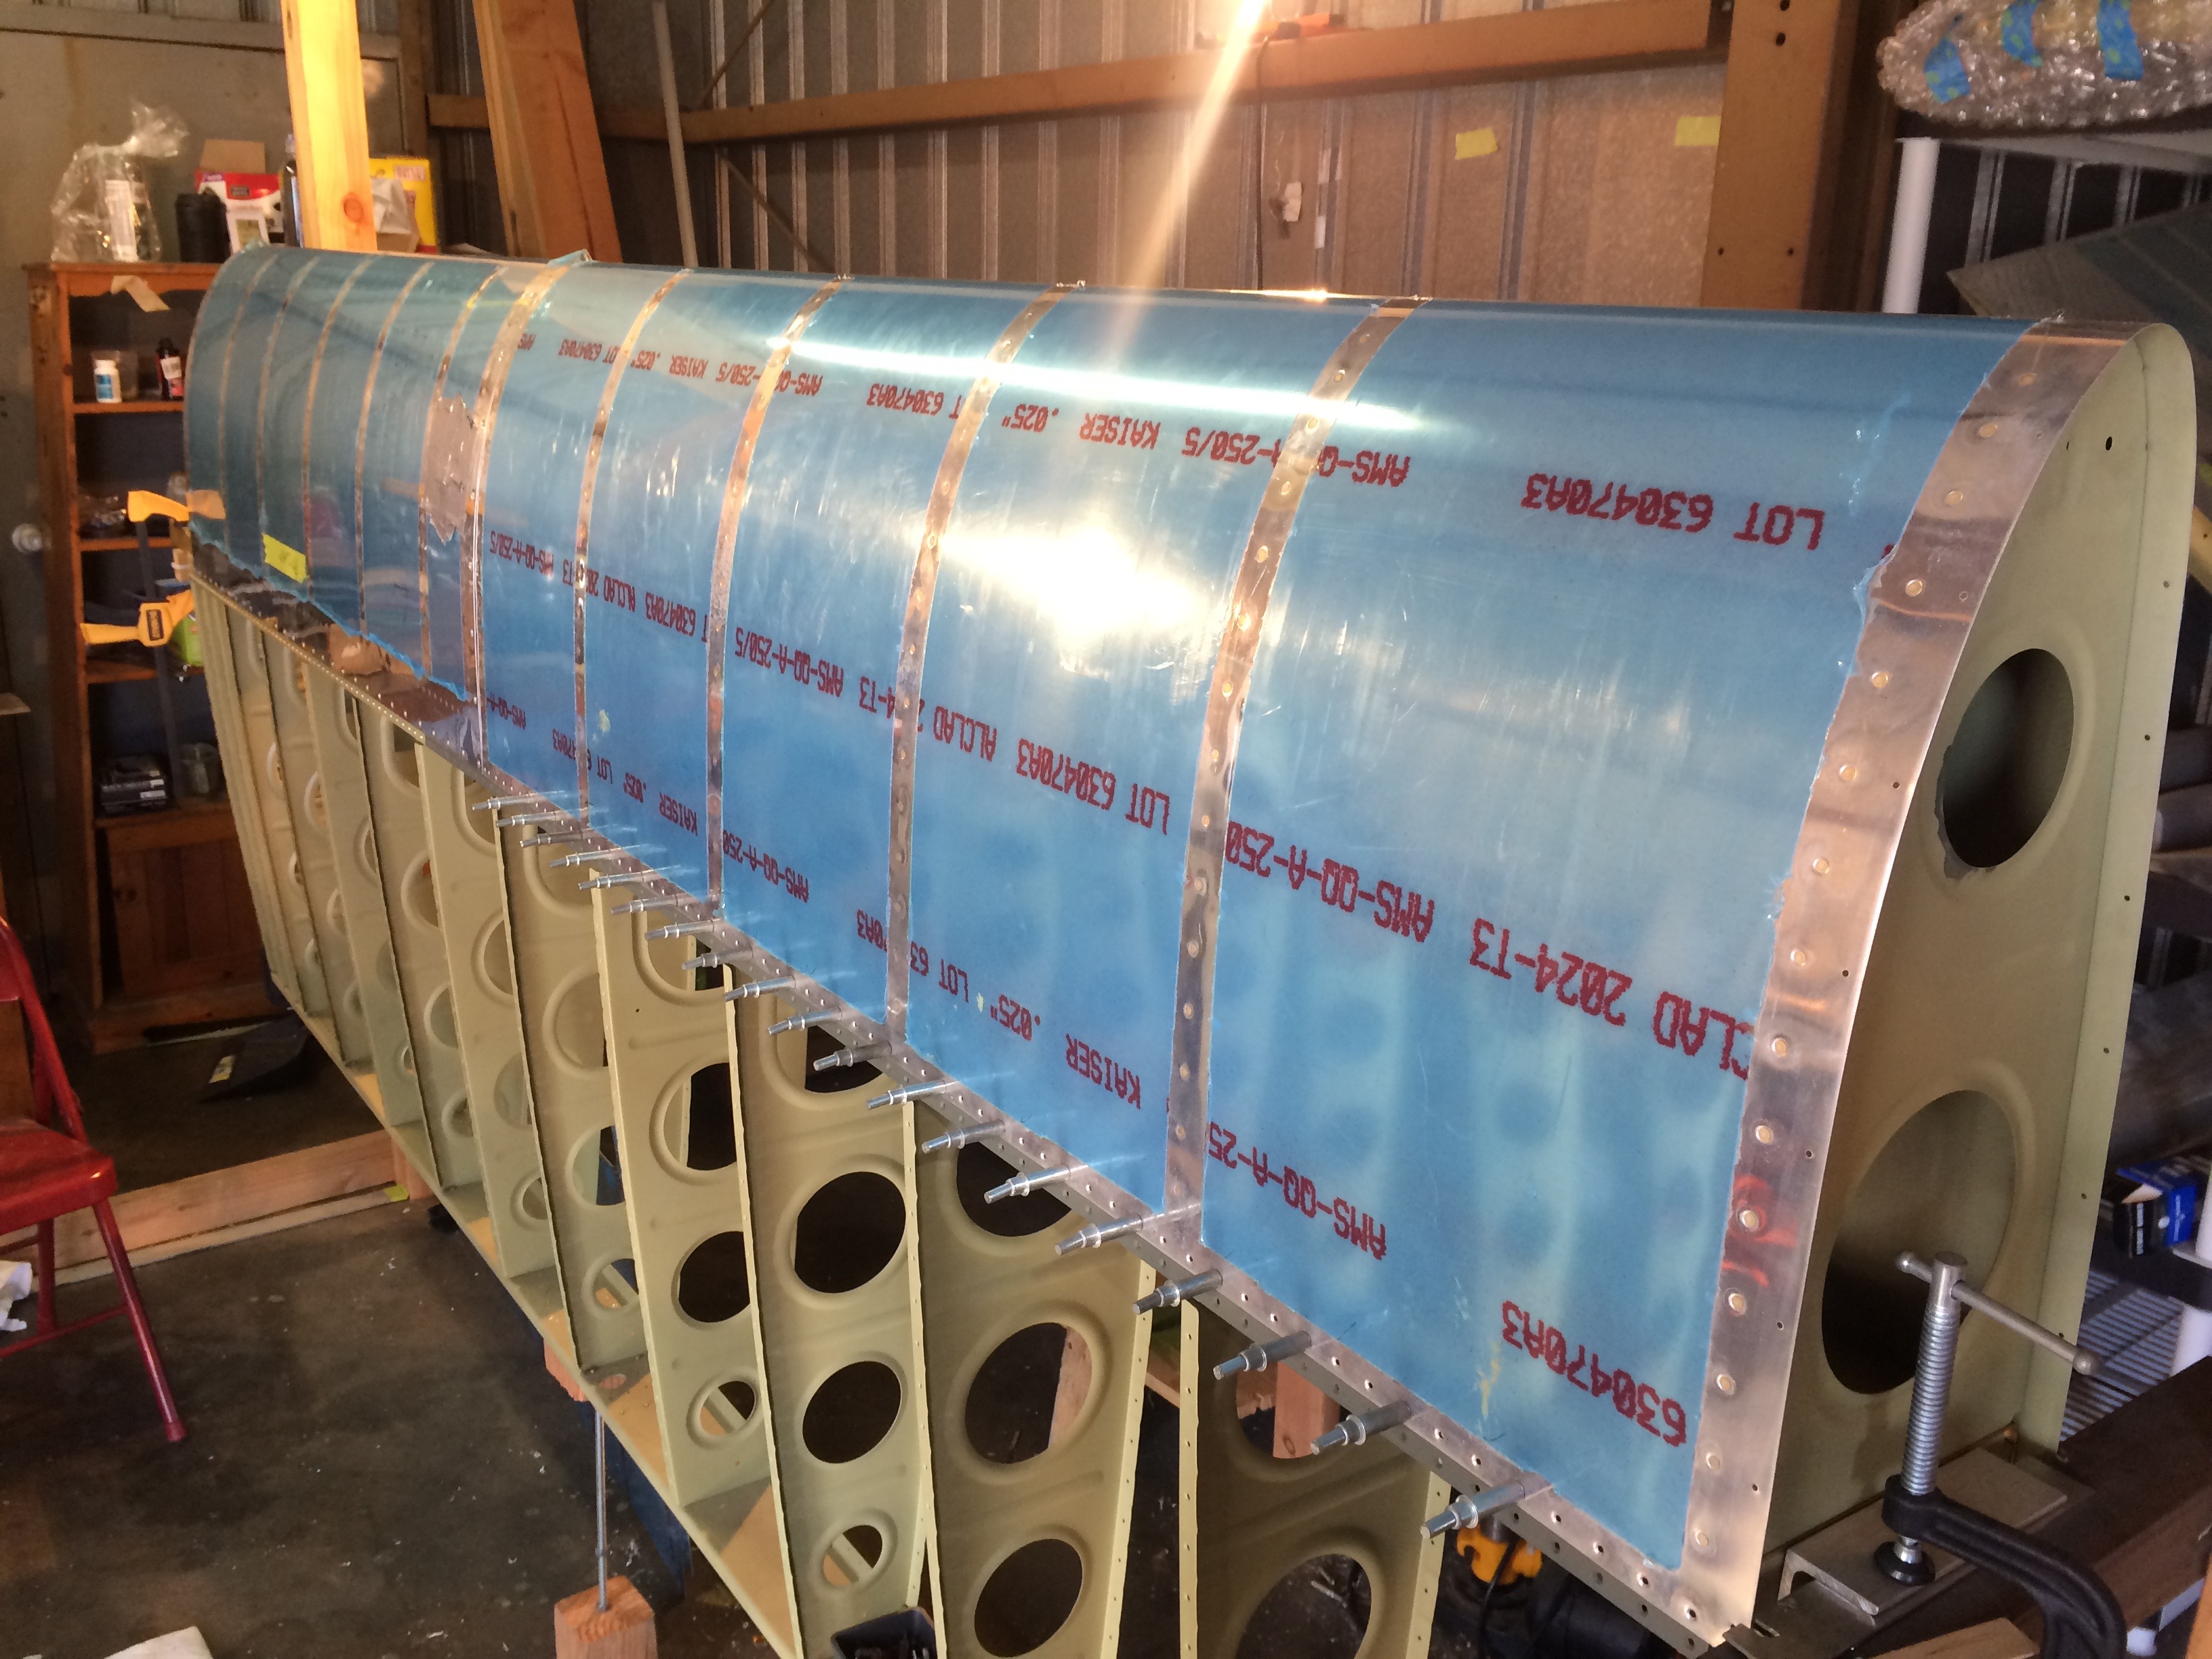
I used ratchet straps to make sure everything was pulled tightly against the spar. I took my time lining up the holes along the top and bottom flanges.
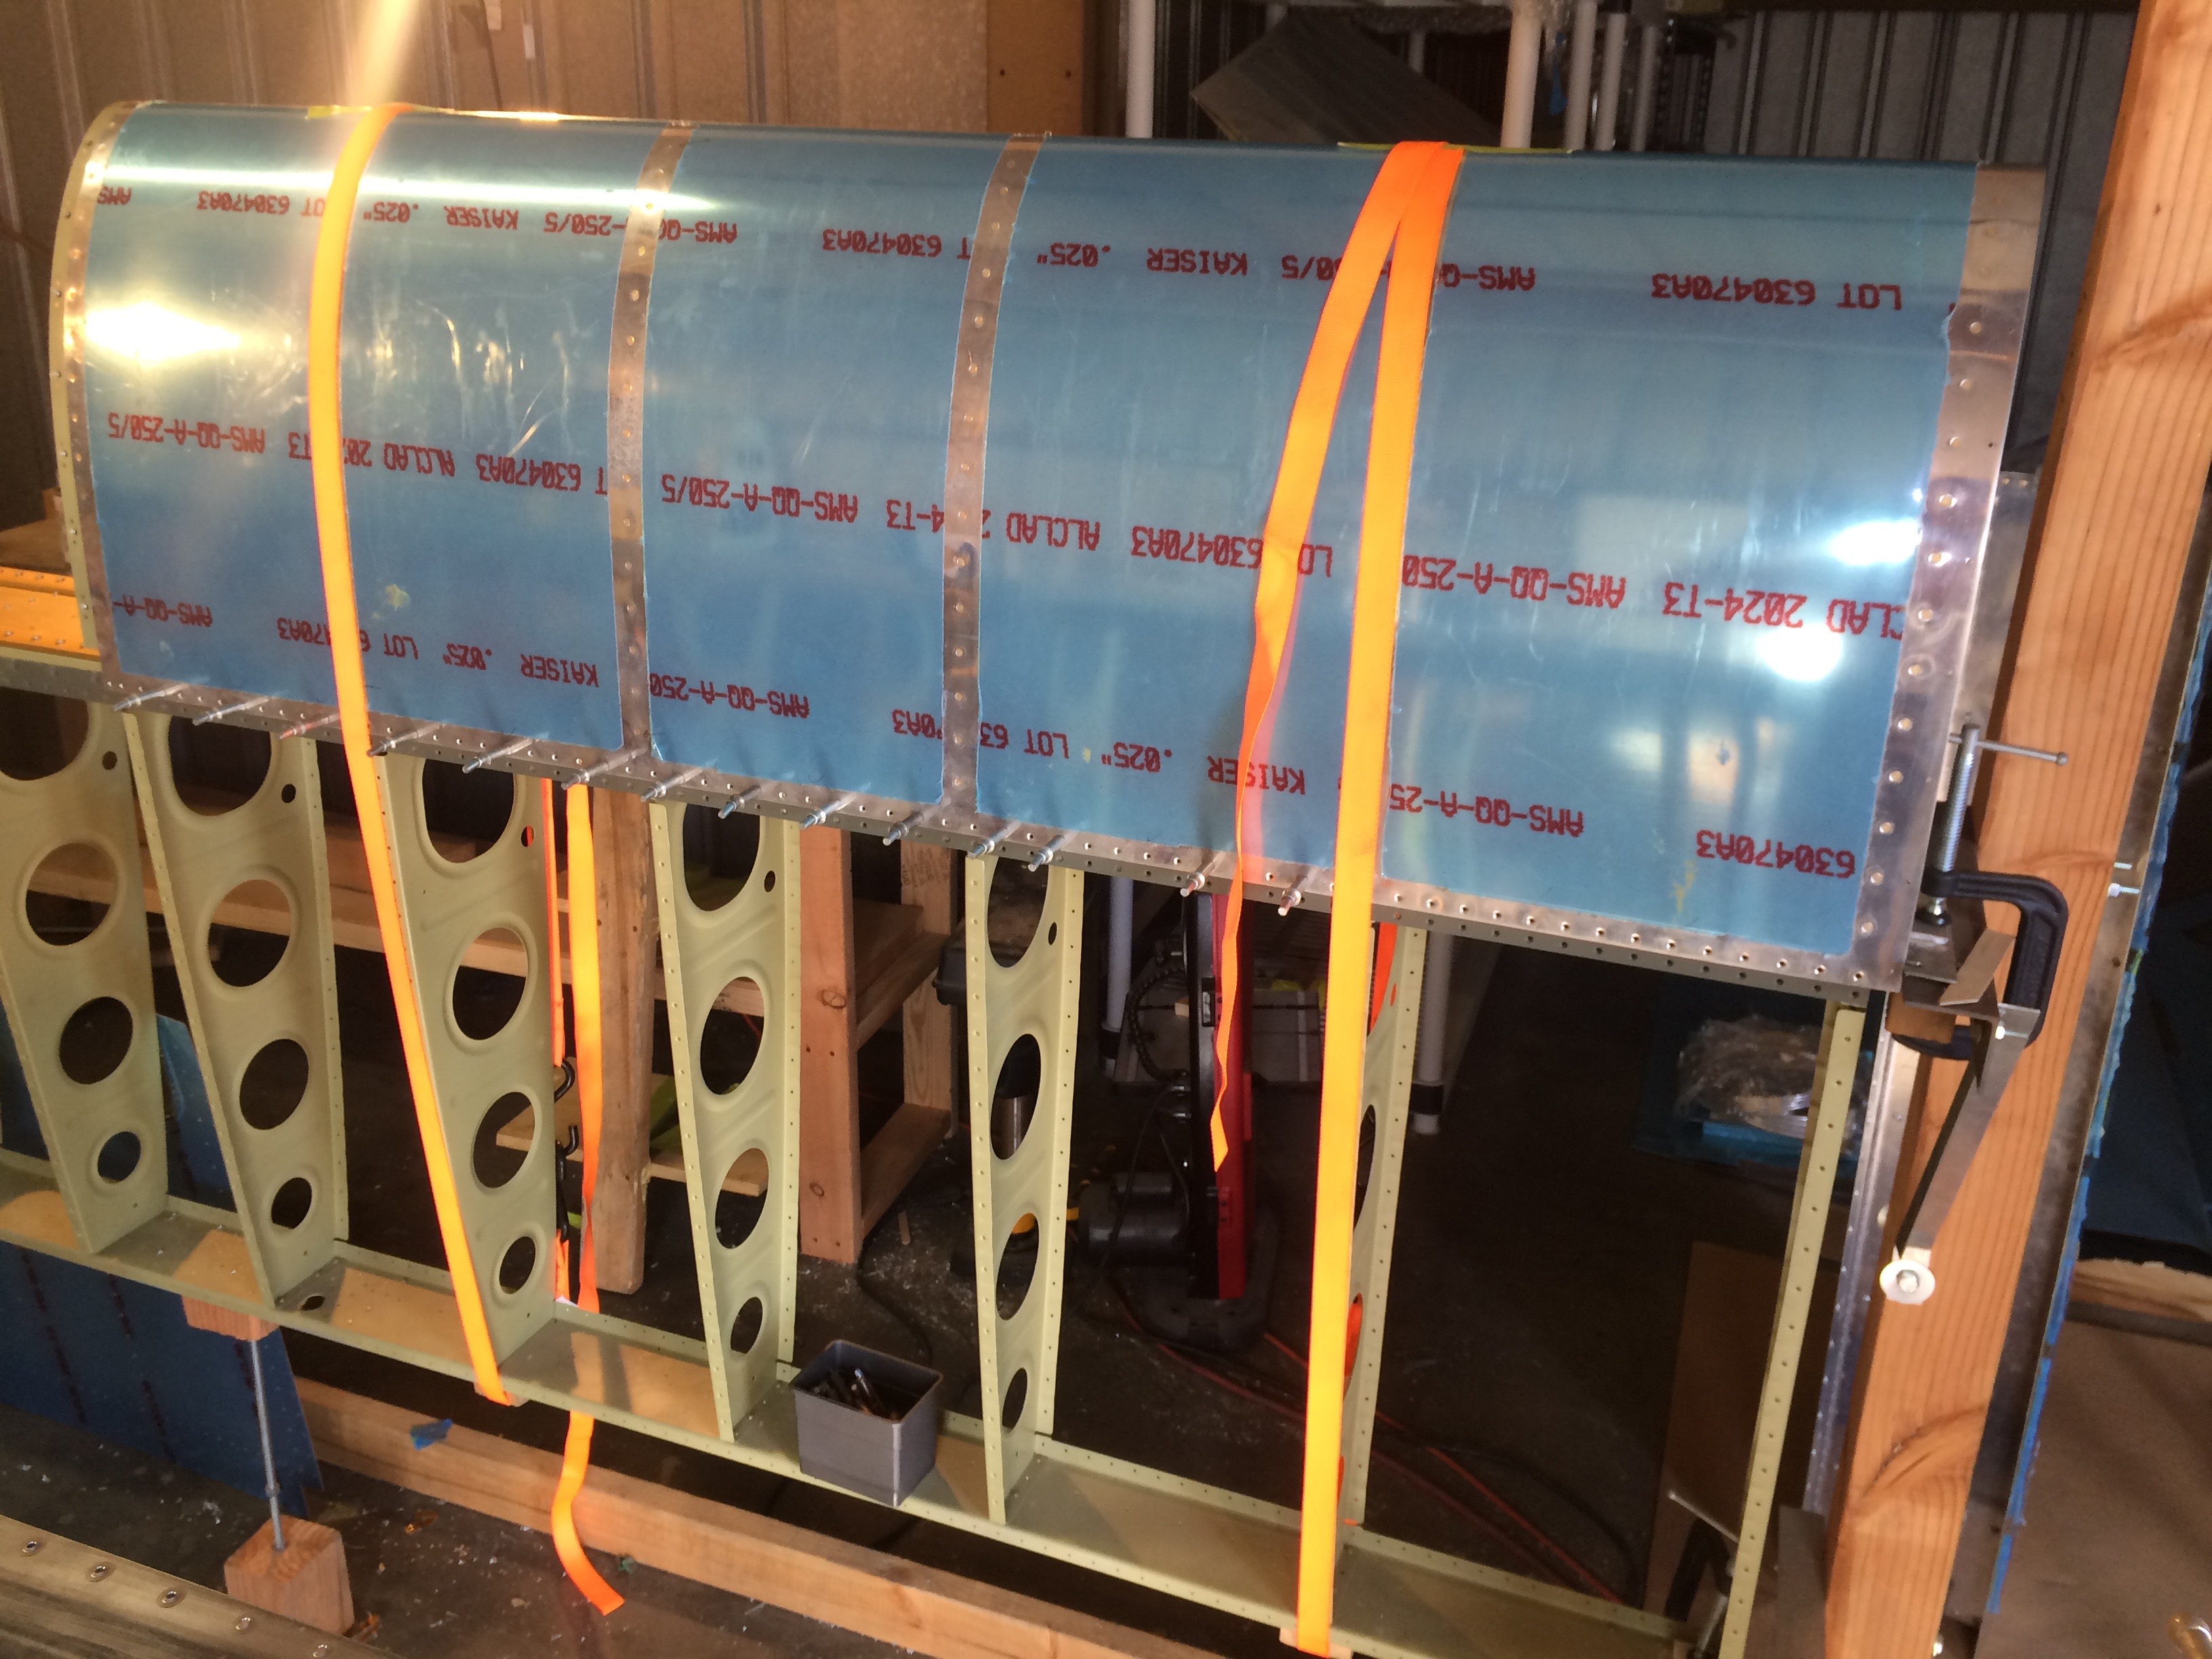
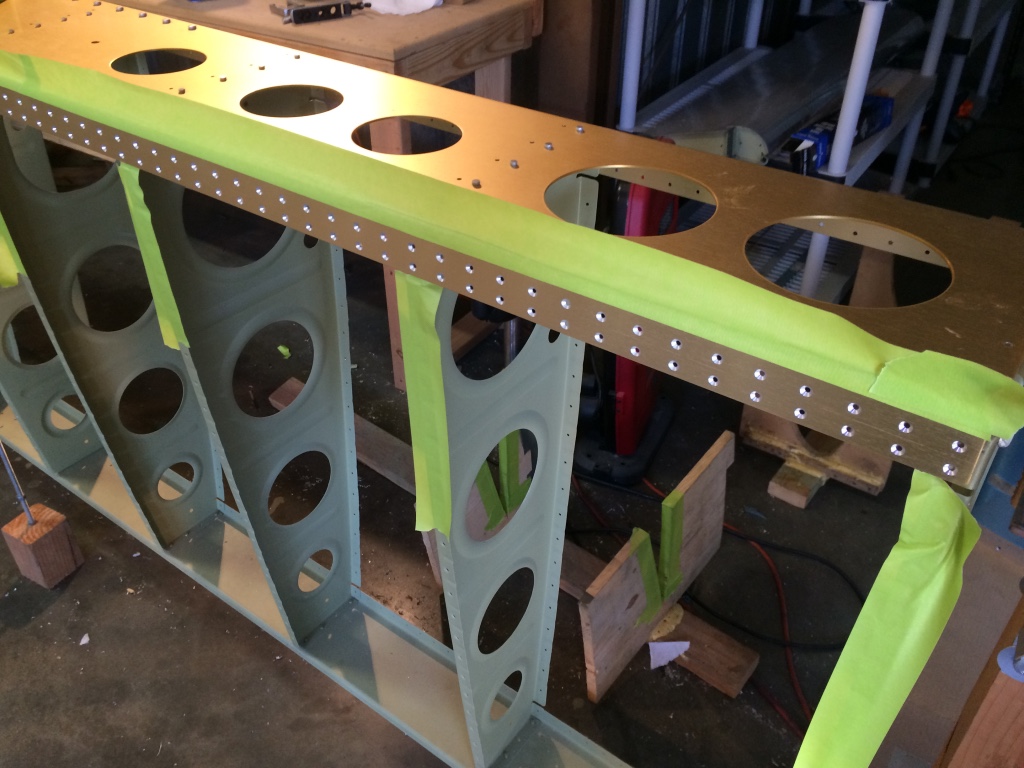
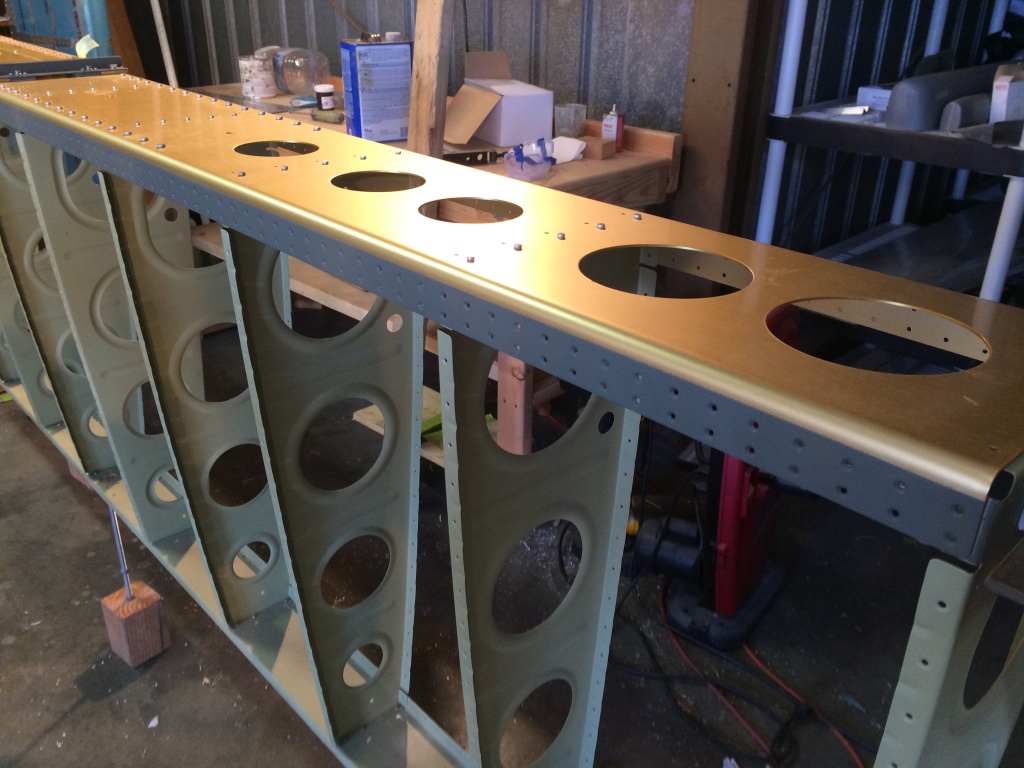
The first thing you do is rivet the ribs to the spar. There’s minimal clearance to get the pop rivet tool close to the ribs so I had to grind off some material from my tool.
Riveting the ribs was pretty tedious. By the end of the day, I got 3 of the 6 ribs riveted.
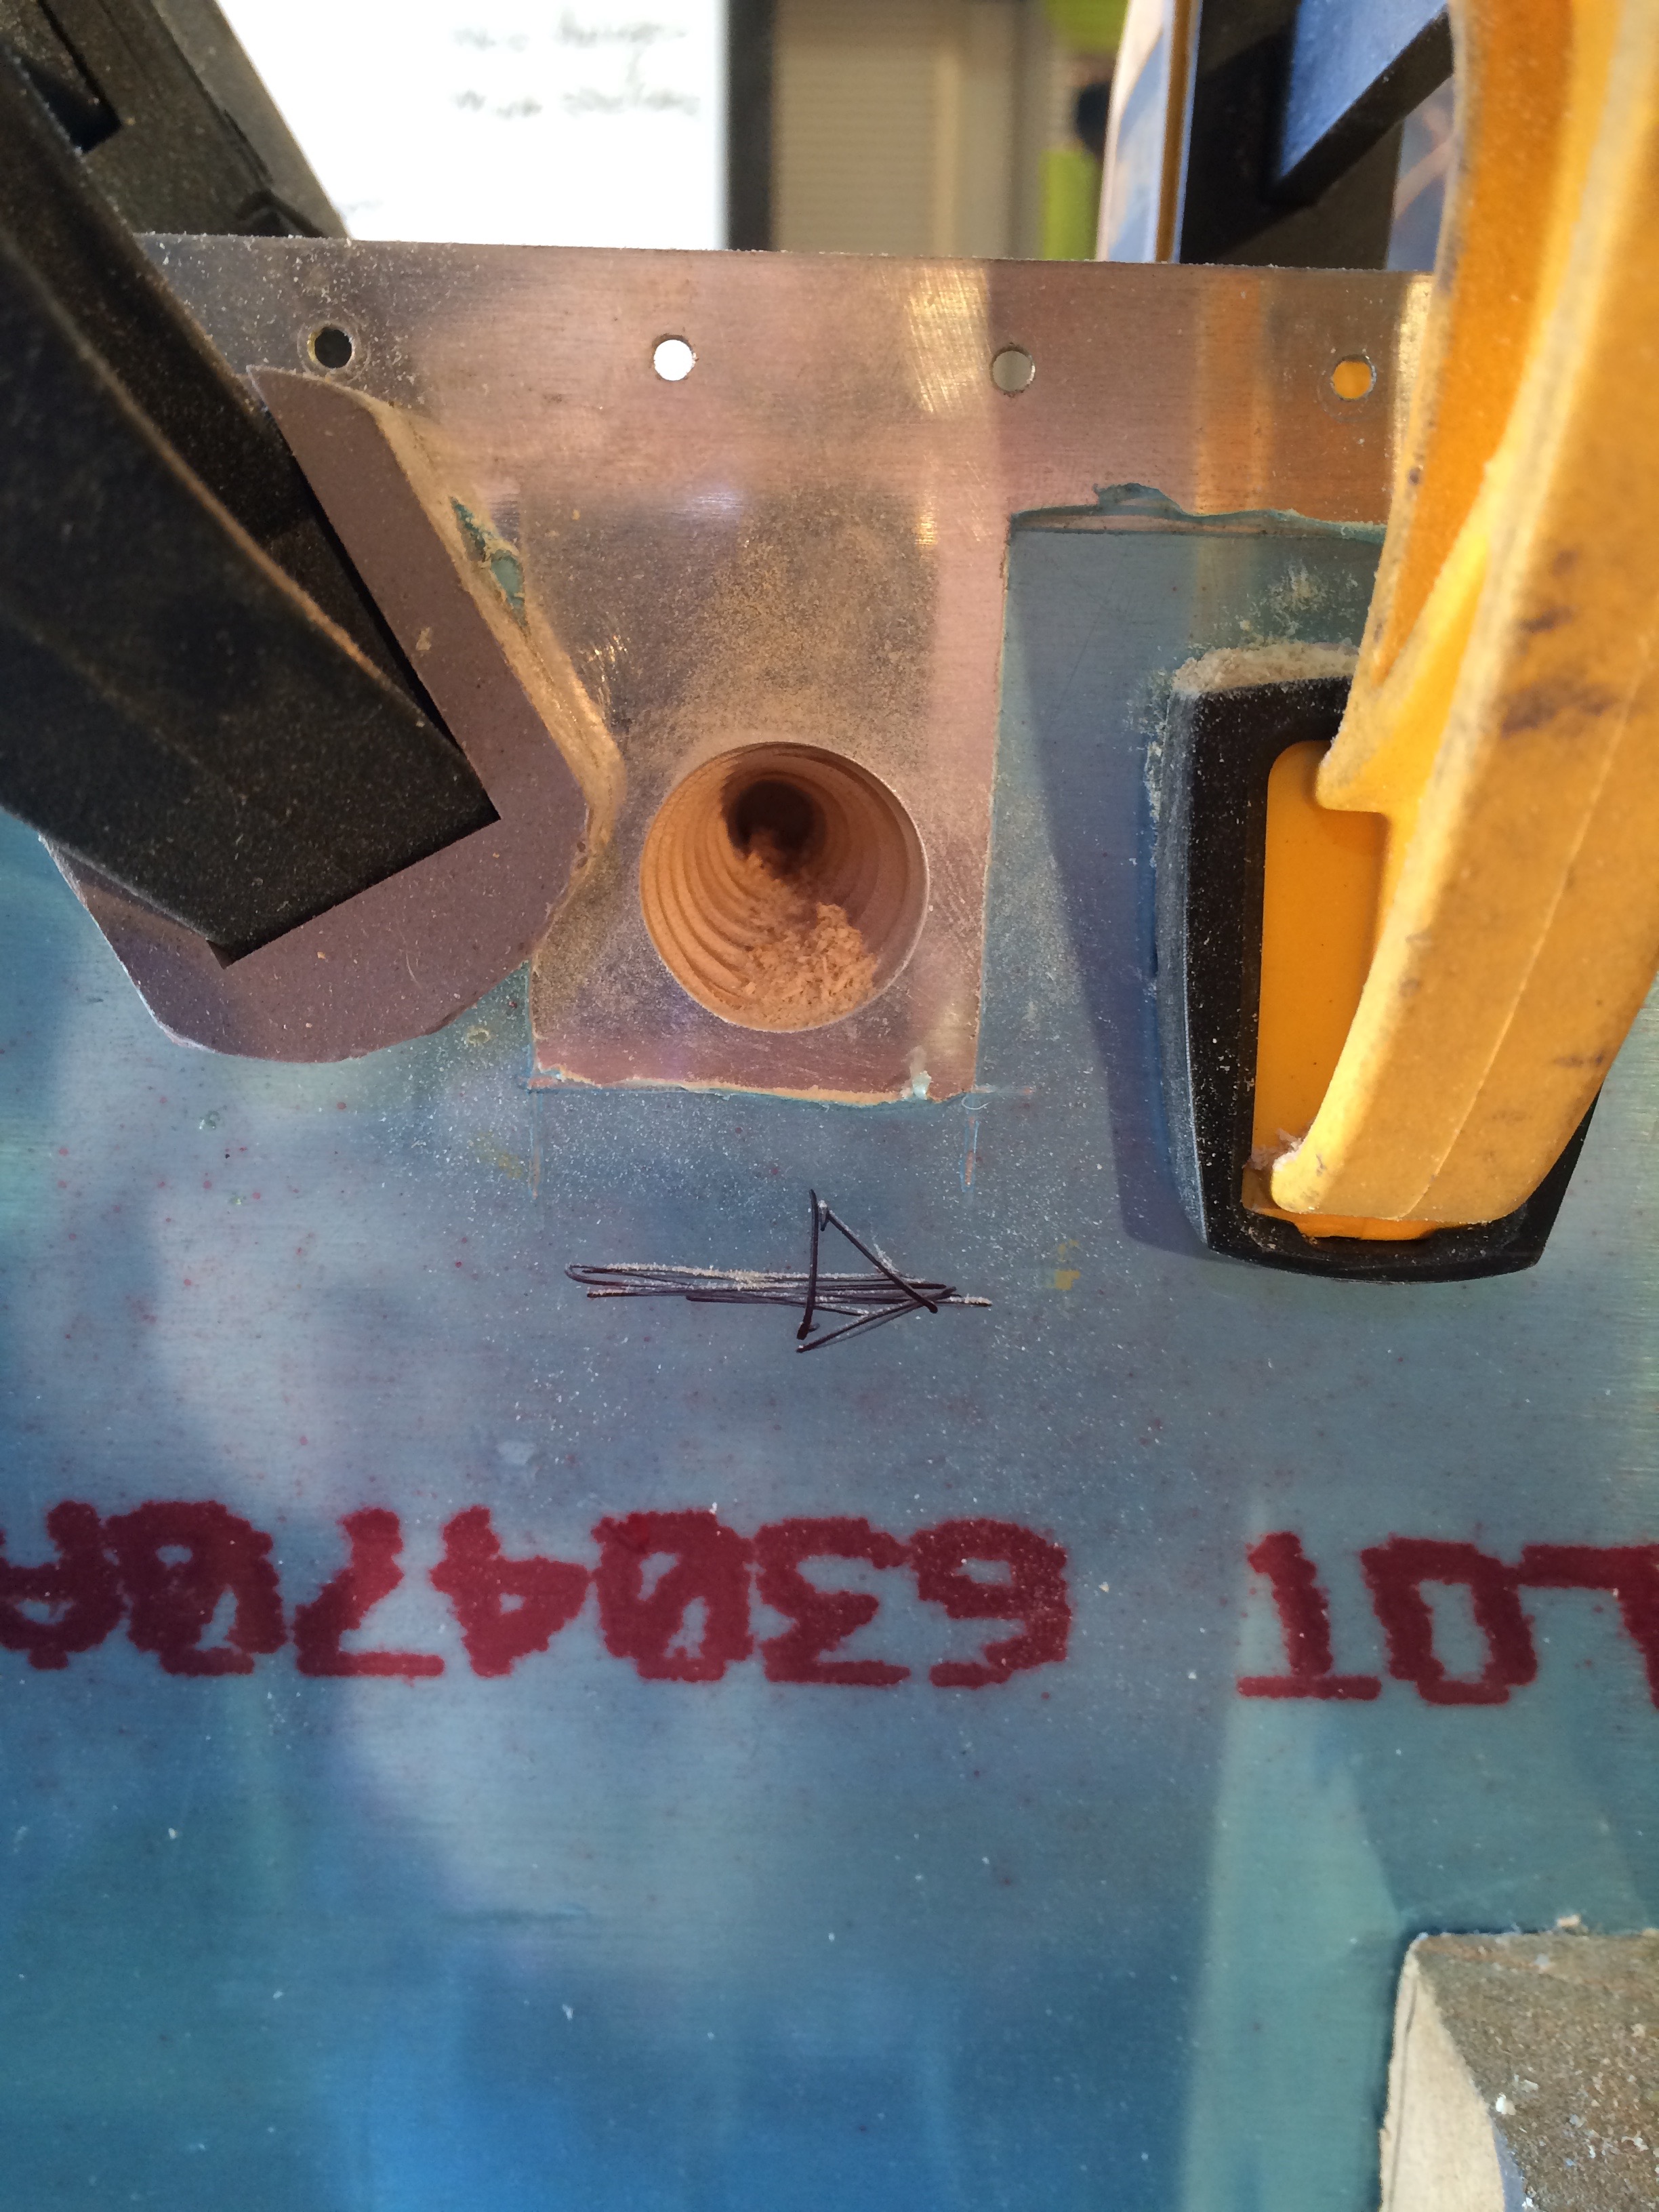
In some places, I scuffed up the ribs a little bit. I’ll go back over this with some primer.