Today was focused on getting the bottom inboard skin riveted on the right wing. This was easily the most challenging part of the project thus far.
To get the day started, I finally got around to deburring the right bottom inboard skin. After doing an inspection of the wing, I got the skin riveted to the skeleton.
I skipped the rib that’s most inboard because those rivets can easily be set with a squeezer. The second row was somewhat challenging because the rivets are set blind with the bucking bar. You have to slide your arm through the inboard rib lightening holes and feel for the proper rivet with the bar. Setting the rivets is done by feel and instinct rather than any visual method. After doing a fair job on the rib #2, I moved to rib #3. Setting the rivets along the third row was even harder than the second row because I had to slide my bucking arm through two ribs to access the proper rivets. Setting the rivets was most difficult at the aft end of the wing, but got easer as I moved towards the front. By the end of the day, I only got 2.5 ribs done. I’m sure some of the rivets will need to be replaced. Fortunately, all subsequent riveting should be much easer on this wing due to the greater spacing between outer ribs. 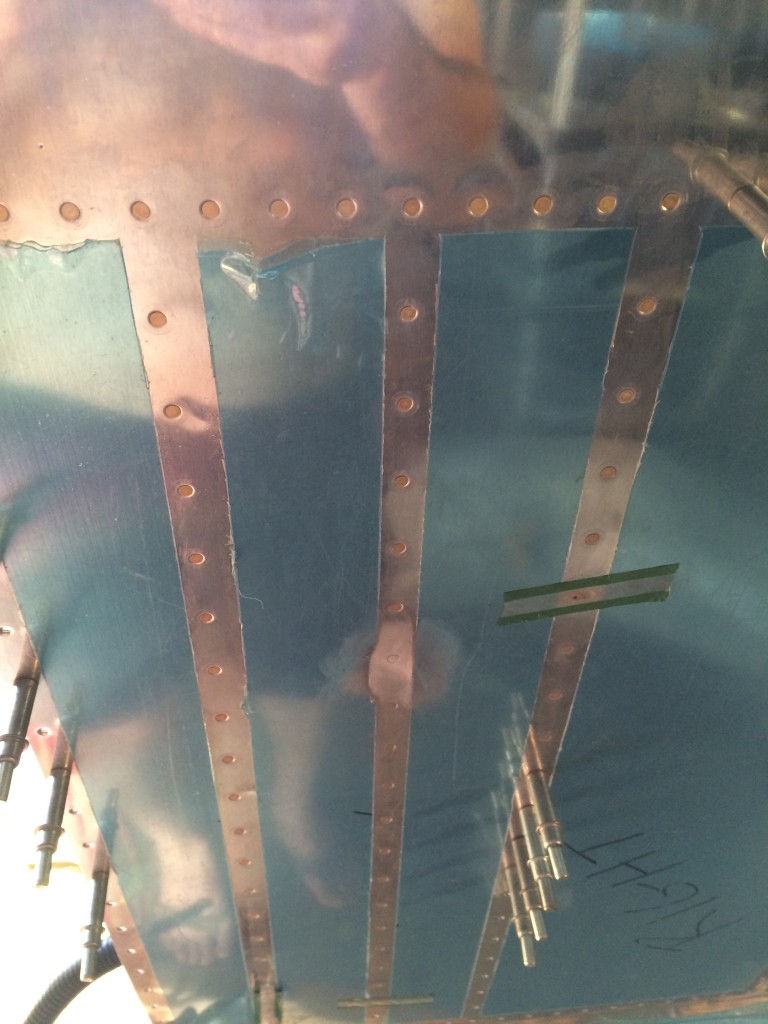
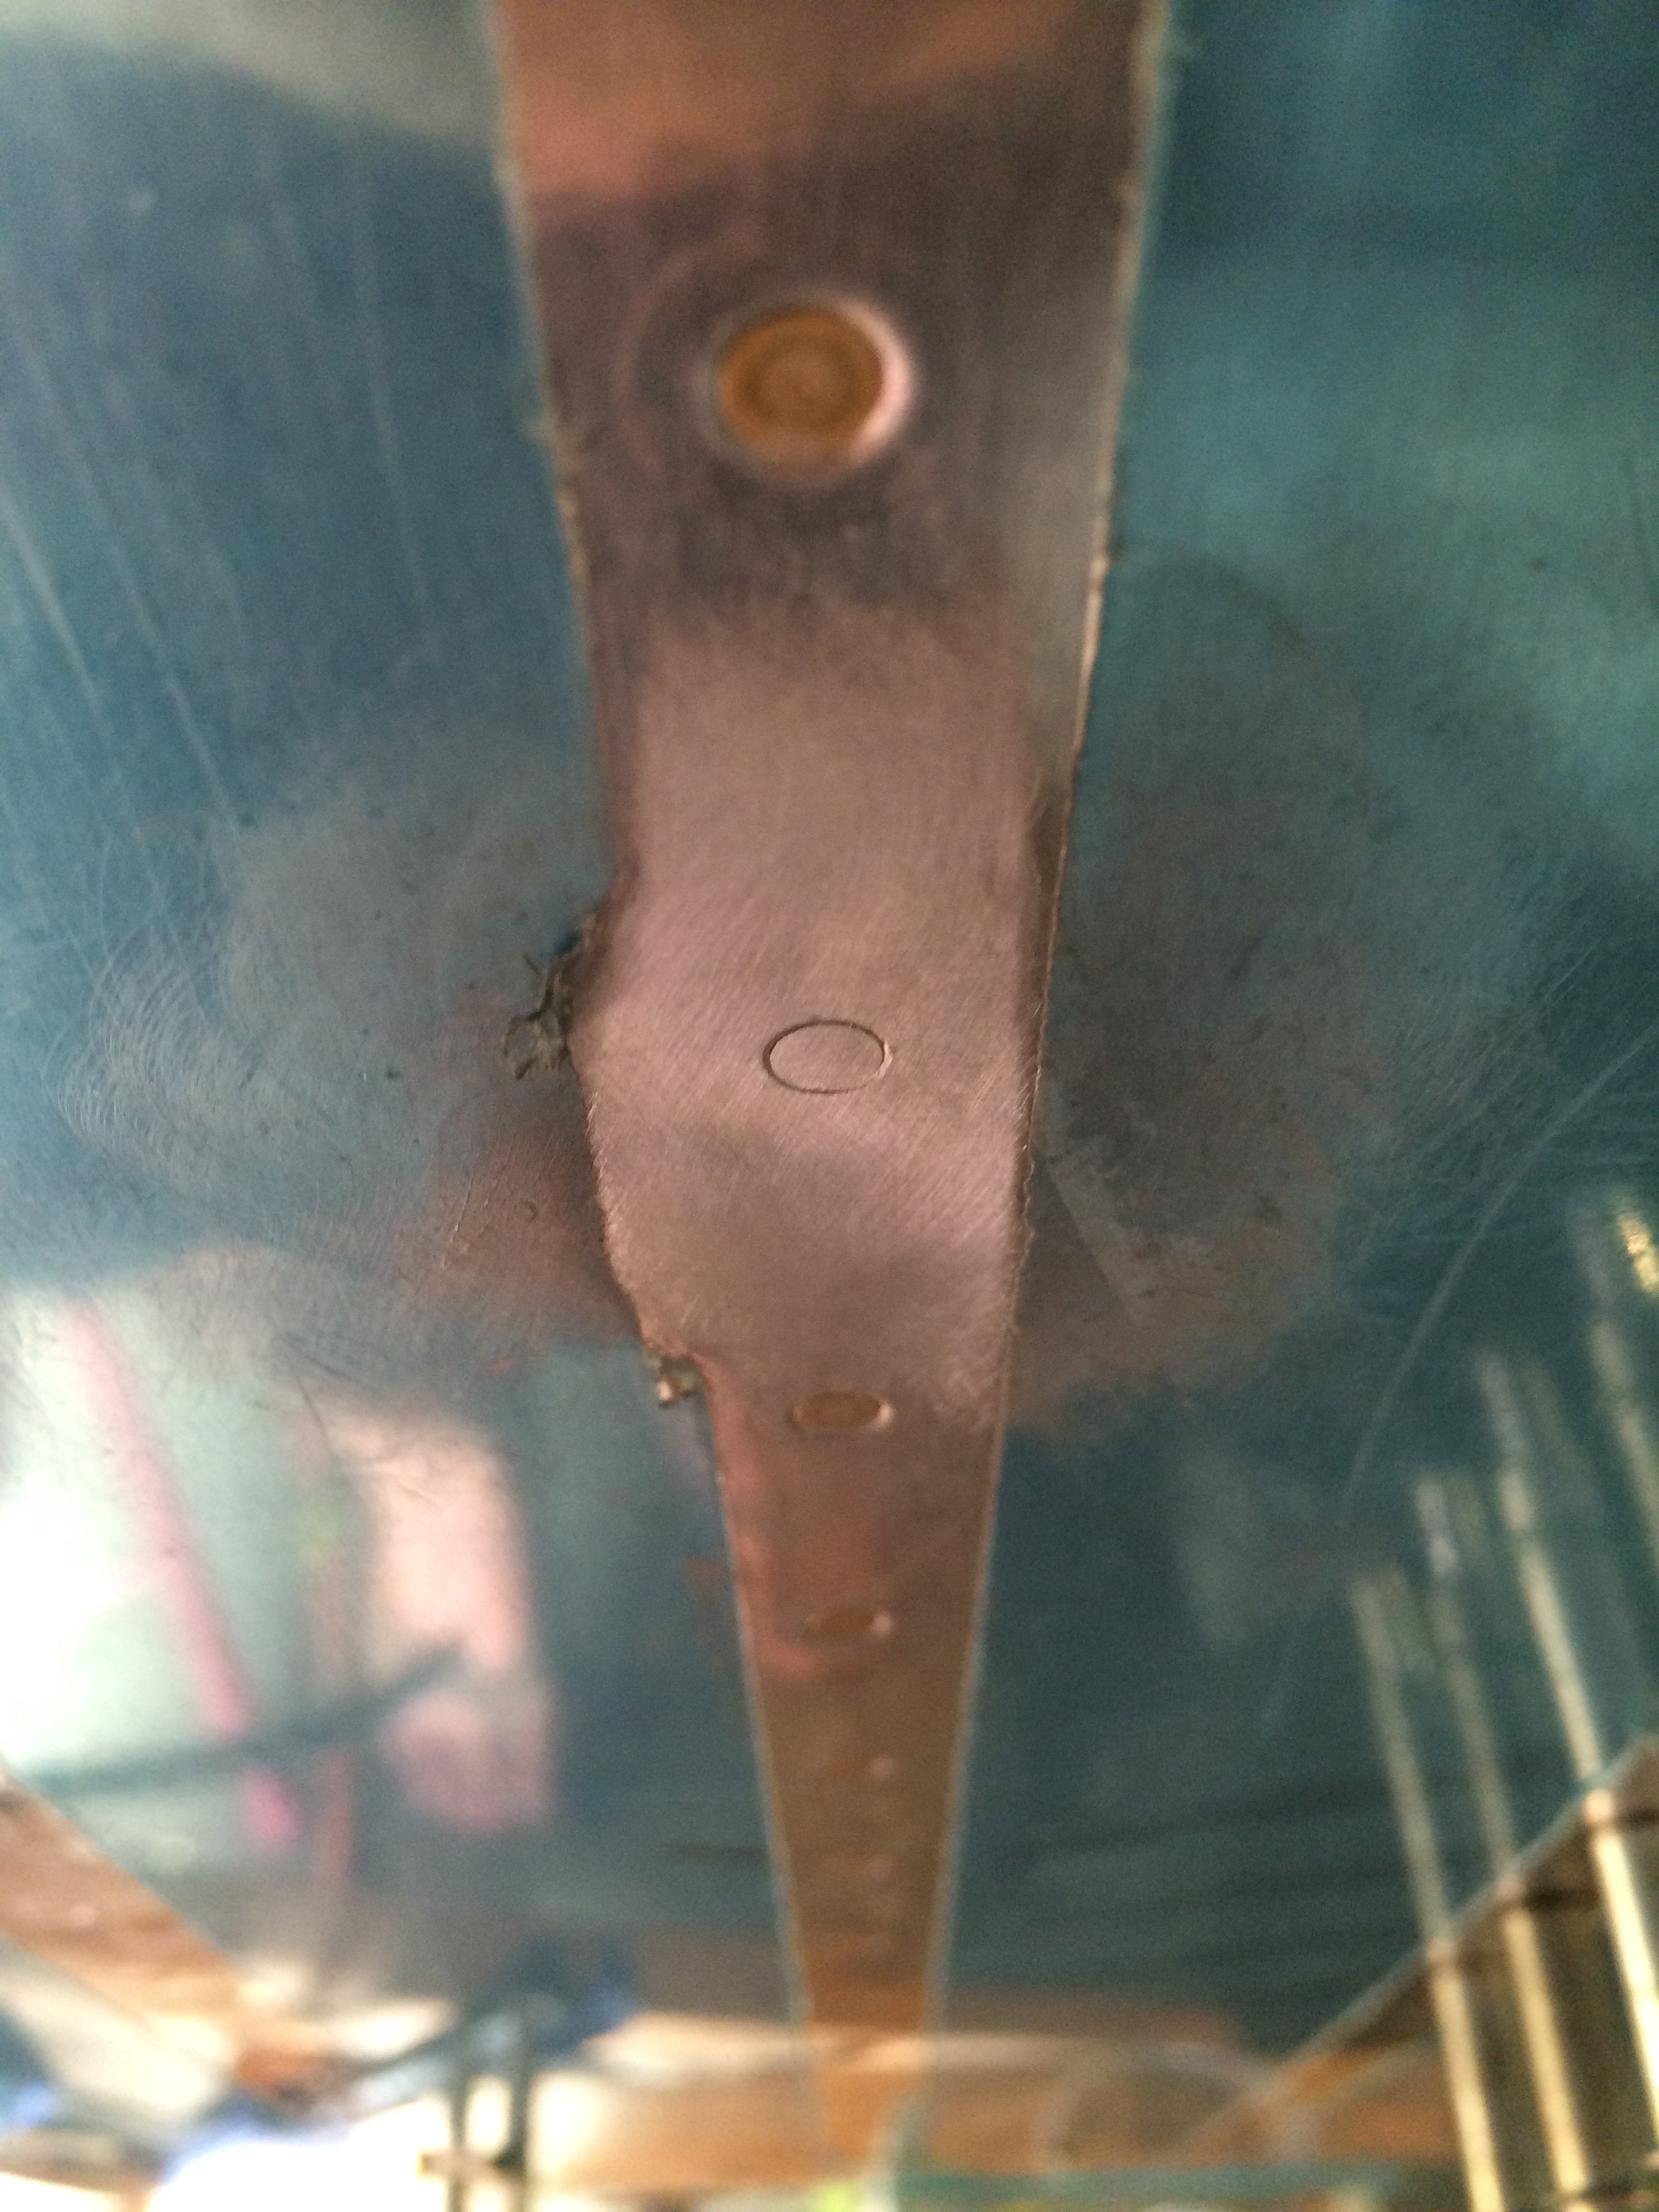
While setting one of the rivets, my rivet gun was not quite perpendicular to the wing skin. This left a nasty scratch in the skin. I blended out the scratch, but there’s still a slight dent in the skin. I think the best I can do is fill in the dent later. For future prevention, I think the solution is to use a swivel head rivet set.