Today actually felt like a decent victory. My progress on the airplane has been so minimal lately, so completing a tricky part of the project feels pretty good.
I got the right canopy lug drilled. These parts are really annoying. It’s not clear how much resistance there should be between the latch and the lug, so I just tried to figure out a placement that had a small amount of friction. The trick I used for for drilling the brackets was the following:
- Drill an oversized (#30) hole in the lug approximately where the bottom hole is located.
- Tape a square sheet metal “washer” with a #42 hole to the lug. The holes should be concentric.
- Cleco the lug/sheet metal washer to the canopy.
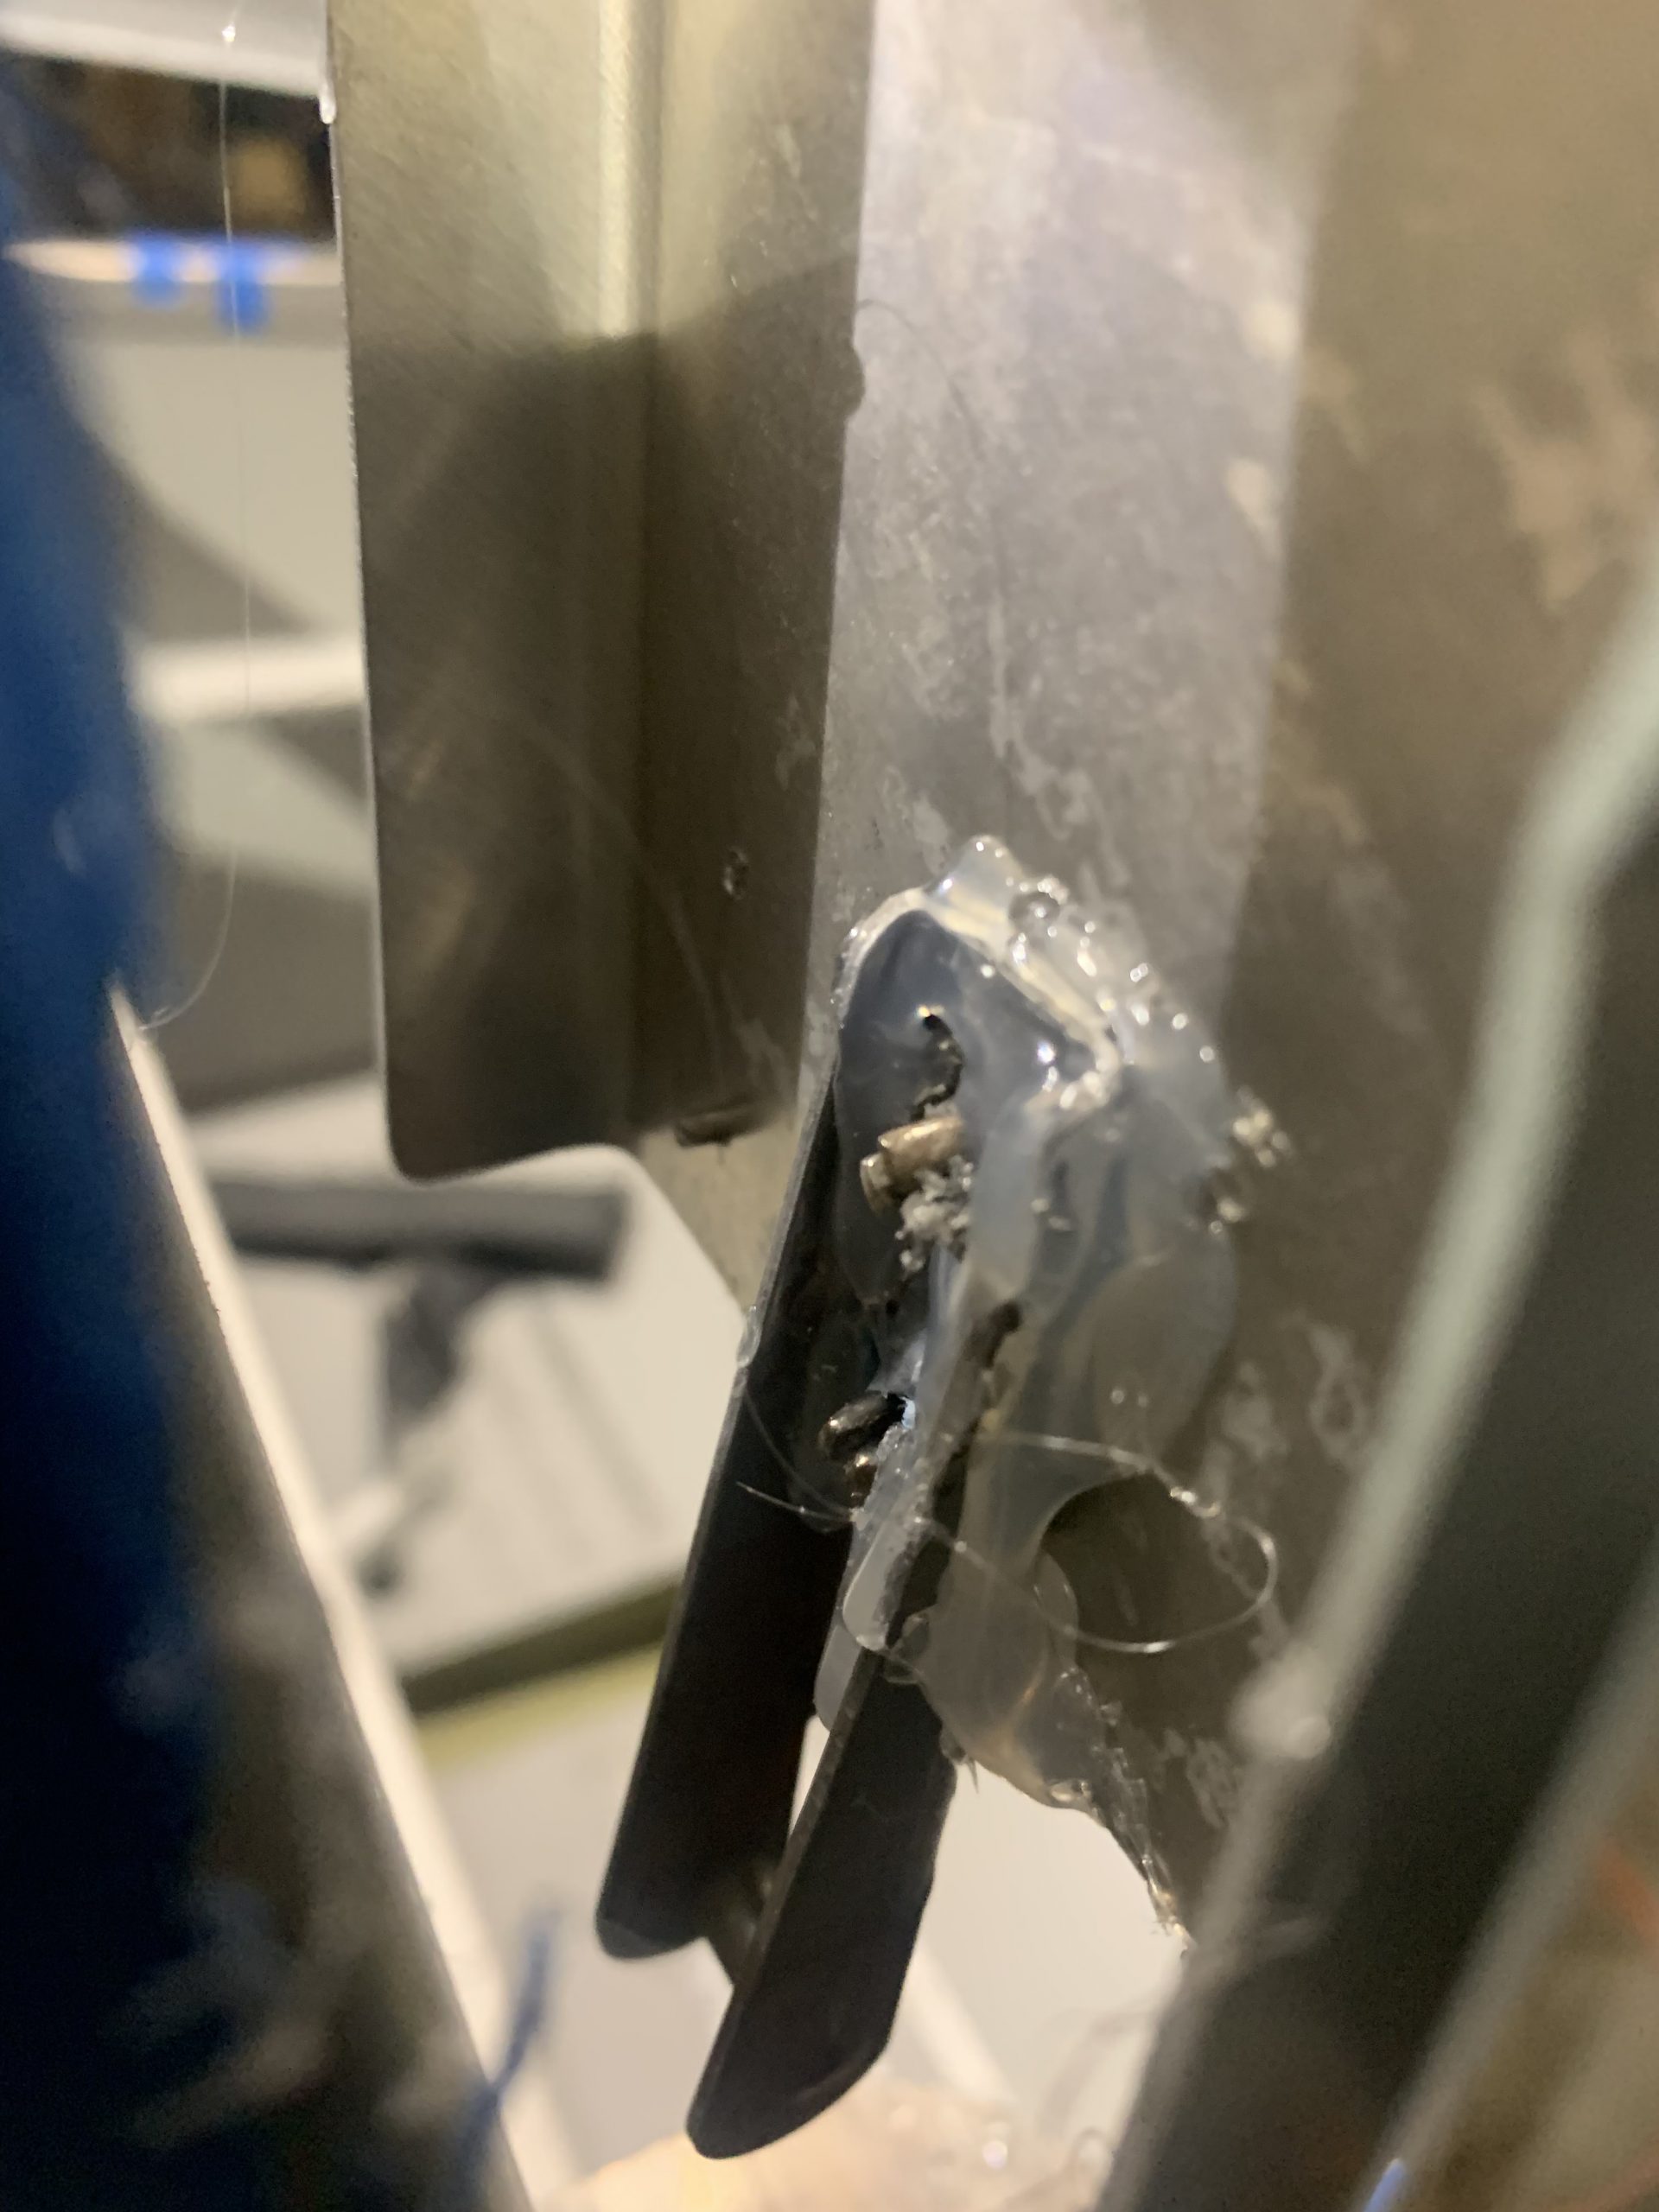
- After determining the appropriate location for the bracket, hot glue gun the bracket in place.
- Remove the canopy from the frame
- Drill out the upper hole in the frame
- Drill out the lower hole in the frame
The glue gun is a the key step. This allows you to place the lug and drill it out while you are outside of the cockpit.
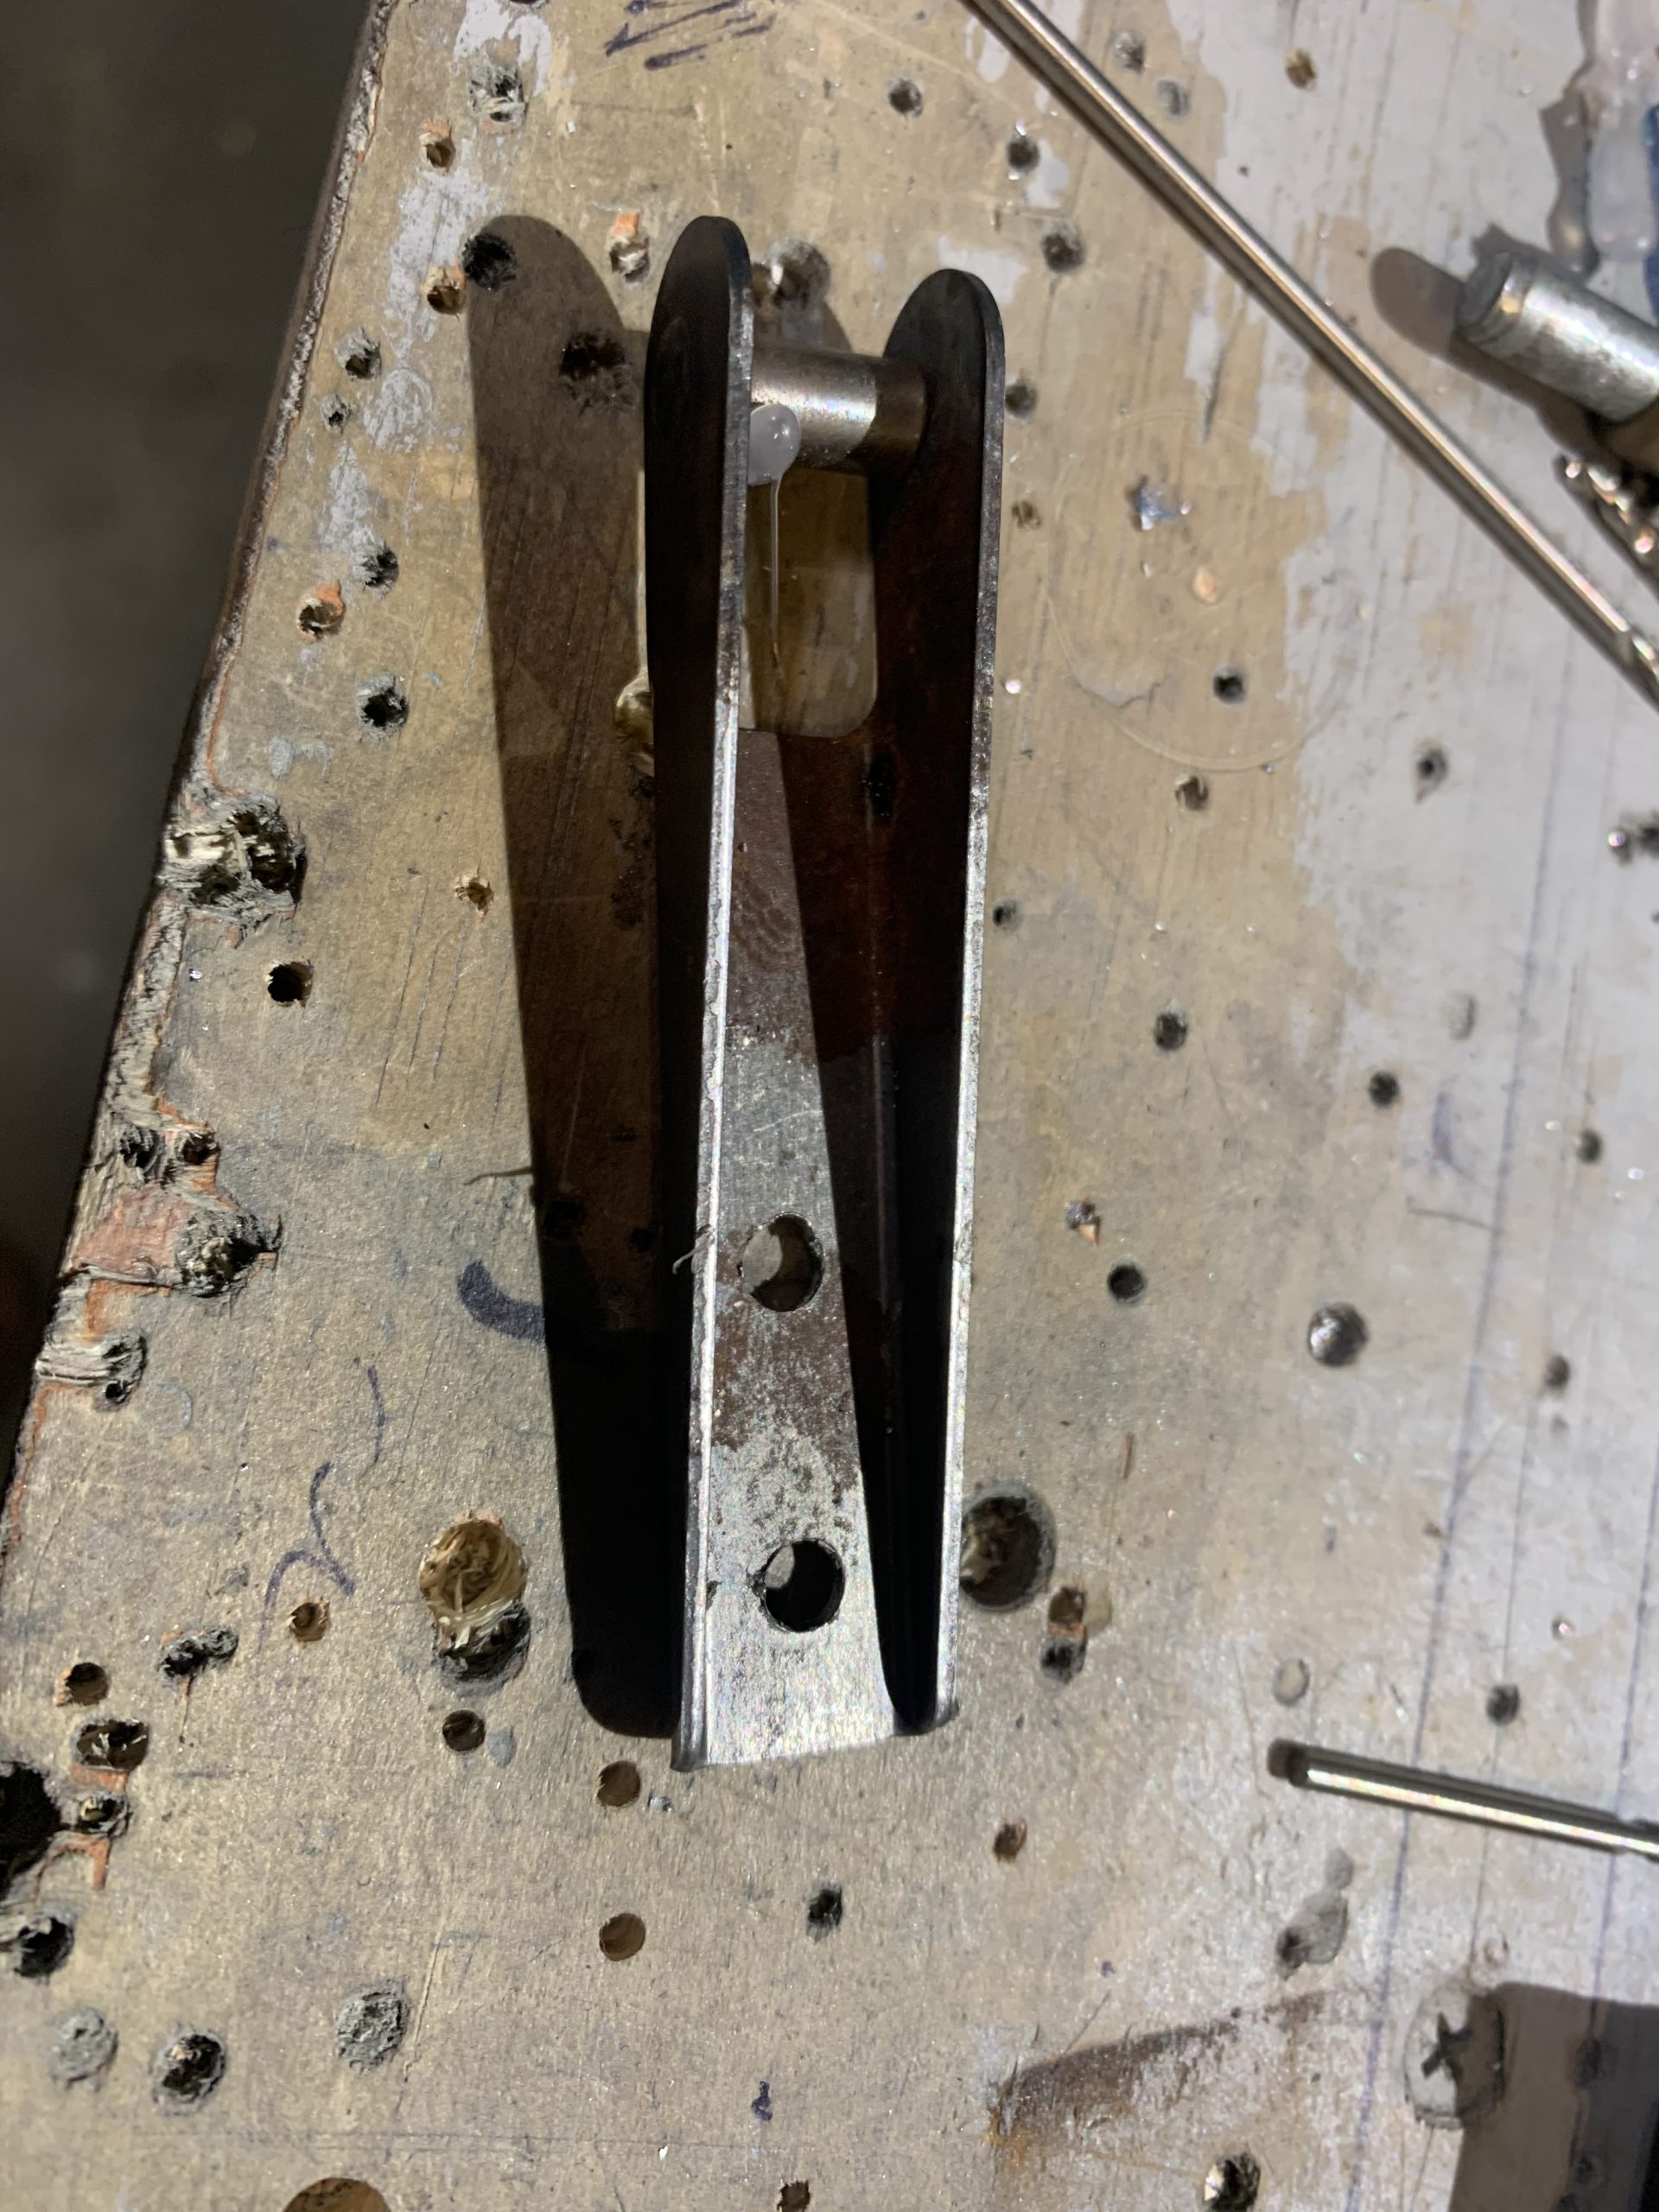
Here is the bracket after being glued in place.
The holes on the forward face were drilled to #12. The lug is clecoed in place.
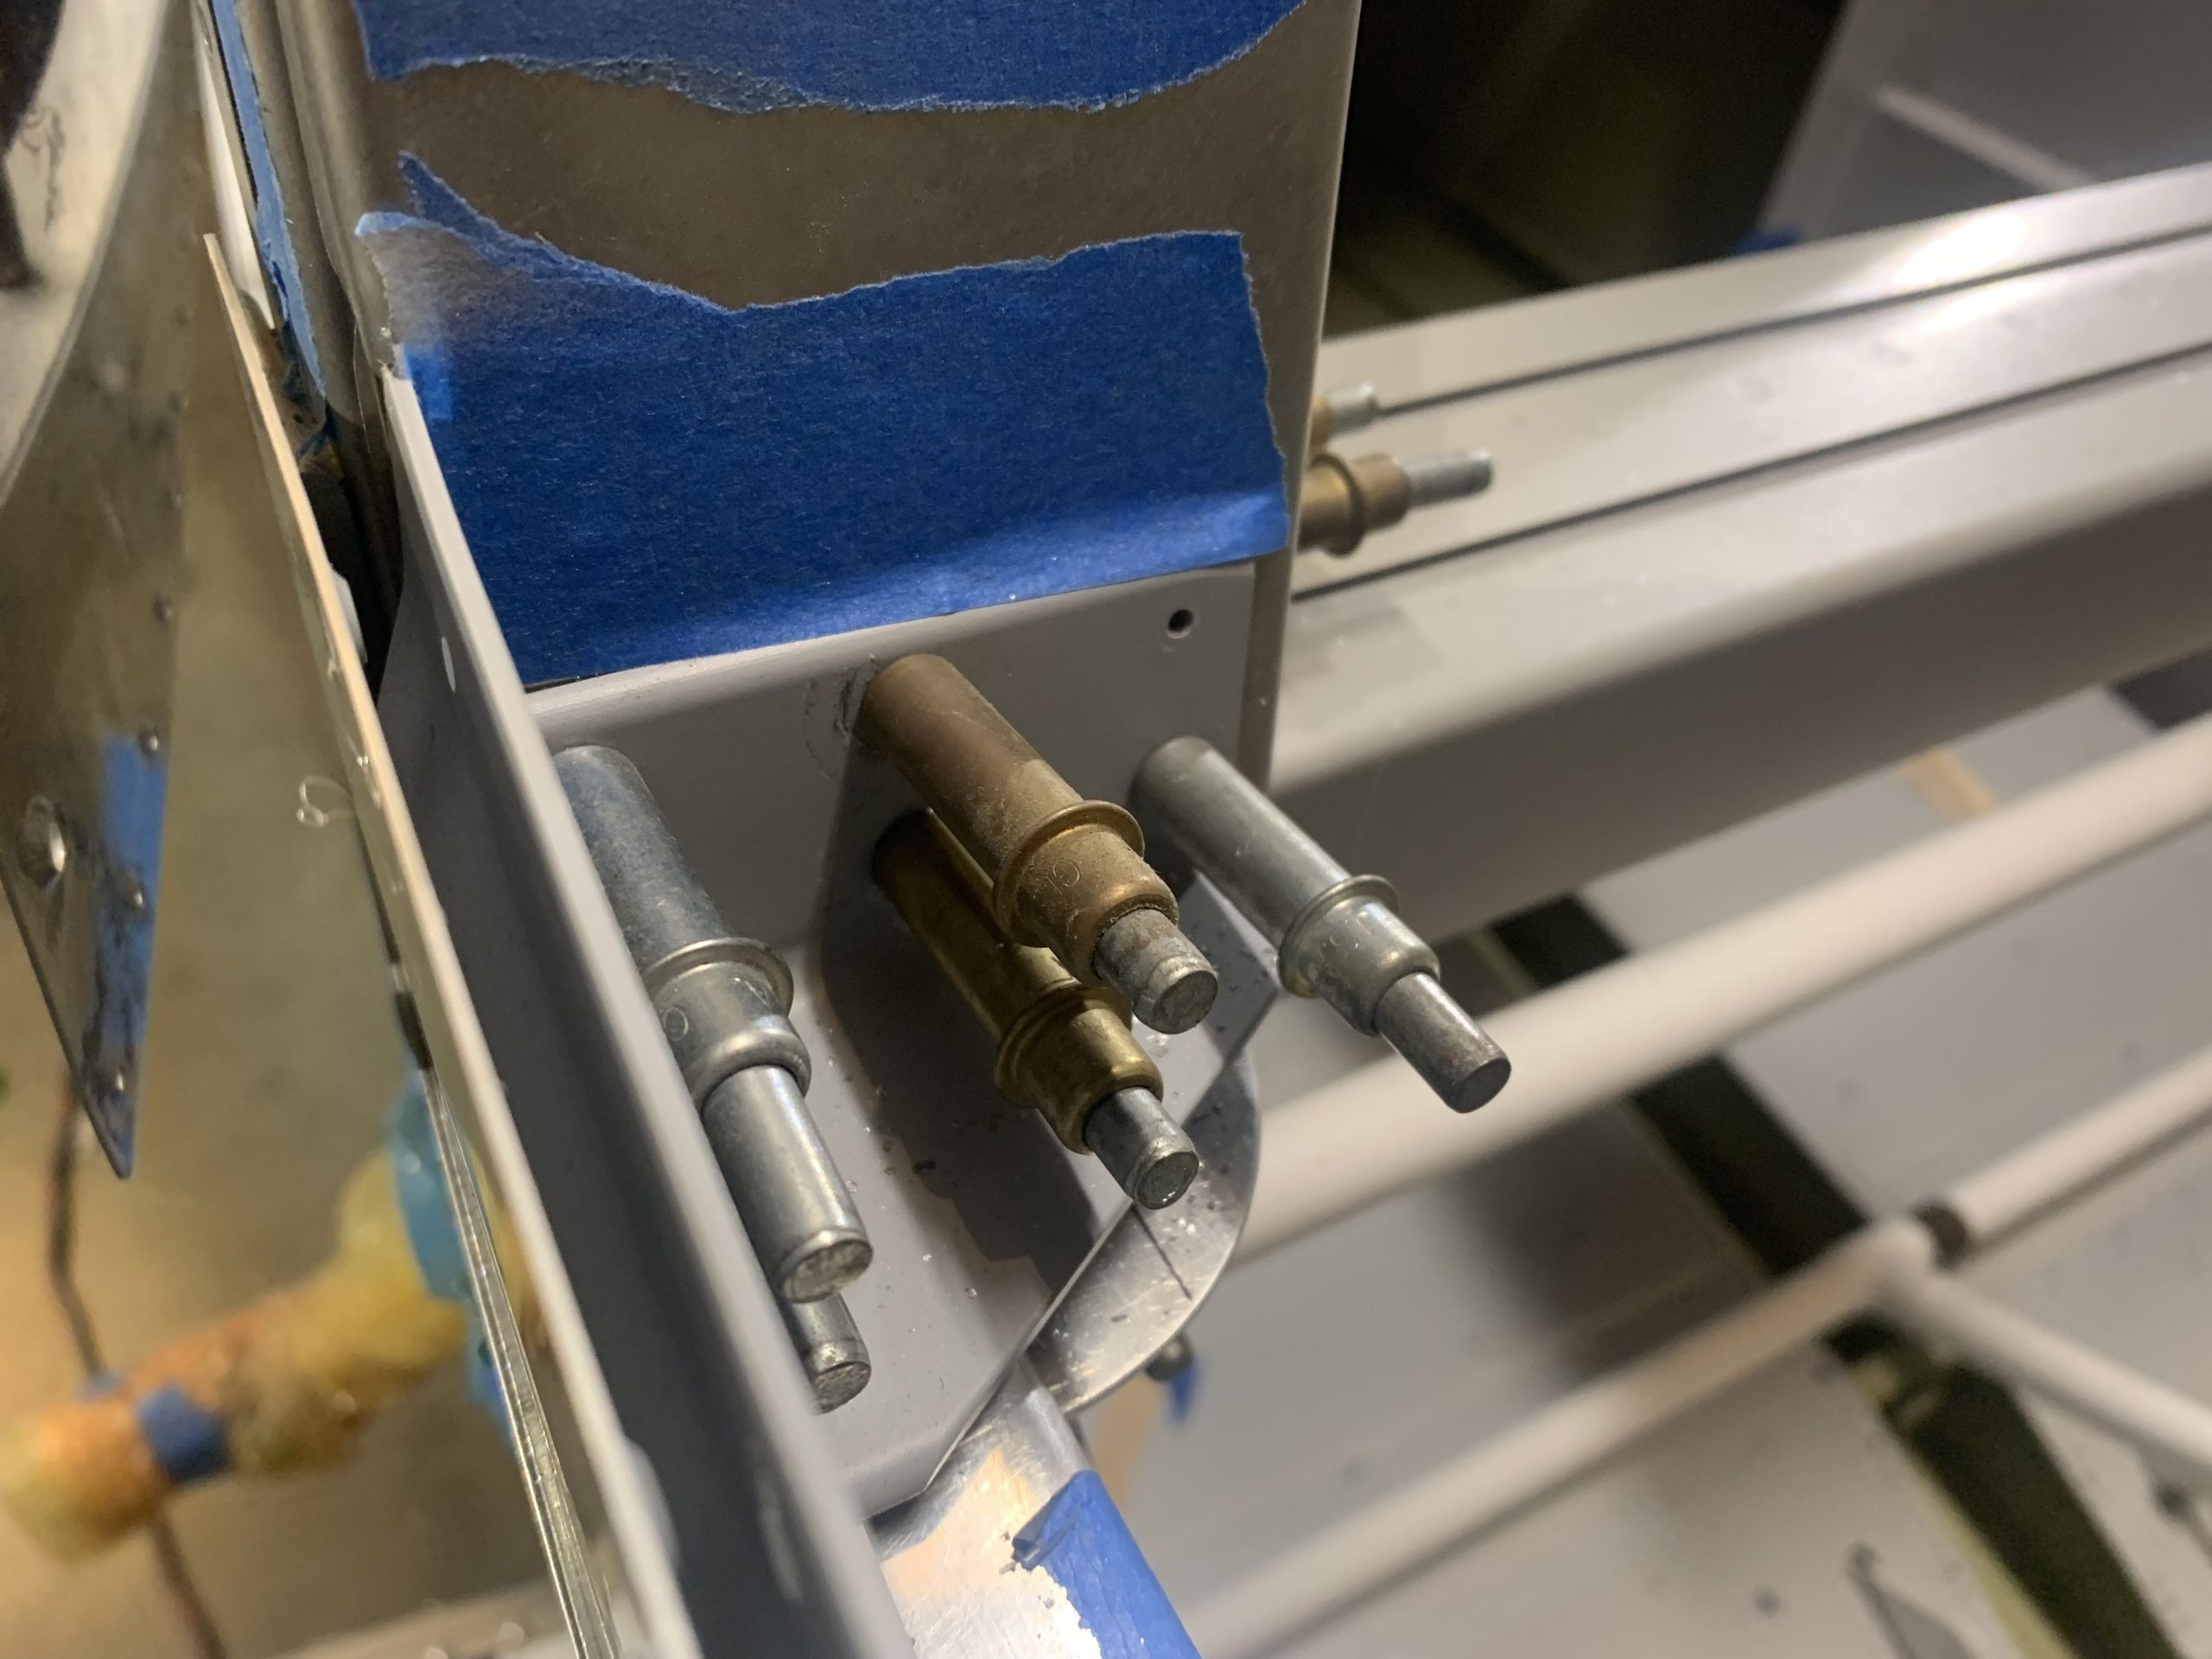
Here is the lug after being pulled off the frame. Looking good!