I was in Seattle over the last few days so I haven’t put any work into the airplane in a few days.
Now that I’m back, the first thing I did was disassemble the wing jig. This was a pretty fun job and it really open up the space in my hangar.
Before:
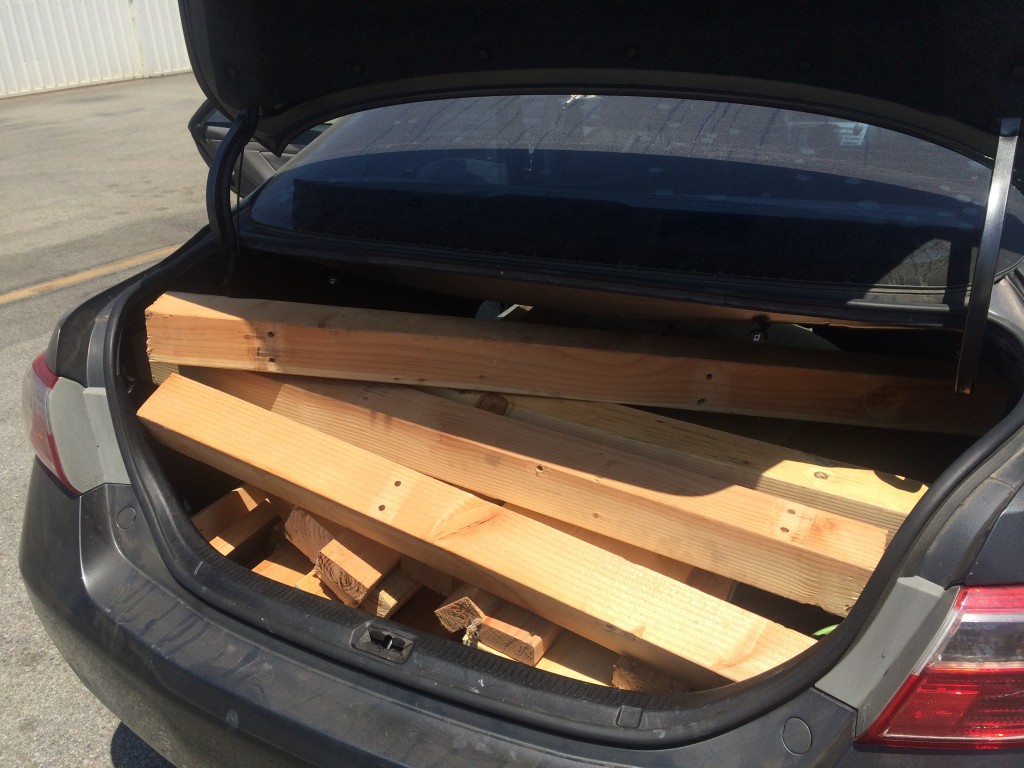
After:
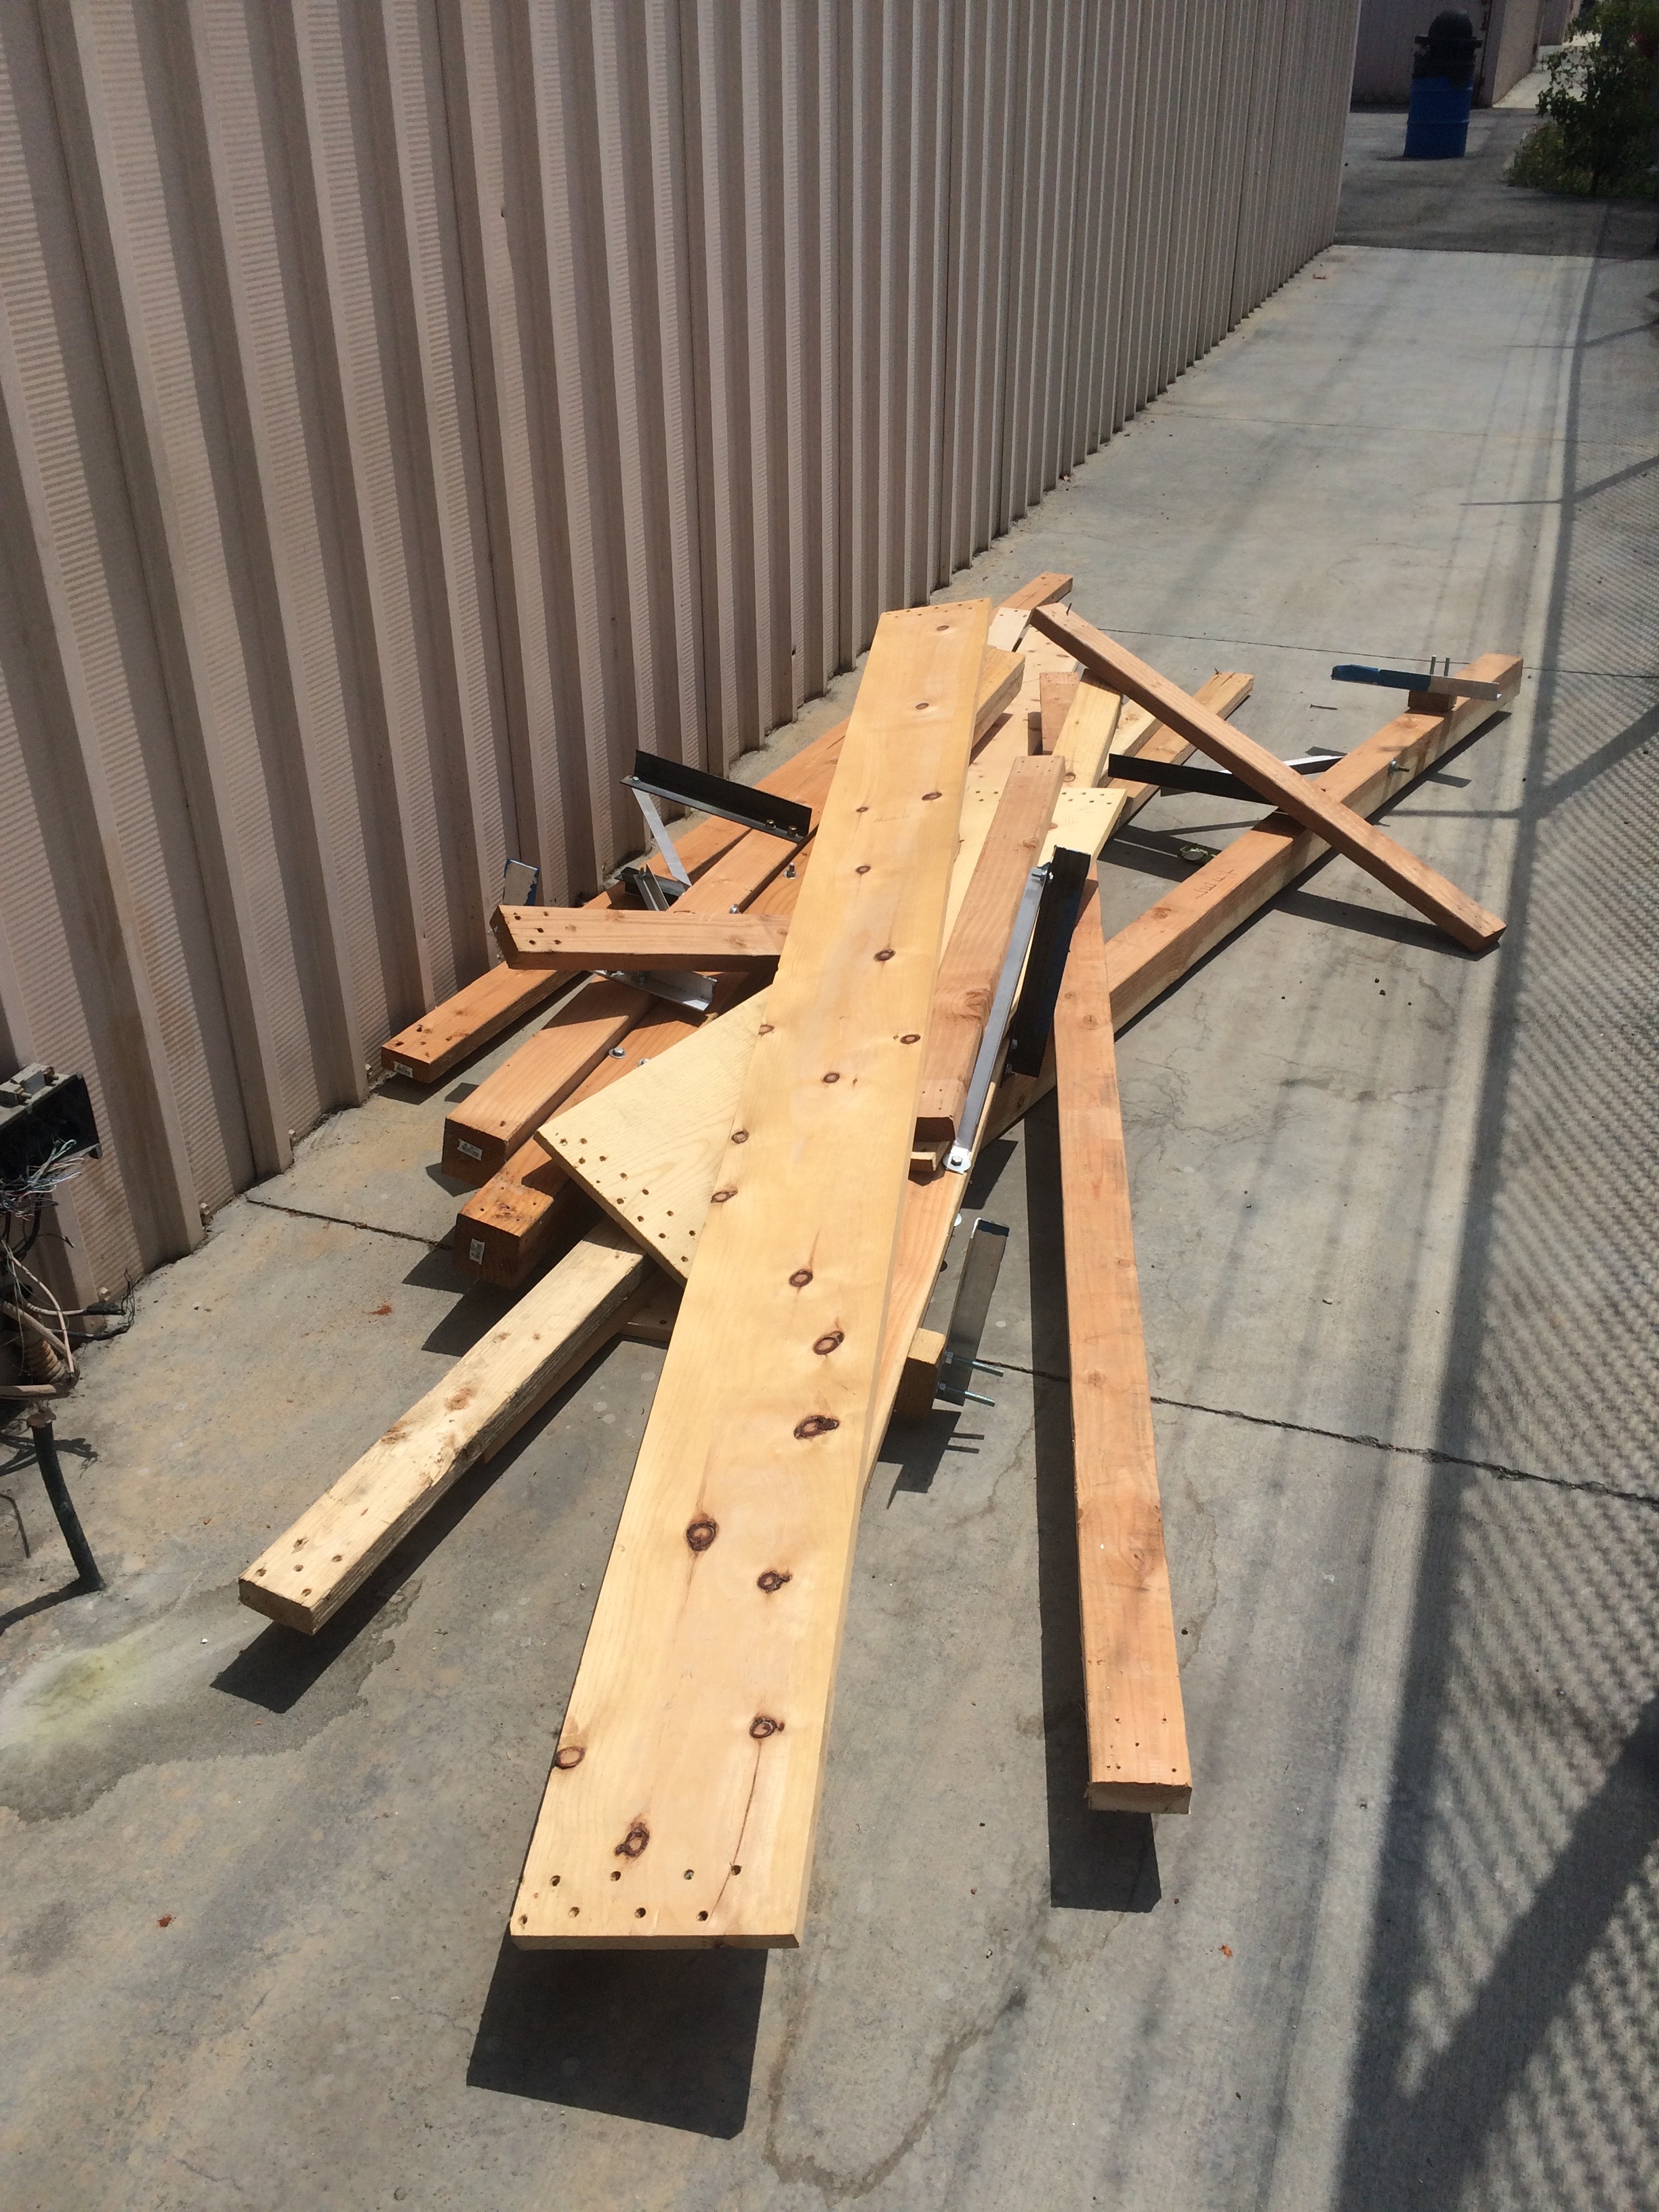
I used a circular saw to chop up all the wood so it would fit in my trunk.
With the wing stand out of the way, i got back to work on the actual airplane parts. One of my aileron brackets did not have any holes drilled. After fitting up the bracket to the wing to understand why there were no holes, I’ve come to the conclusion that it was simply a mistake on Van’s part. To fix this, I match drilled the blank bracket with the bracket that was already drilled. 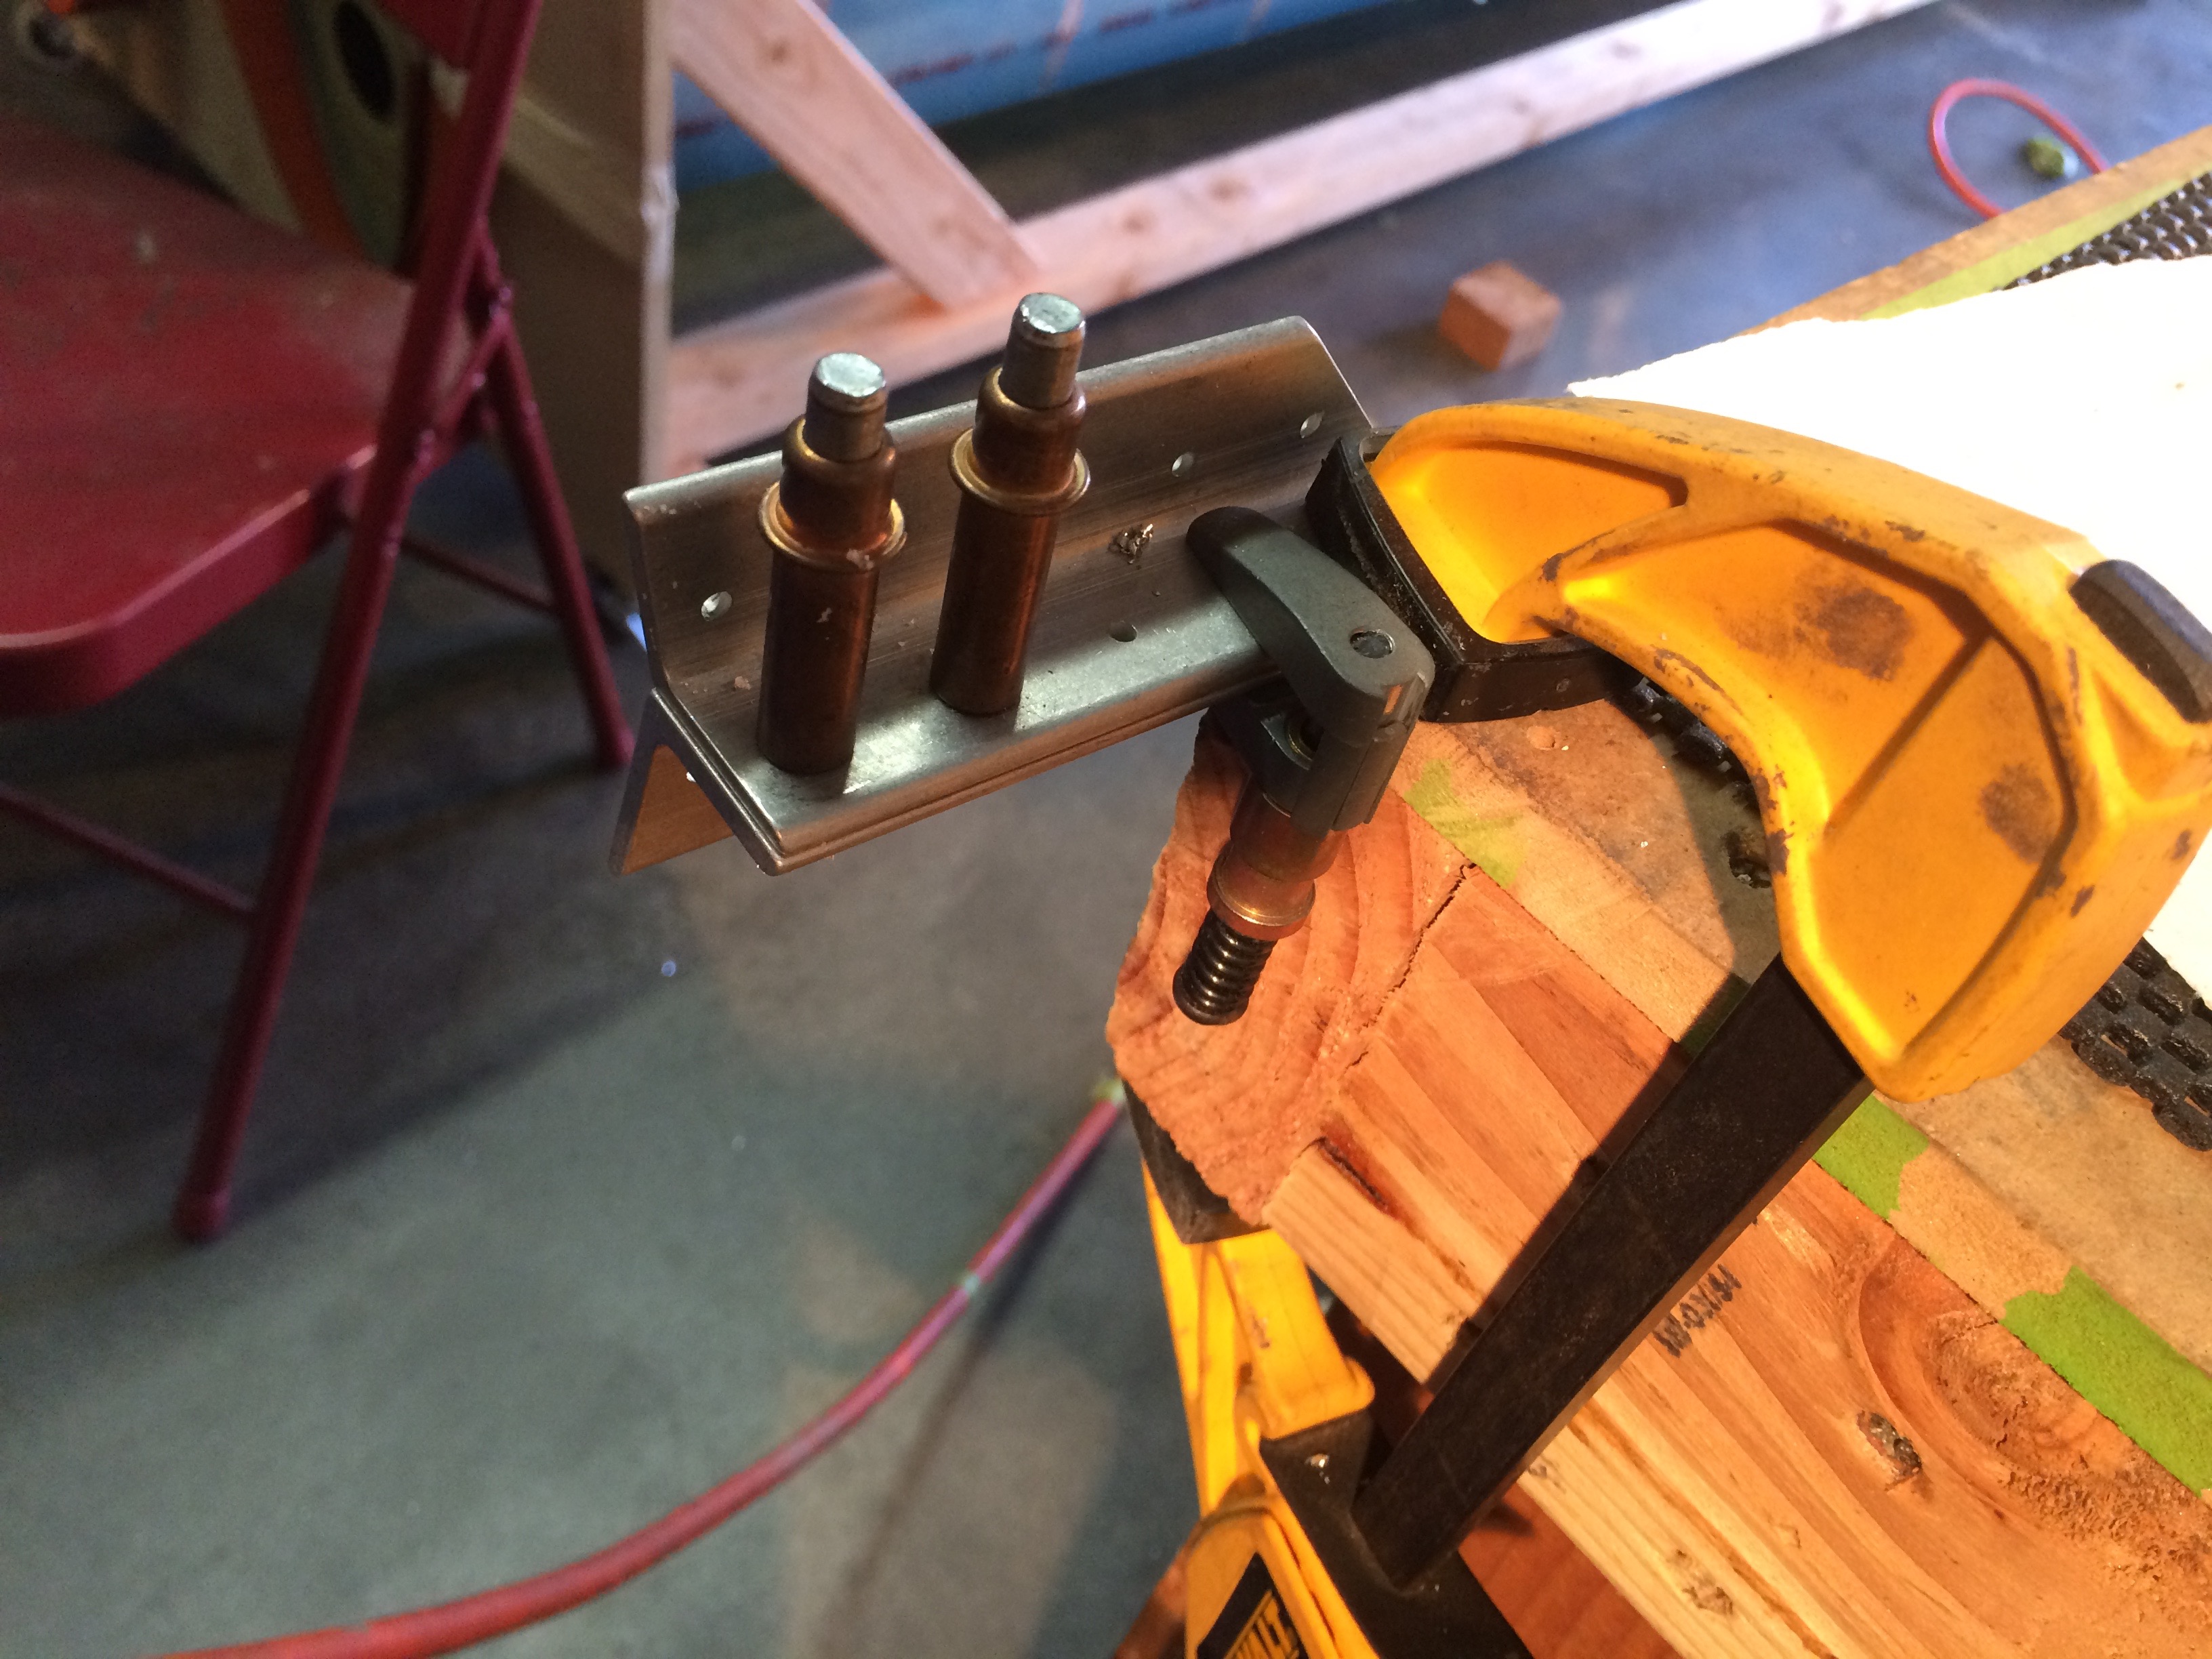
As other builders have done, I chamfered the edge of the aileron angle bracket. This will allow the bracket to sit flat against the rear spar and avoid interference with the flange bend radius.

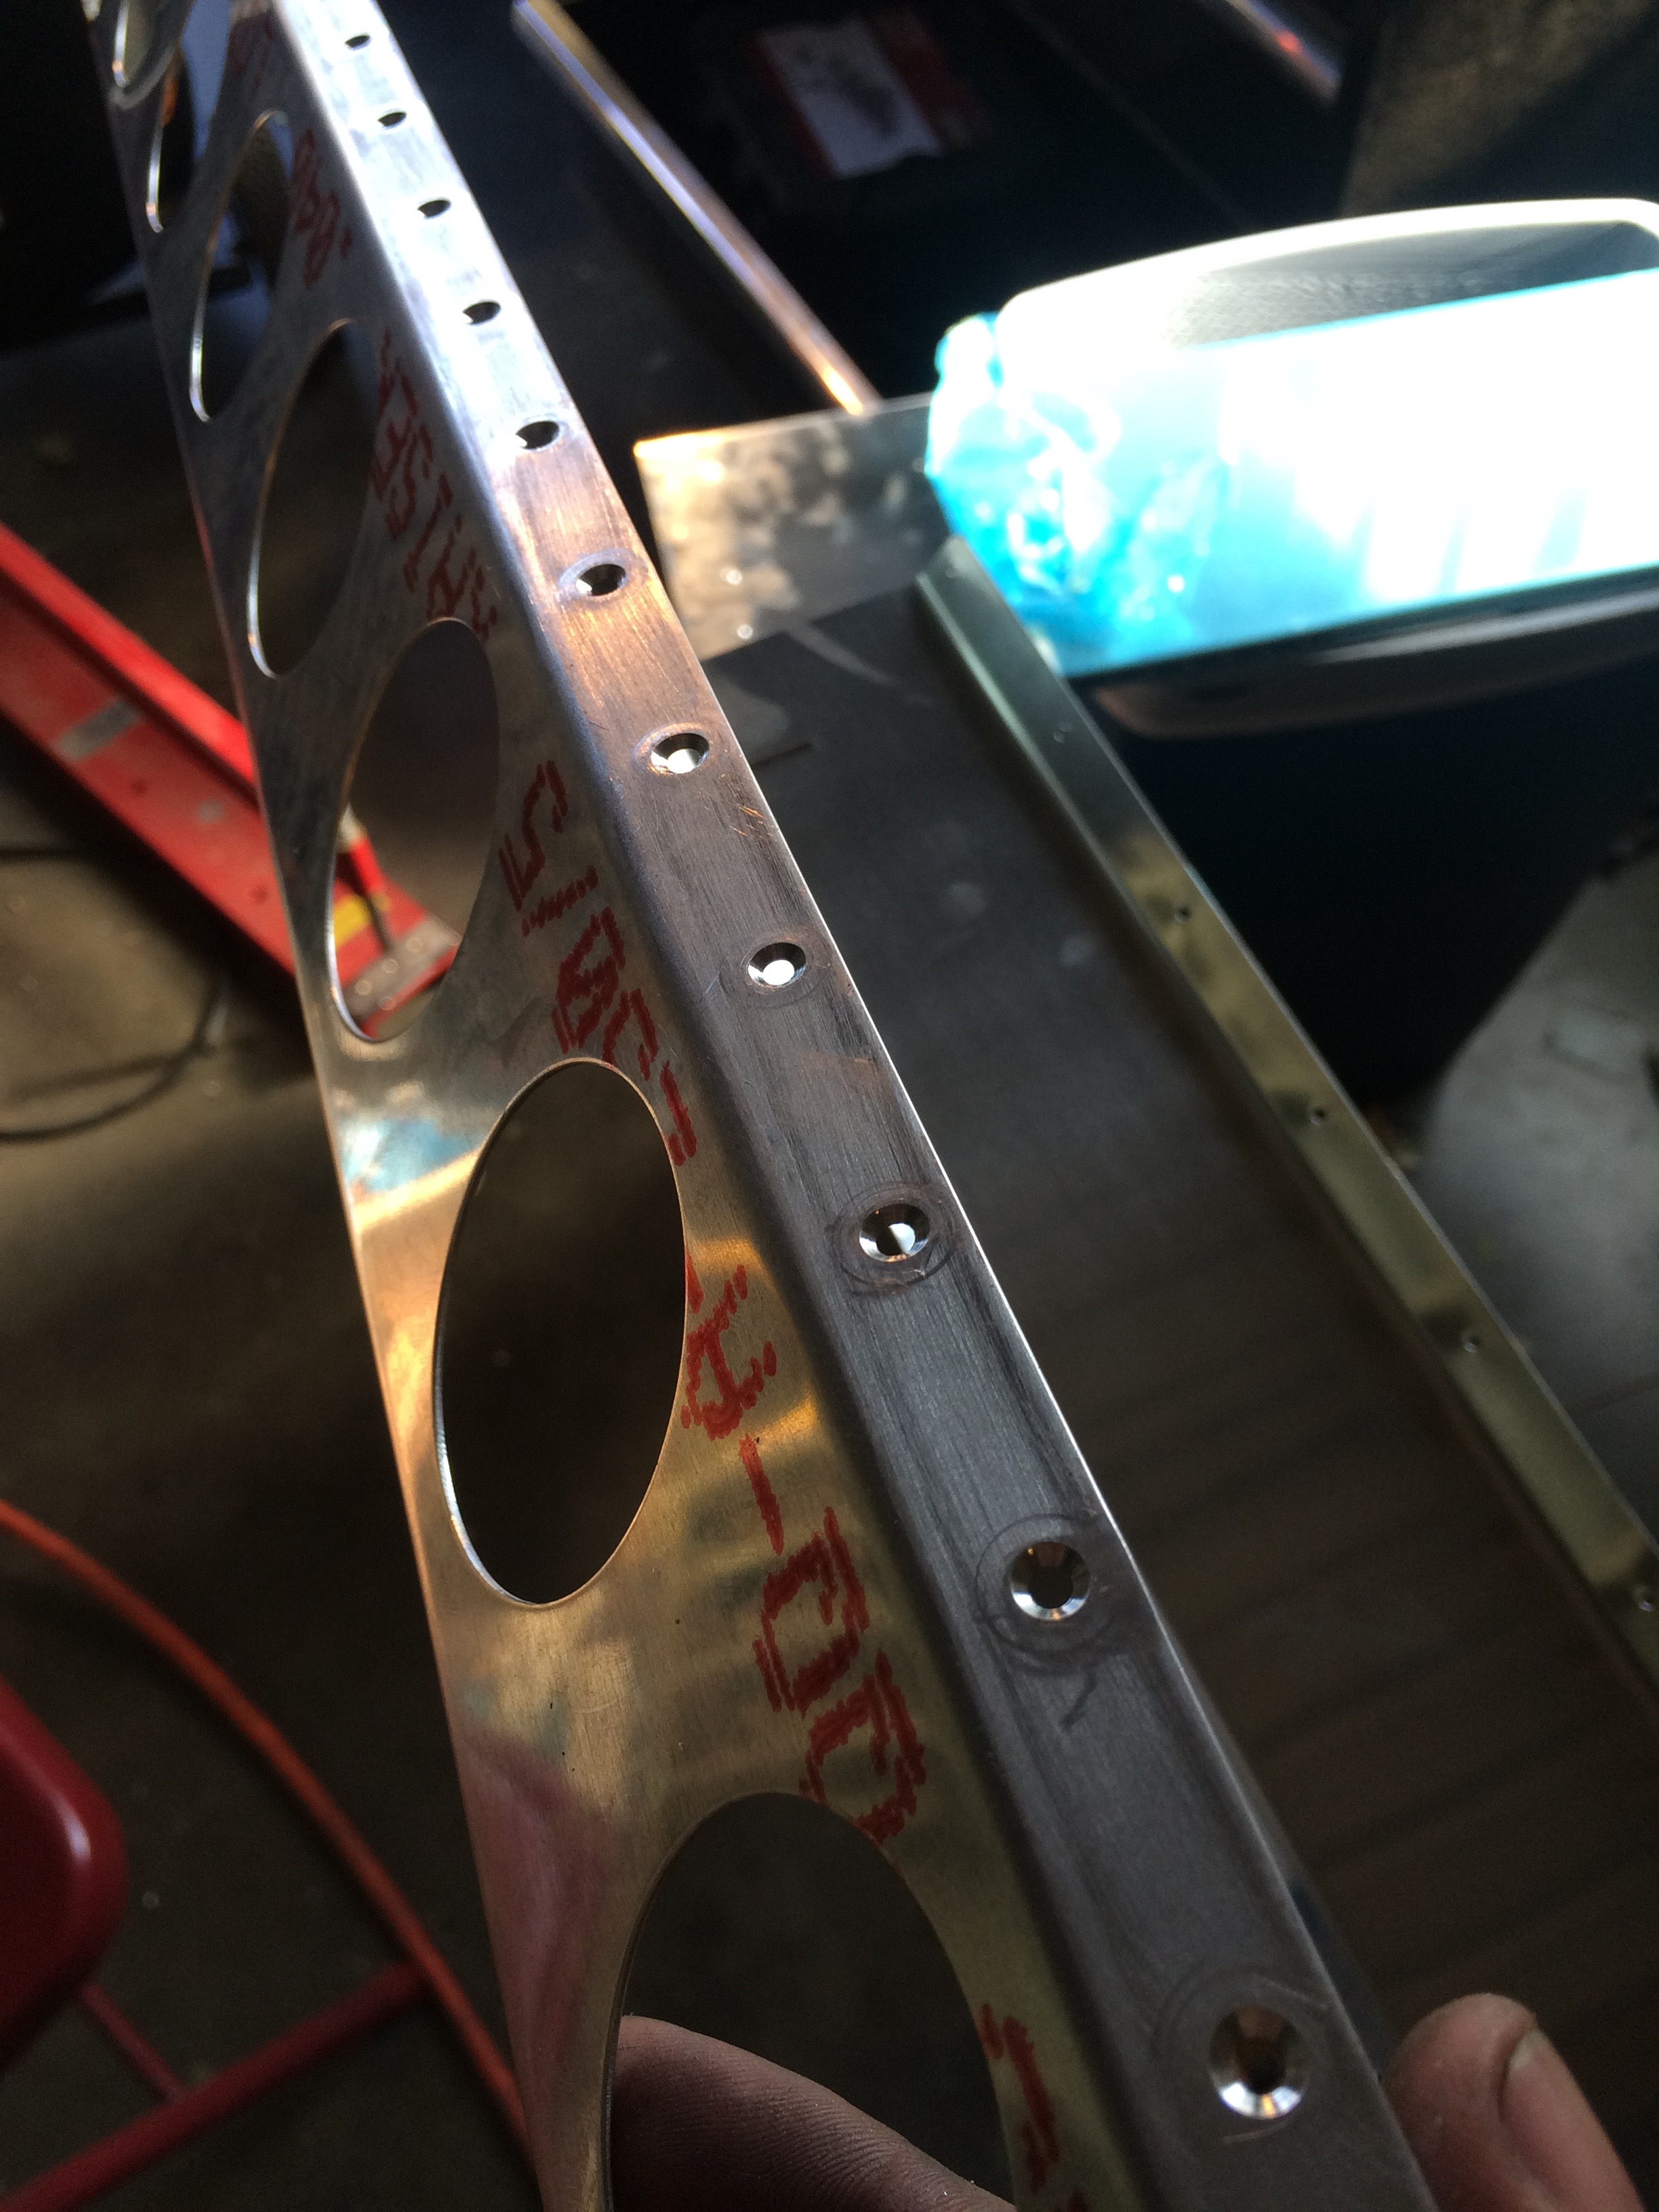
Vans has you remove a large section of material on the flap brace. This went fine, but one hole is pretty close to the edge. I’m going to say this is fine because multiple builders have shown the same edge distance.

I prepped the flap braces. I made a minor mistake on the right flap brace. I dimples the row of holes that interface with the bottom skin. Since the flap piano hinge will sit on the raised side of the dimples, it’s best if this surface is actually flat. I used my flush squeezer set to flatten each dimple and then I countersunk each hole. This will allow the dimples of the bottom skin to sit within the countersink.