I used the #12 reamer to open up the bracket holes.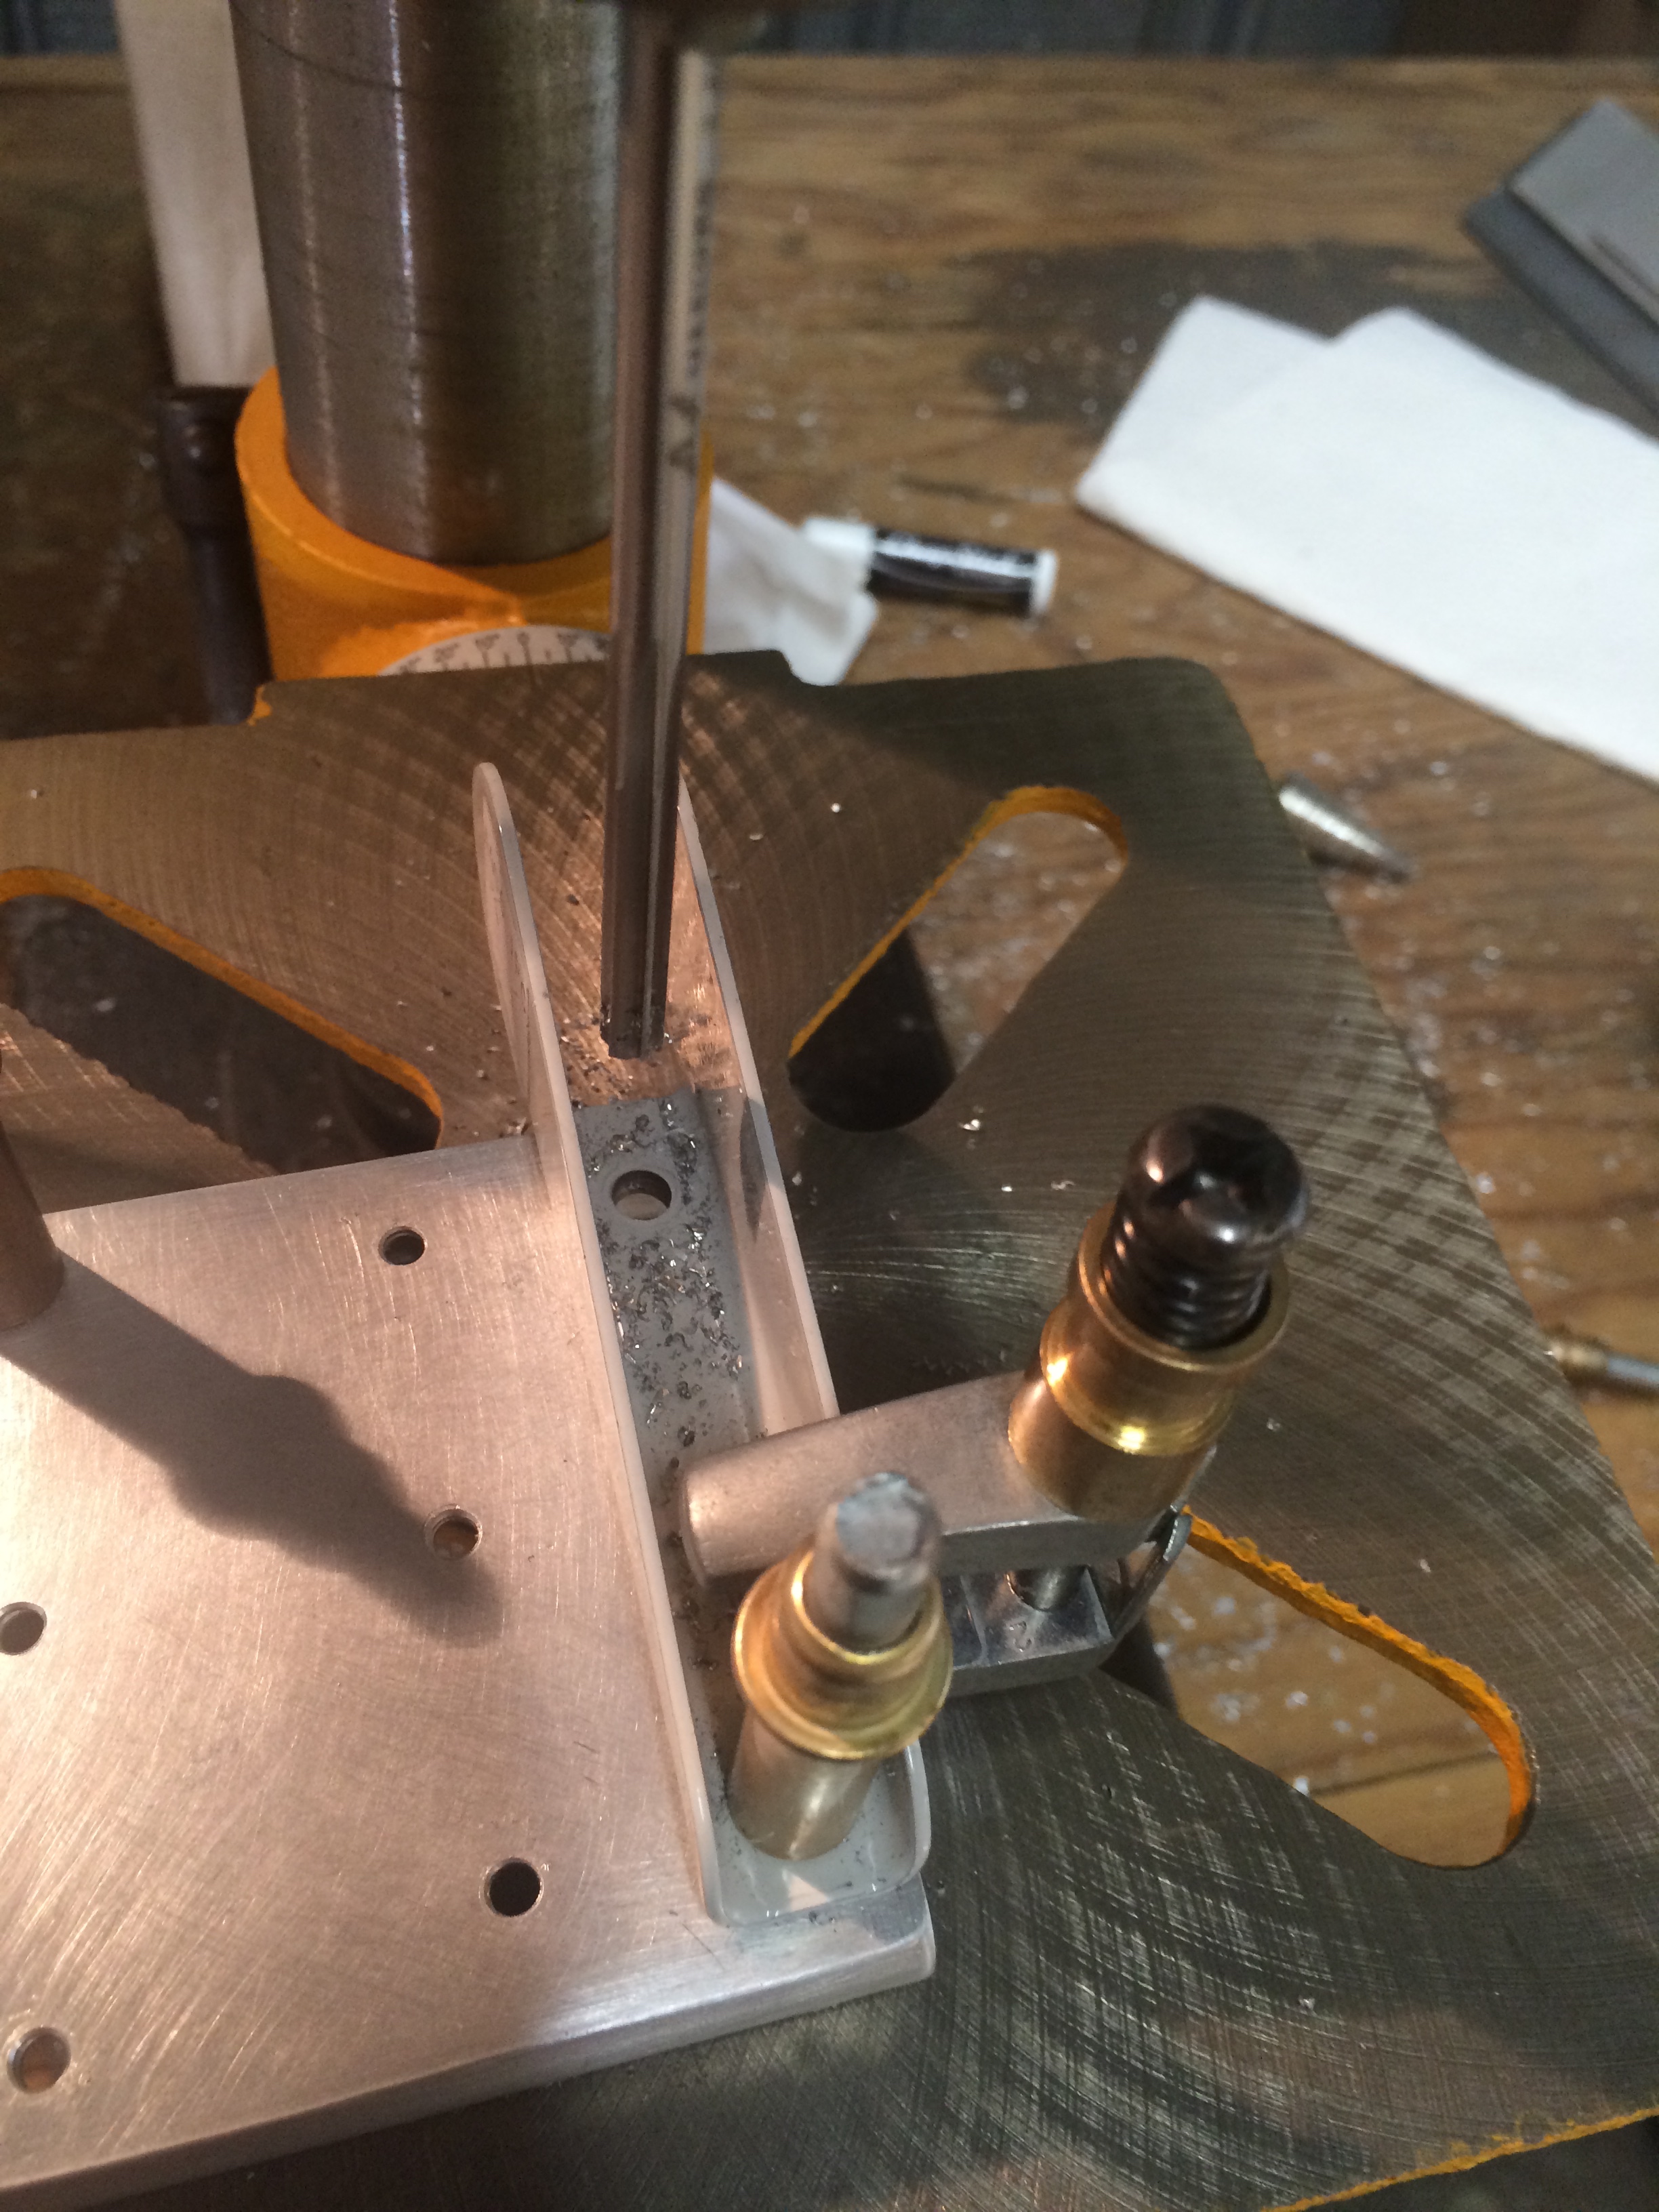
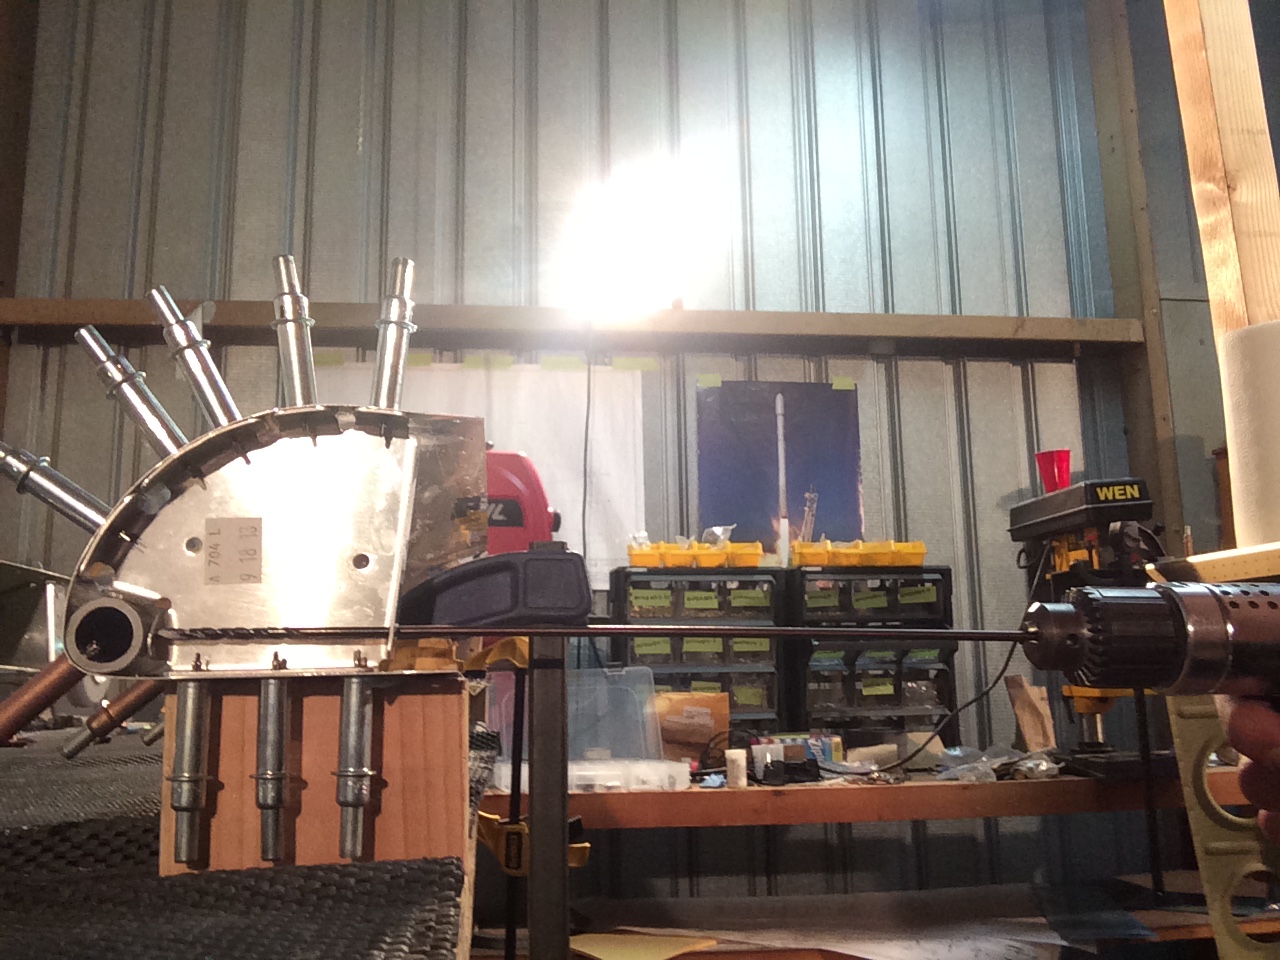
I drilled the steel pipe to the leading edge of the aileron. Perpendicularity was achieved by just eye-balling the bit while I was drilling. 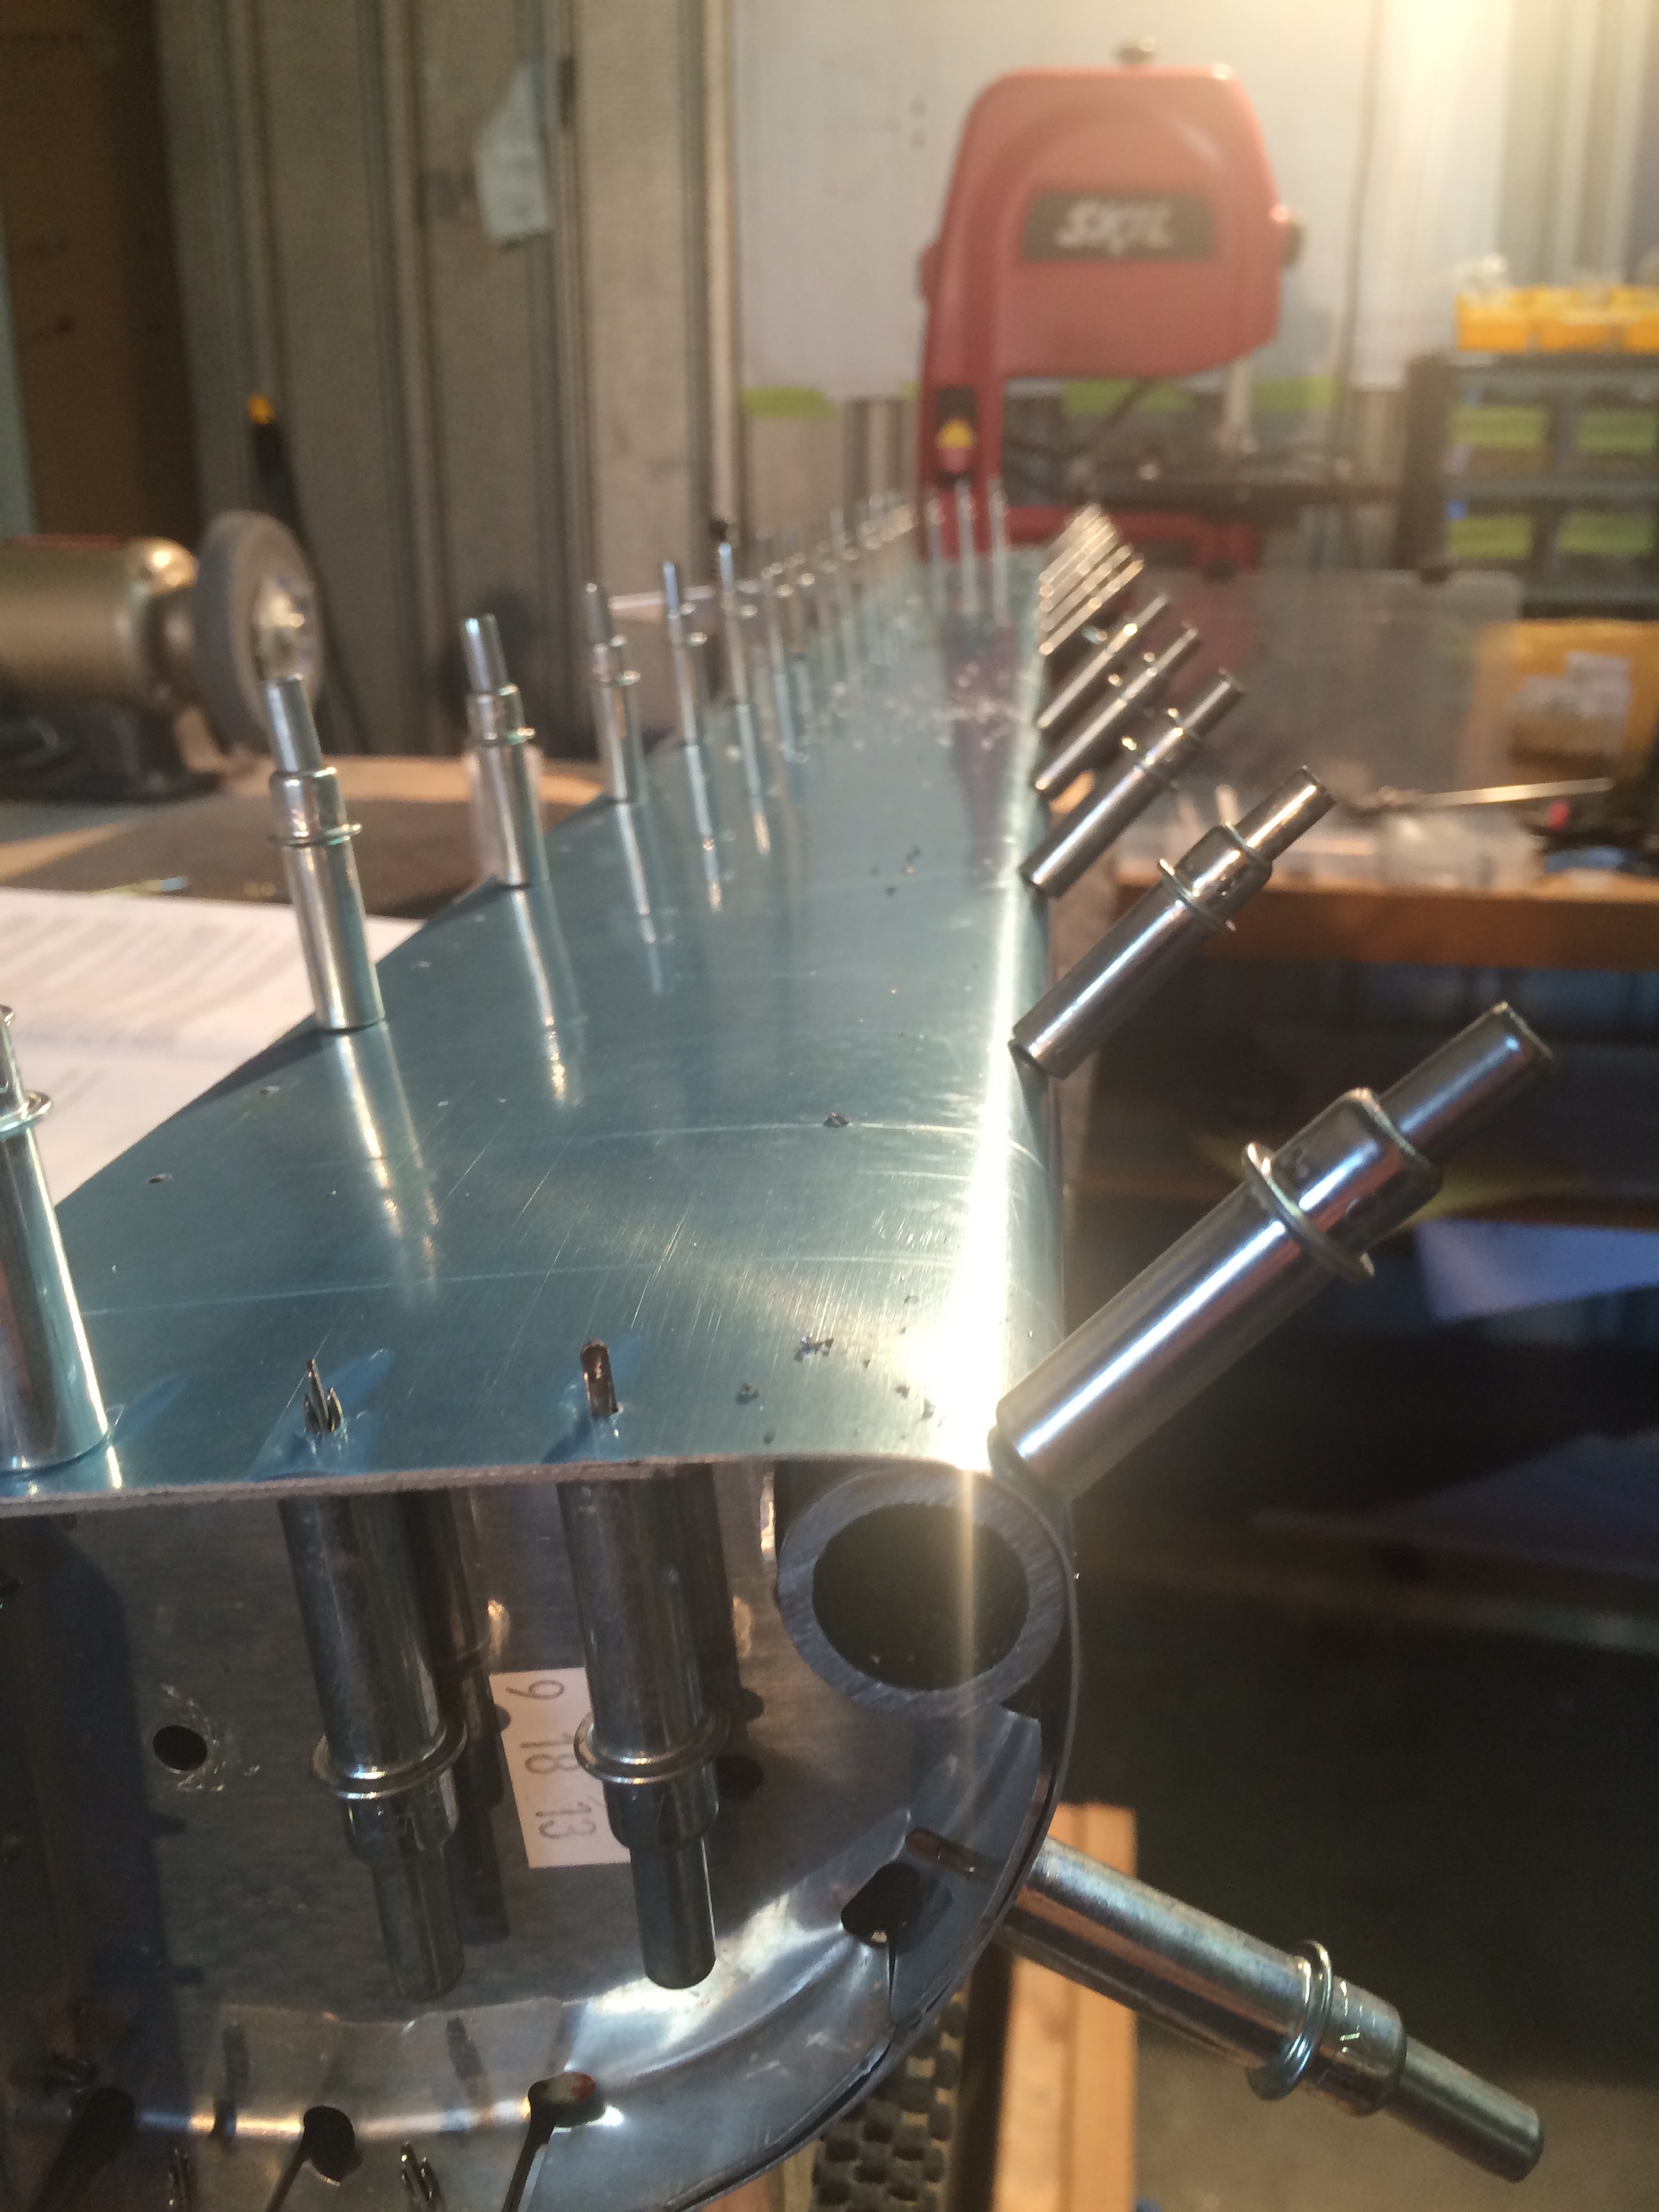
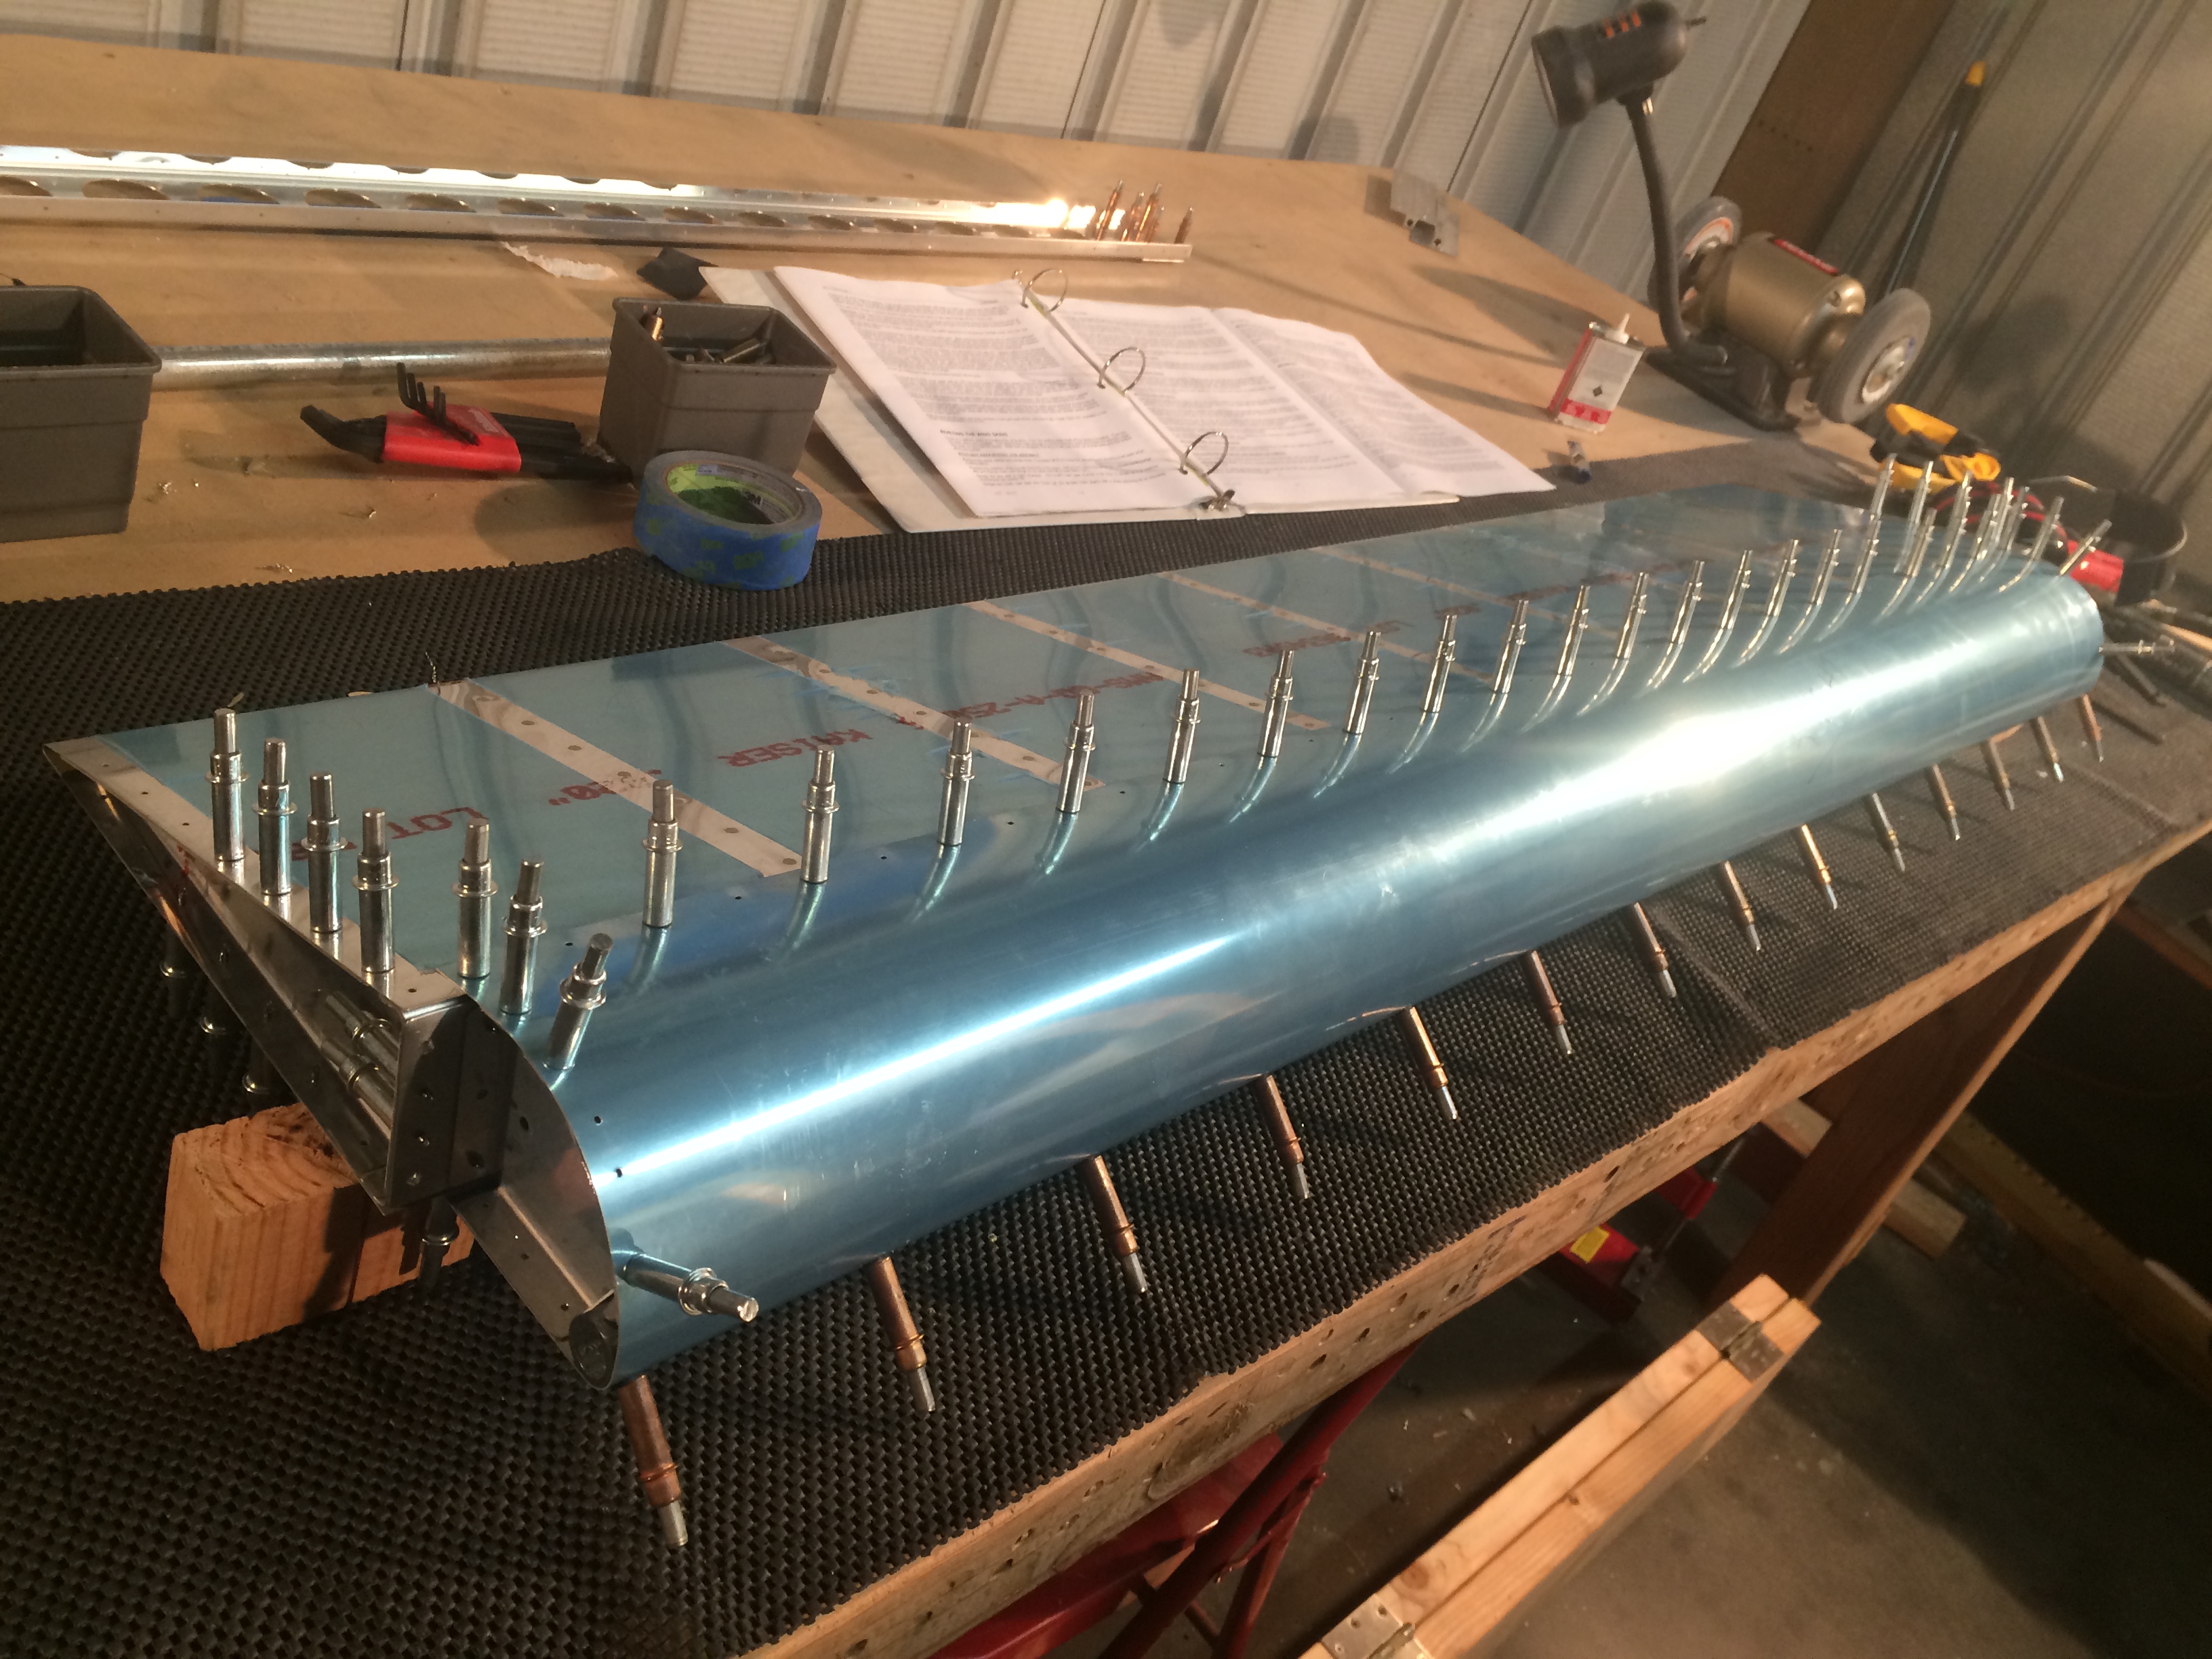
I used my bending break to fold the right aileron. It takes a good amount of force to actually close up this surface.
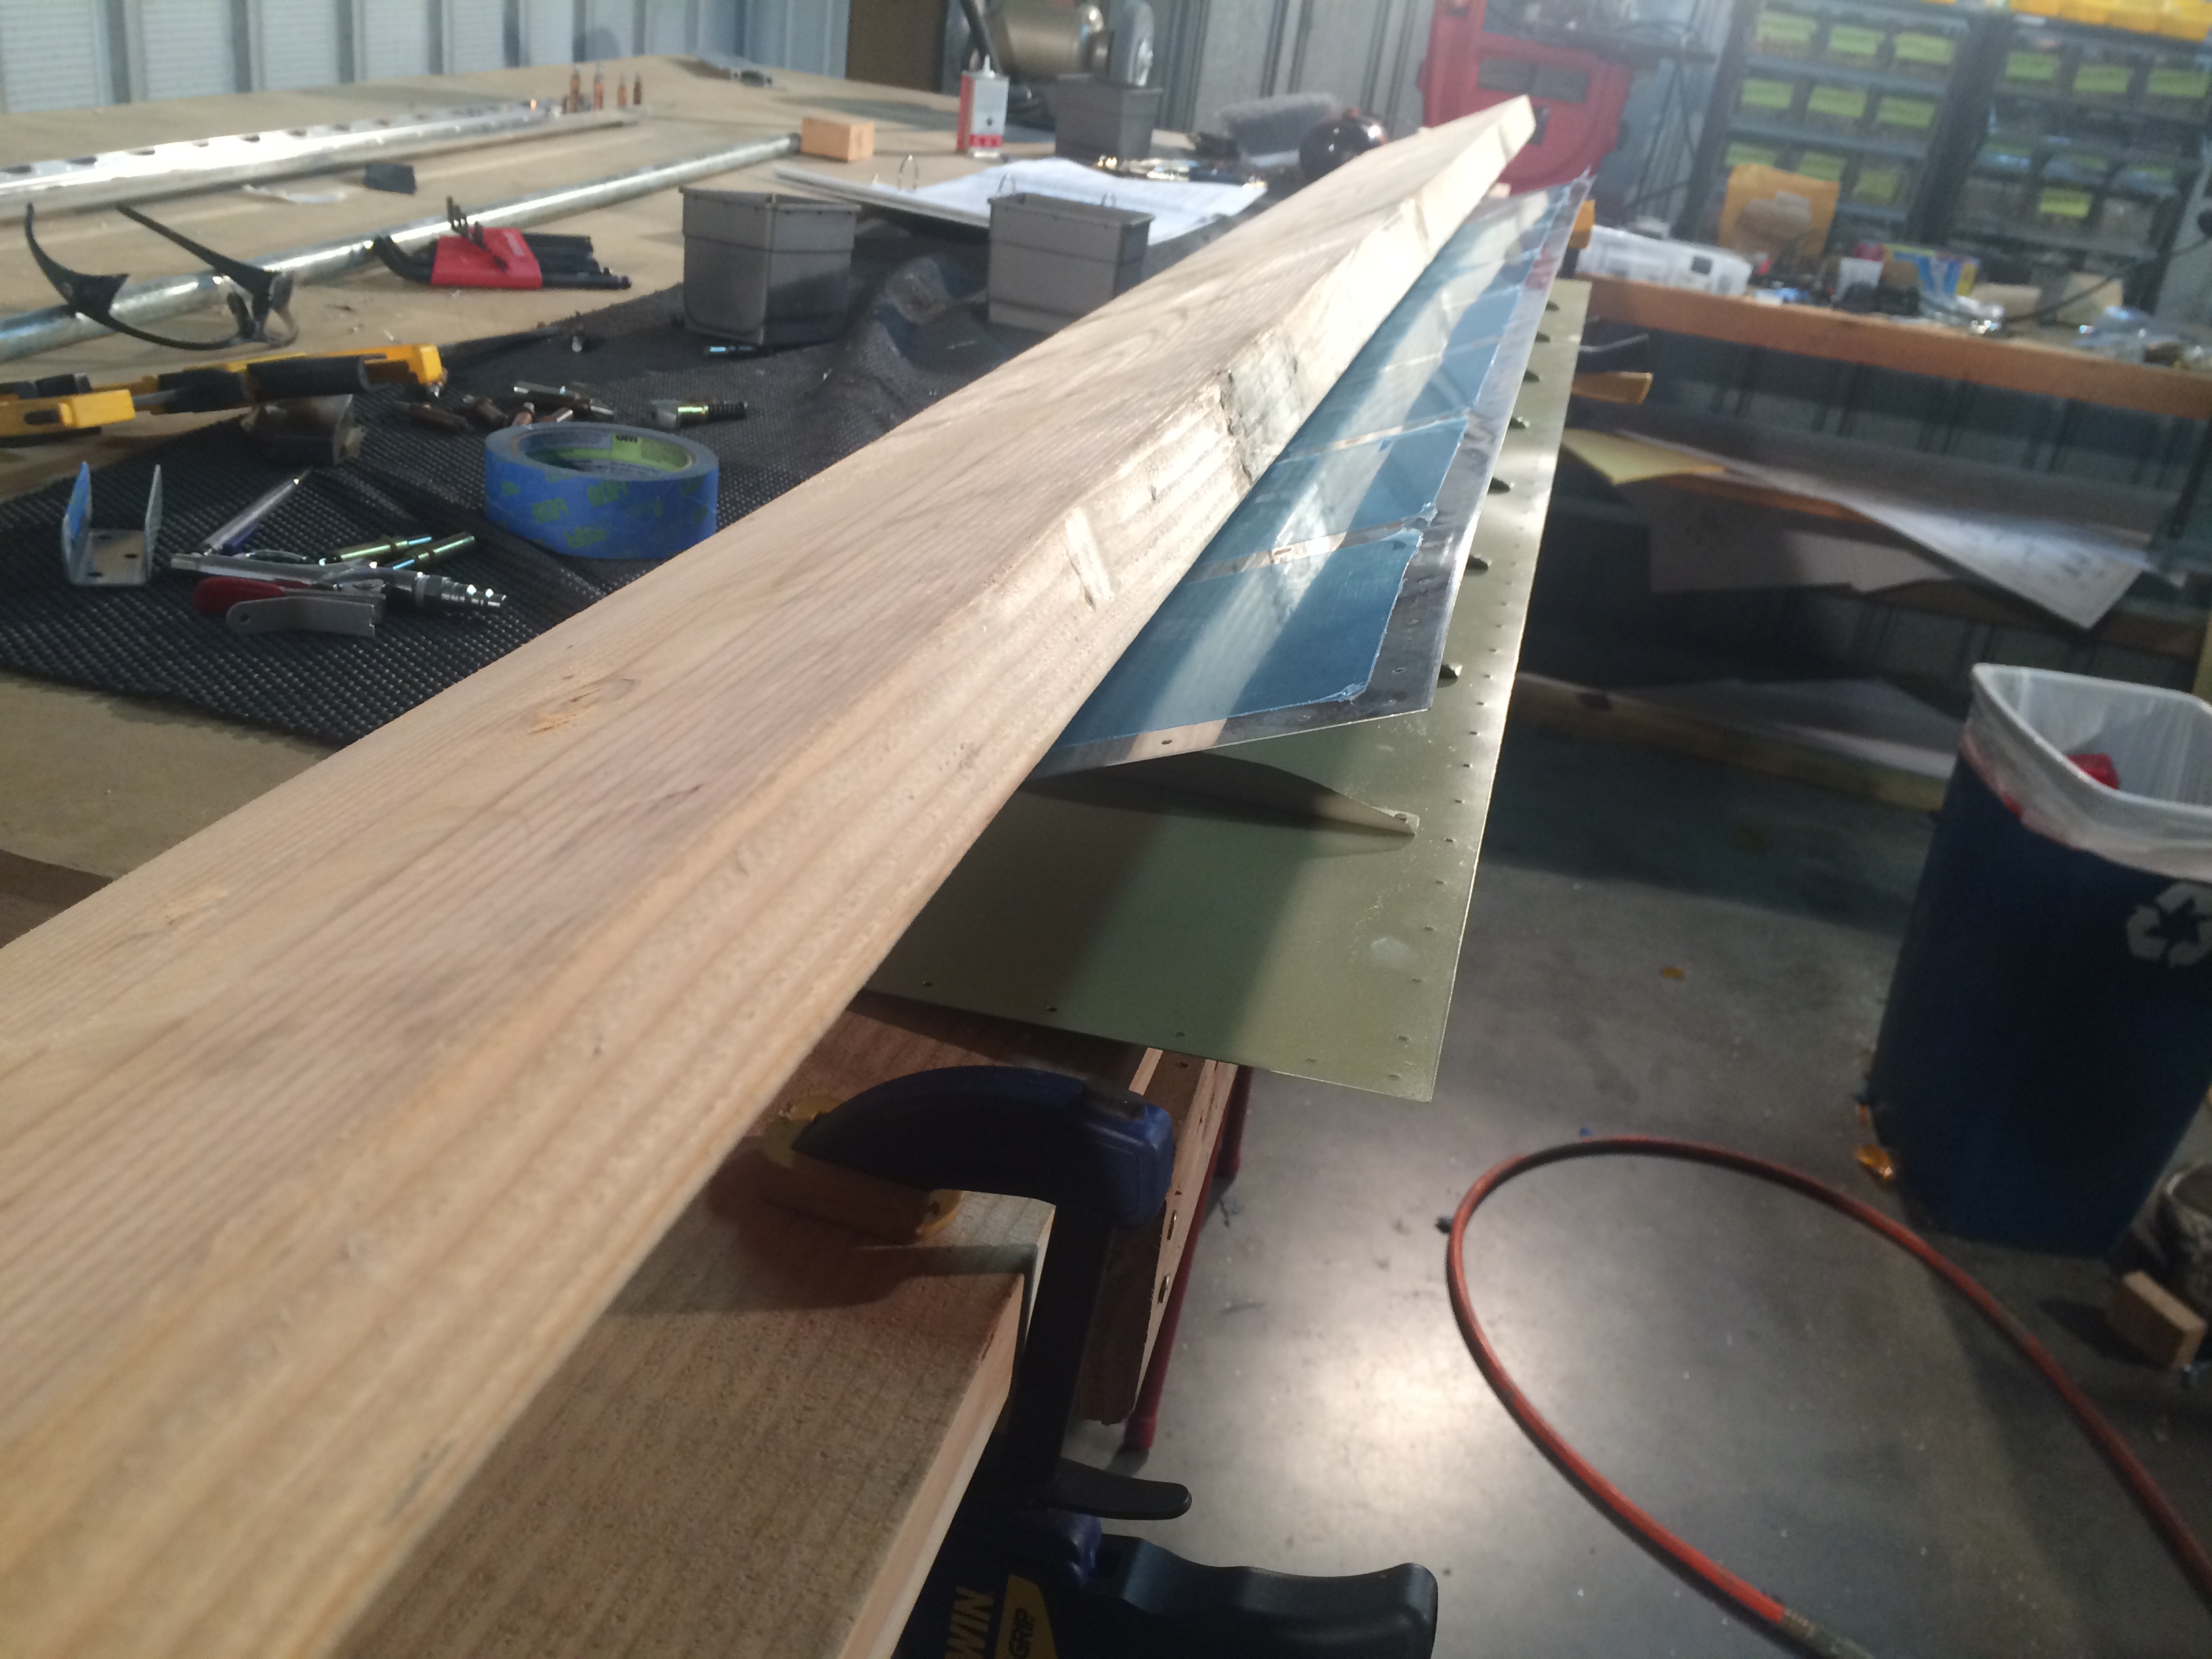
I clecoed the right aileron together and match drilled all holes. The plans instruct you to prime some of the parts first, but I’m just going to do all the priming at once.
The last thing I did was disassemble the aileron and drill the counterweight with my long .125 drill bit.