On the left tank, I got stated by installing an interior rib. Here’s the adhesive being applied to the rib: 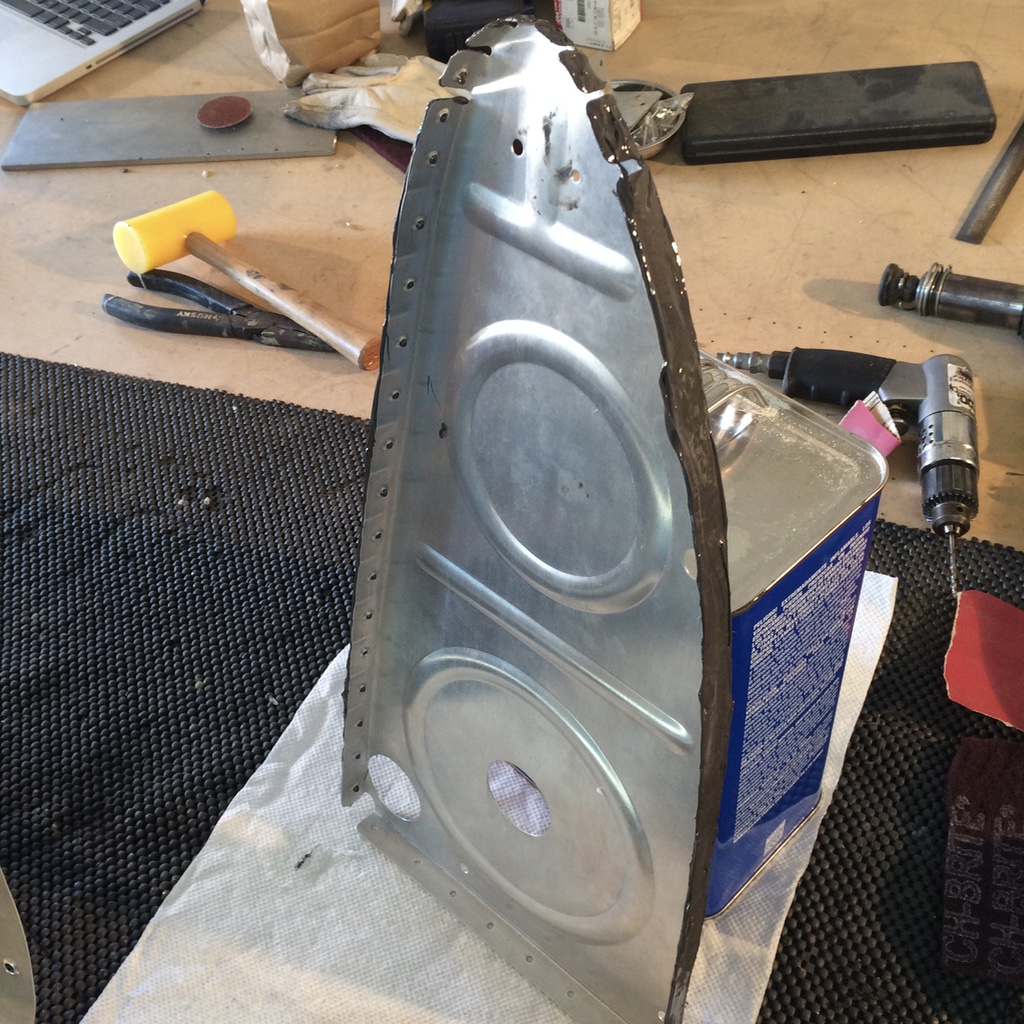
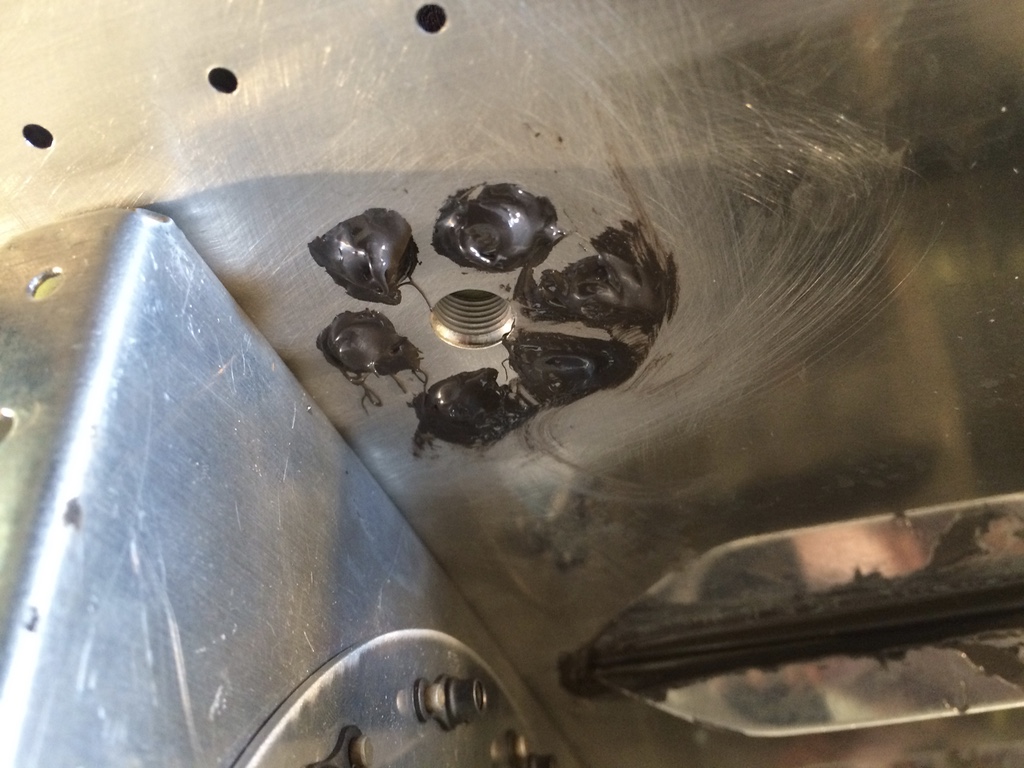
I realized I had never gotten around the sealing the rivets around the fuel drain. Since I already had the Pro-Seal mixed, I took care of this job.
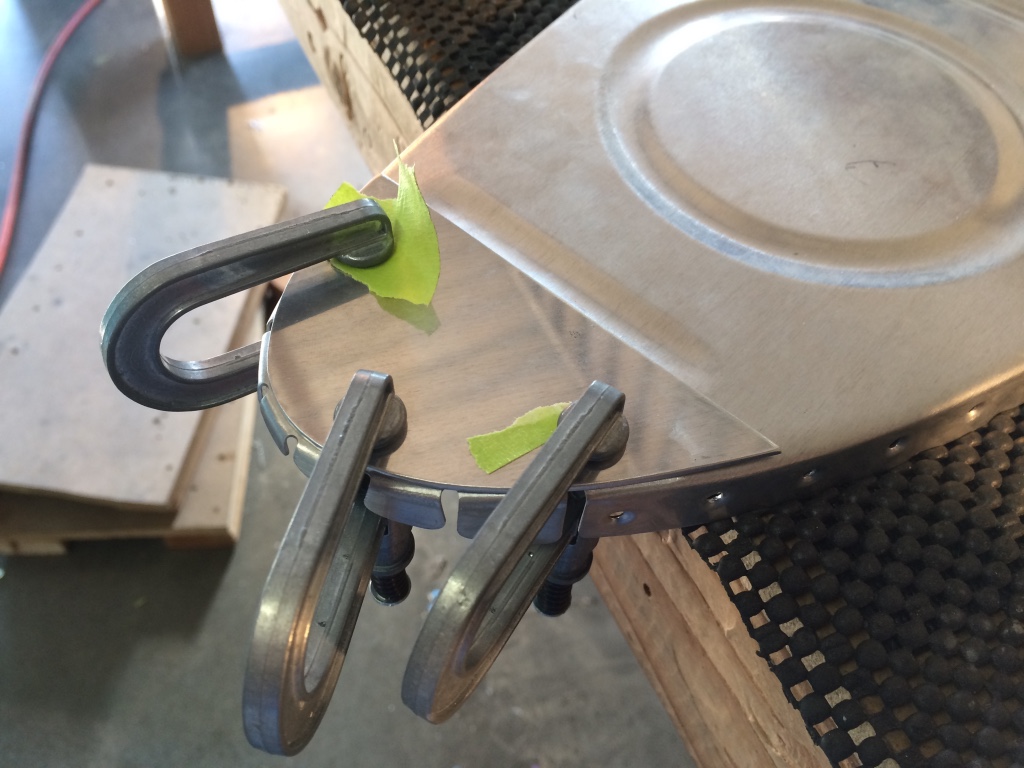
For the outboard rib, i match drilled the nose doubler to the rib. I assumed this doubler was used to increase the stiffness of the part, but it’s actually used to ease the application of sealant around the nose
Here’s the outboard rib riveted in place. I had the nose doubler installed with 4 blind rives.
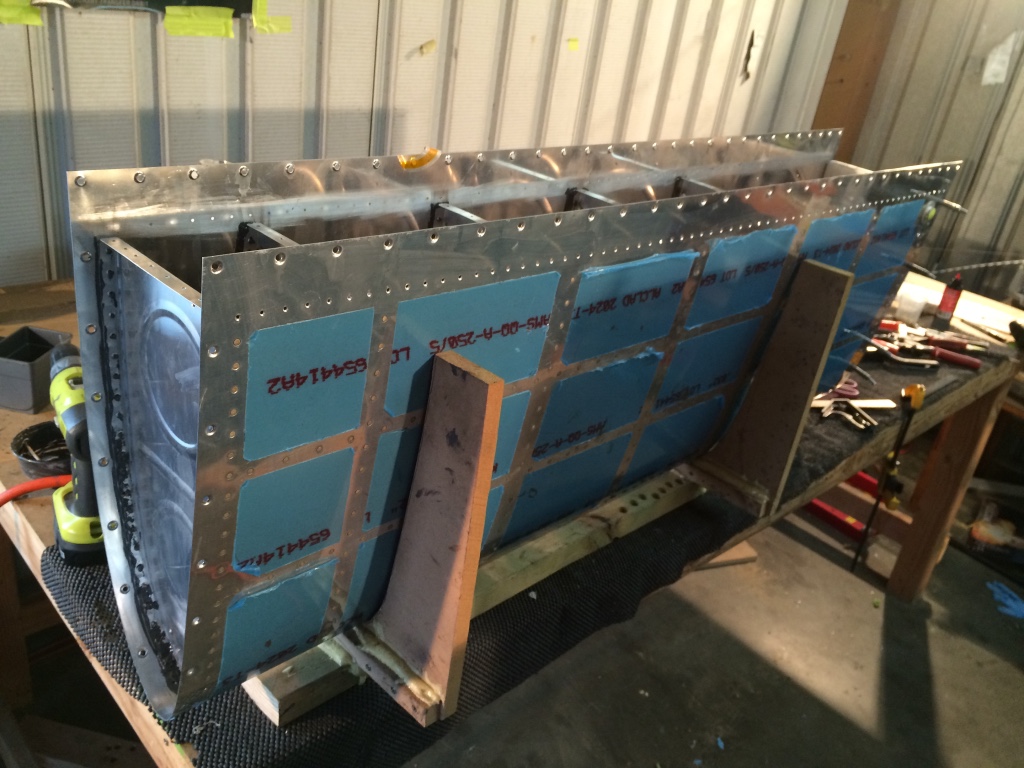
The tank is looking good! I just need to get the 2 inboard ribs installed.
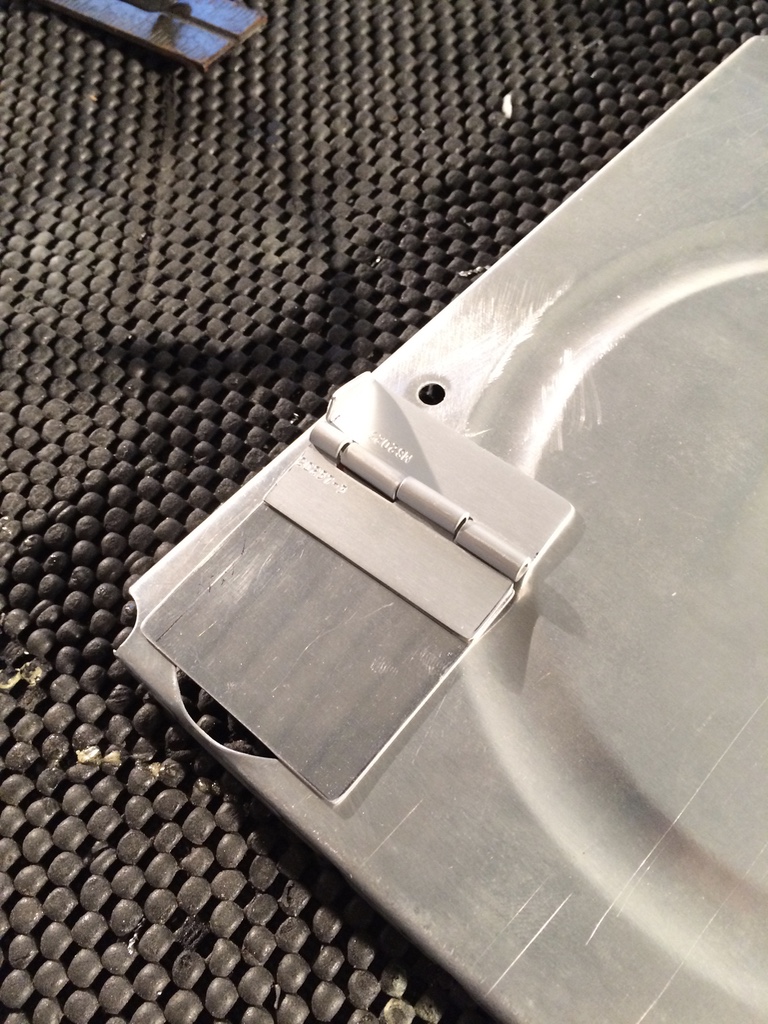
On the inboard-most interior rib, I started to fabricate the trap door. This door is designed to keep the fuel in the inboard fuel bay when performing inverted maneuvers. The small tab that is bent up on the hinge was bent at too sharp of a radius. There is some cracking at the radius, which could lead to failure of the part. I’m going to redo this portion of the hinge next time.