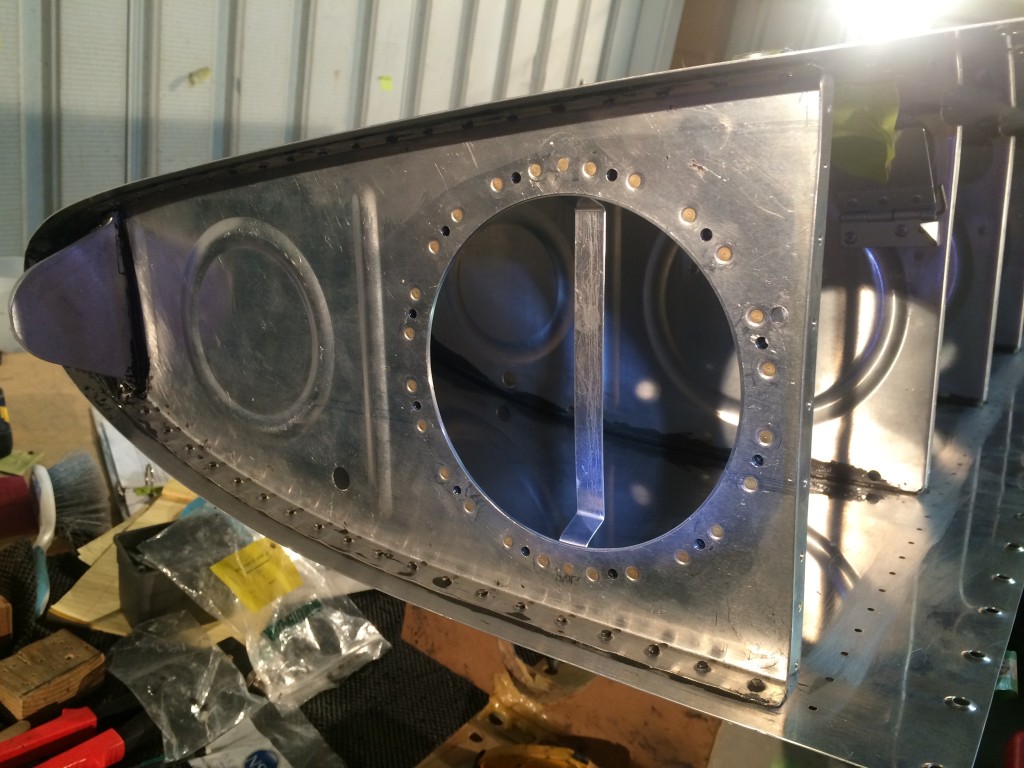
I finally got back to work on the left fuel tank. The first thing I did was install the outboard flop tube guide with blind rivets.
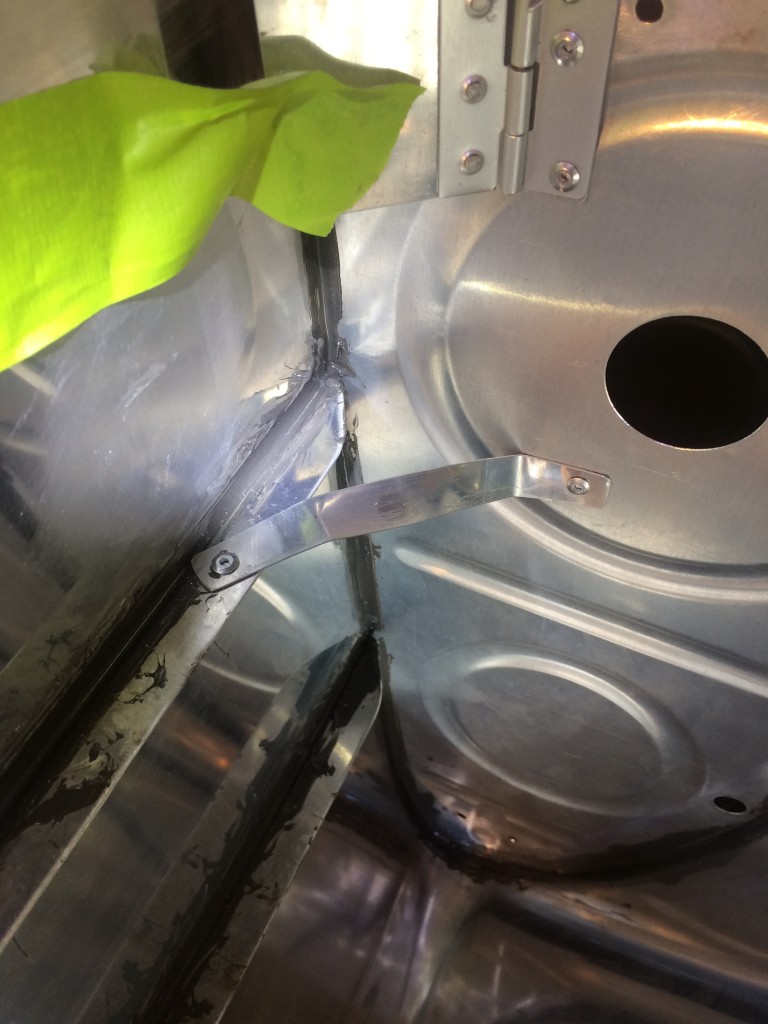
I installed the inboard flop tube guide with two flush rivets.
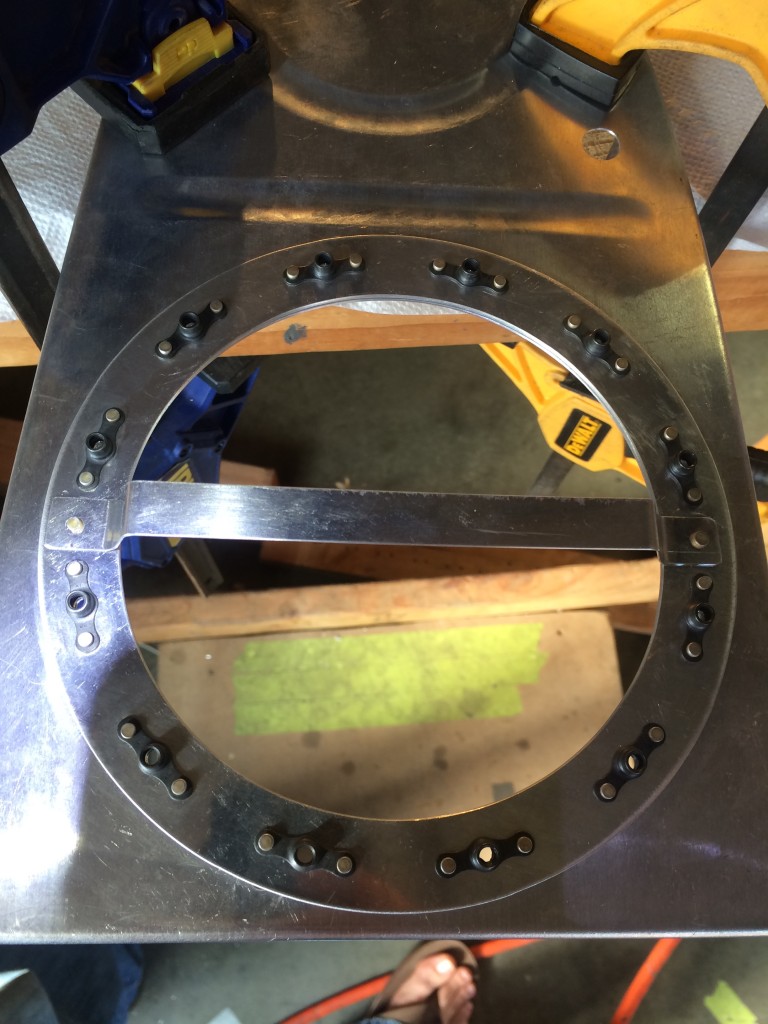
I mixed up a batch of sealant and got the inboard rib installed. I think I might have to replace a few rivets, but I’ll save that for a later date. I used my pneumatic squeezer to install all the rivets.
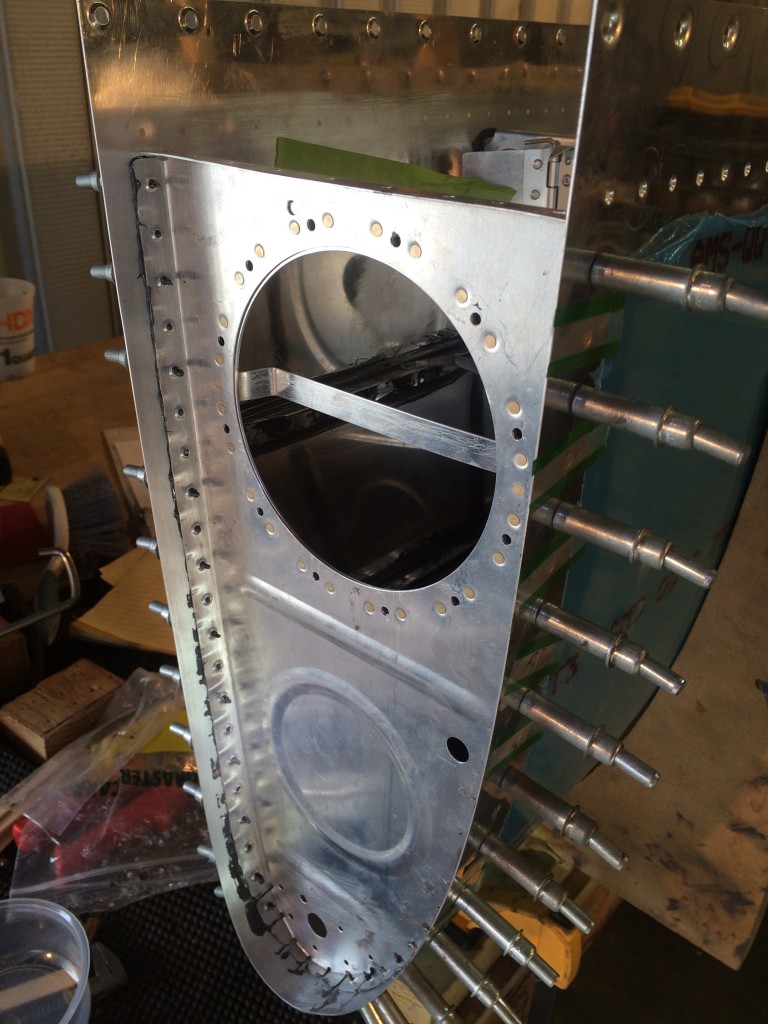
Since I had sealant mixed, I used this opportunity to add a fillet of sealant around the leaky areas on the right tank. My tank had two leaks at the interface between the rear baffle and the skin. To be safe, I added sealant along the entire interface–not just the leaky areas. The masking take will be removed after the sealant has cured.
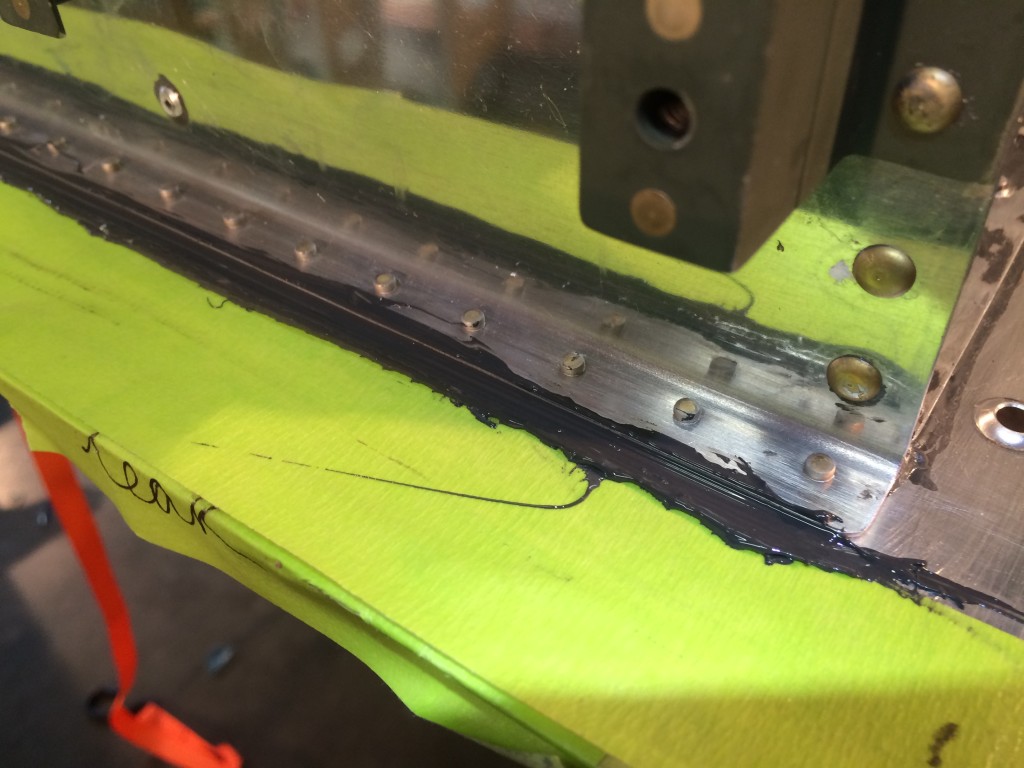
Back to the left tank. I installed the right angle bracket and the inboard leading edge stiffener. All mating surfaces had sealant applied before installation. To avoid the risk of a leak forming, I also applied sealant over every rivet head and the outer edges of the parts.
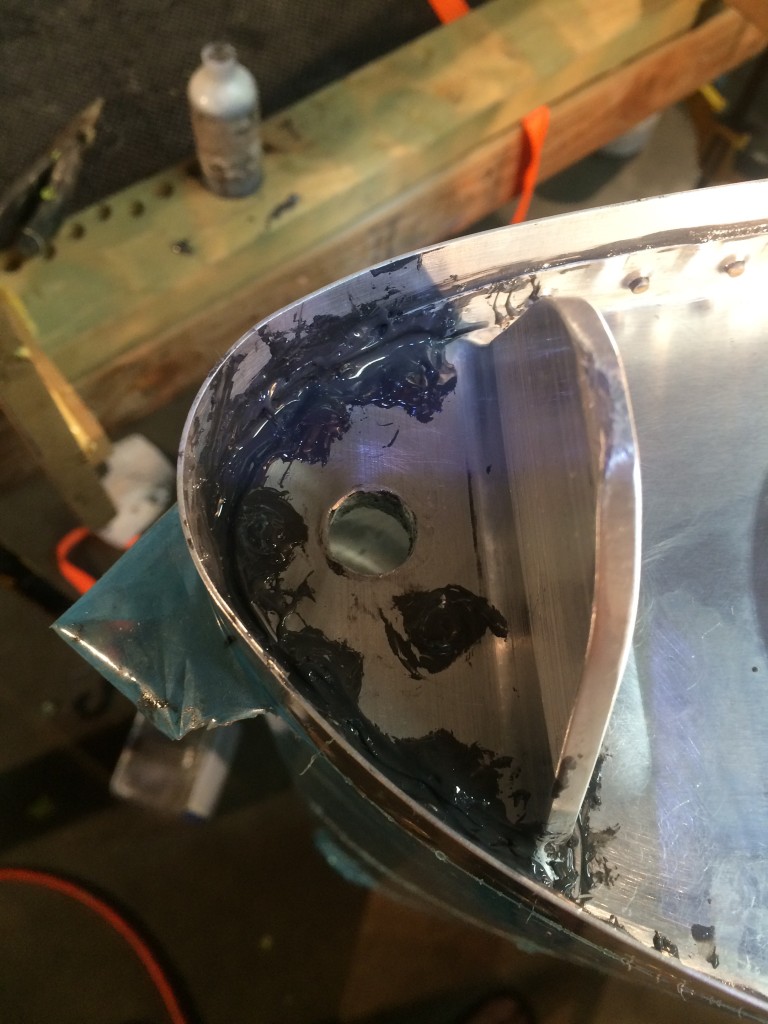
I applied a bead of sealant around the inboard rib and tank interface. I used a popsicle stick to produce a clean fillet. A generous amount of sealant was added around the leading edge of the rib.
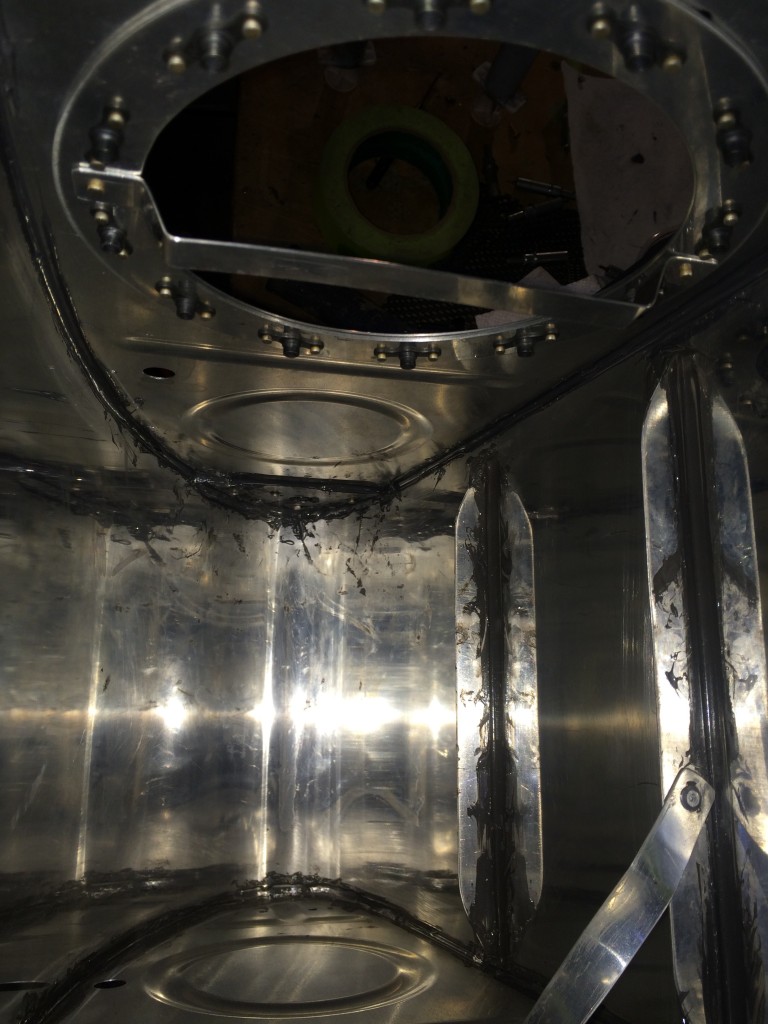
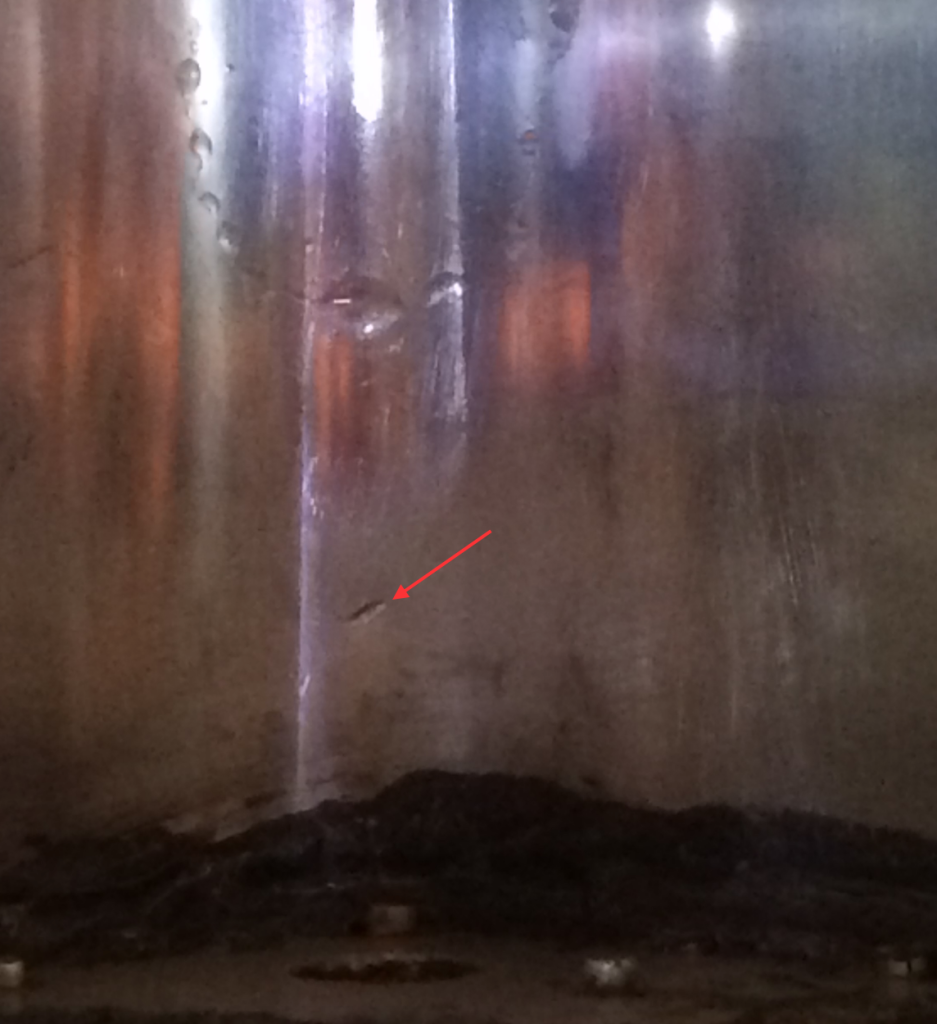
While working on the inside of the tank, I accidentally dropped my tungsten bucking bar. This put a small dent on the inside of the tank, which is really annoying. I’m going to do some research before I try to fix this because I know other builders have had this issue. I’ll probably just try to gently flatten out the dent from the outside.
Here’s the product of a hard day’s work! I got a ton of work done today and I can feel the end of the wing kit getting close!
