I made the big cut today, which is one of the major milestones of the project. Obviously today was an important one.
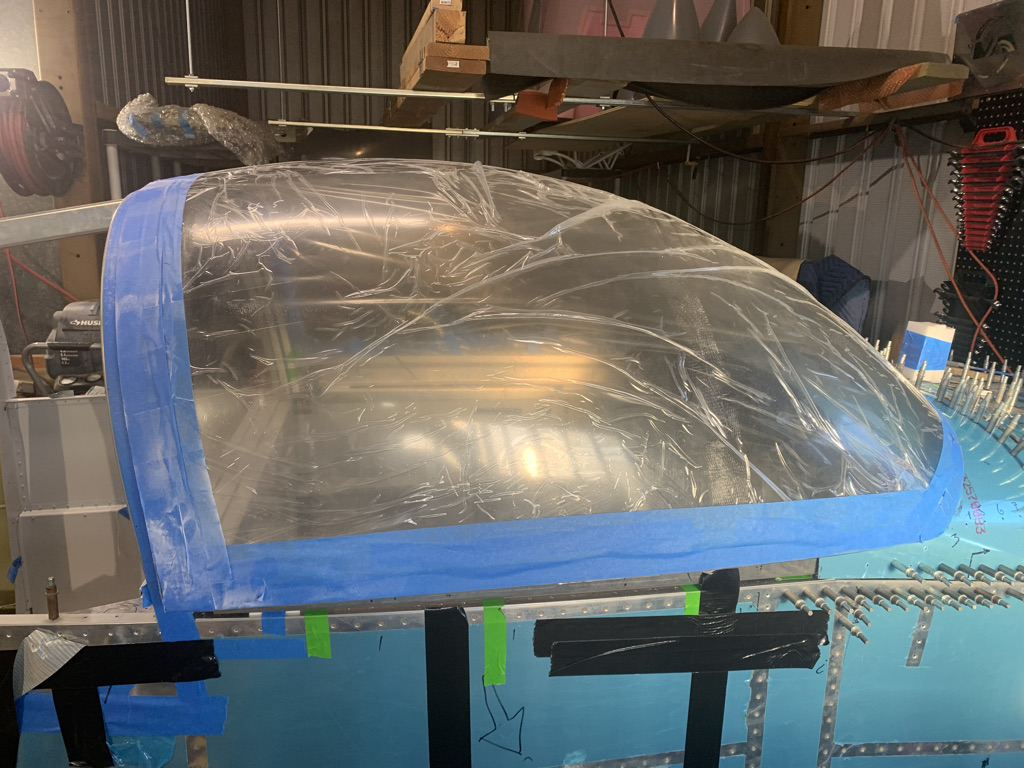
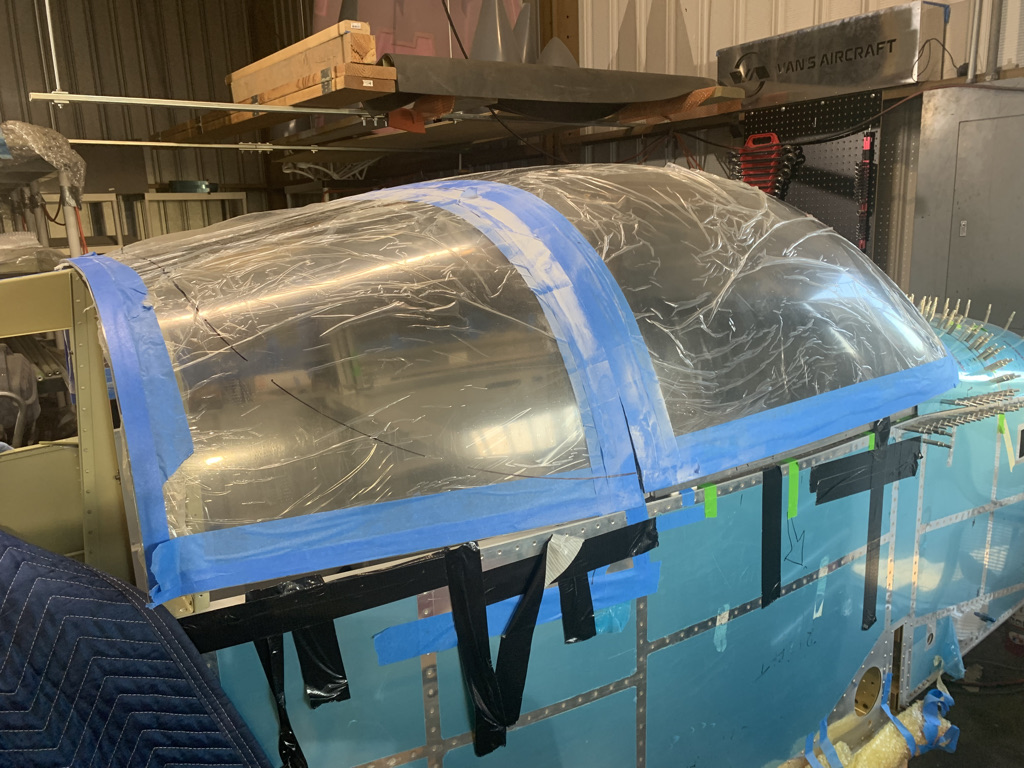
To get things prepared for cutting, I first trimmed a bit more from the front end of the canopy. This will require further trimming, but I got it to a place that’s acceptable for now. I used duct tape to pull the canopy into the seater position.
I removed the protective plastic around the cutting region of the canopy and marked the cut-line of the part. You can see the Sharpie tick marks on the canopy. These marks align with the split-line on the roll bar. When you look at the marks straight-on, everything aligns.
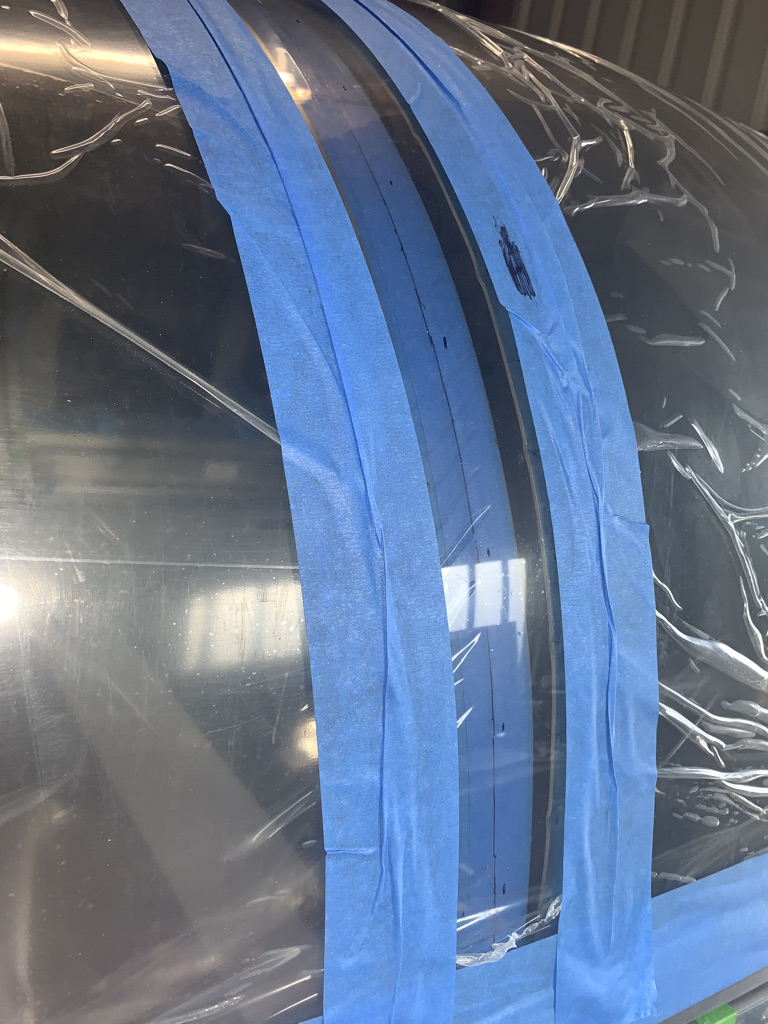
Similar to Mike Bullock’s method, I used multiple layers of masking tape to define the cut line. The masking tape provides a guide for the cutoff wheel.
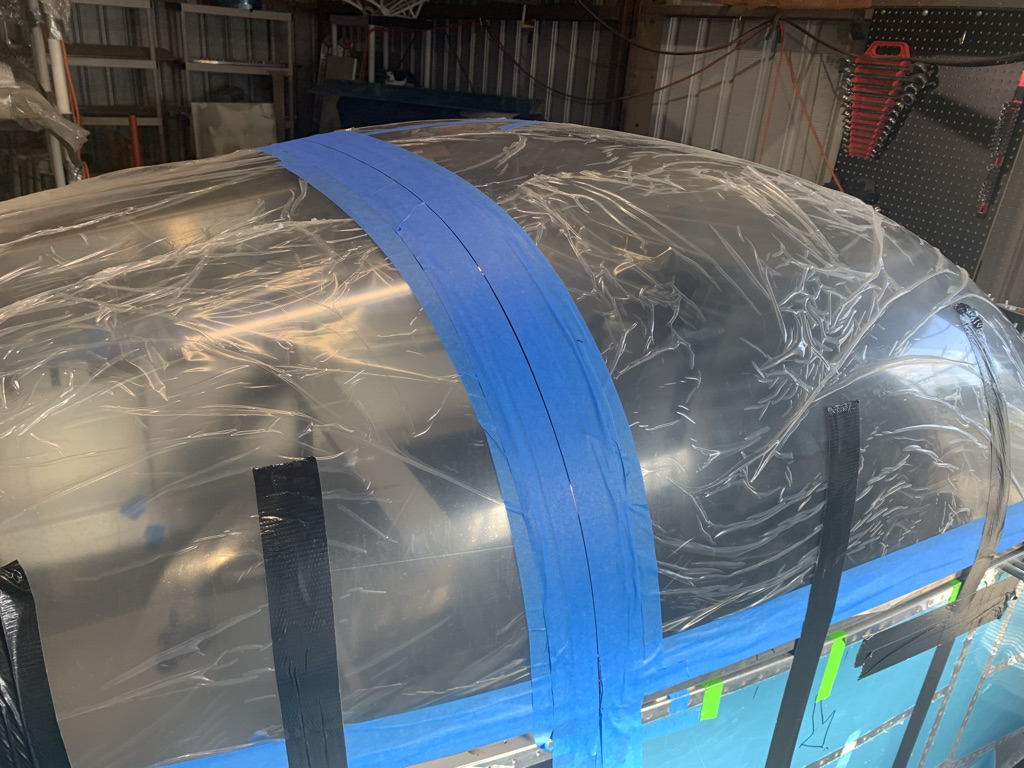
Before pulling the canopy off the fuselage for cutting, I clecoed the top skin on the fuselage. The reason I did this now was to mark the “do not cut” line on the canopy. It’s pretty cool you can see the final shape of the fuselage and canopy with that skin installed.
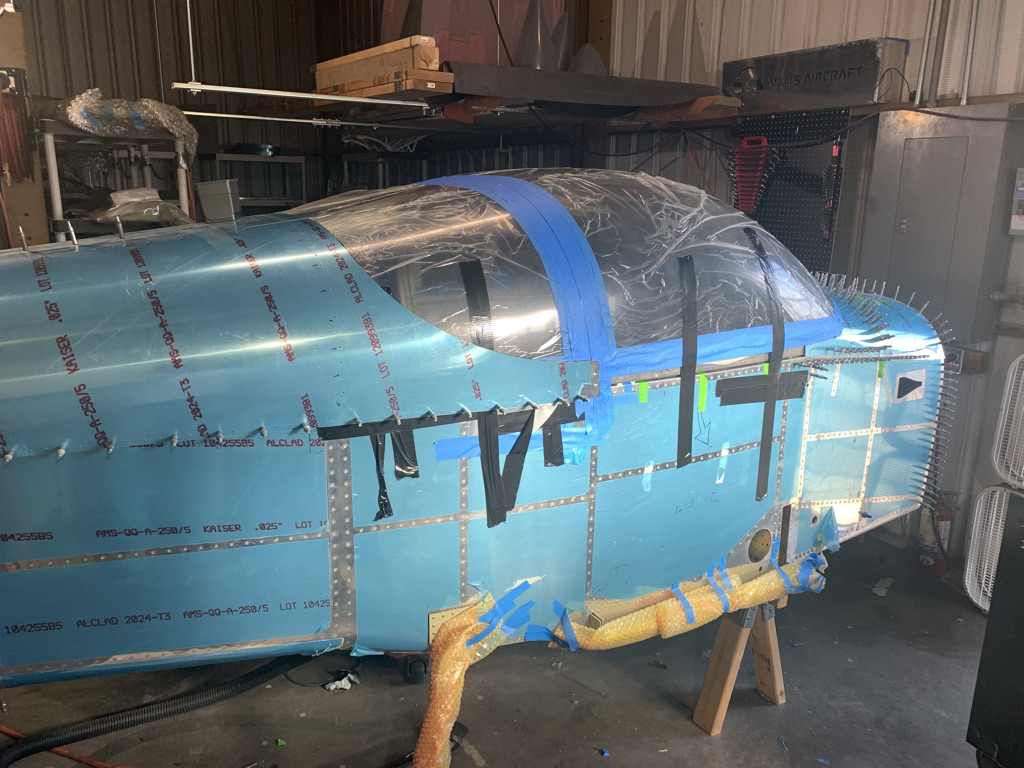
Here’s that Sharpie line I drew. The rear canopy will be trimmed about 1.25 inches back from this line.
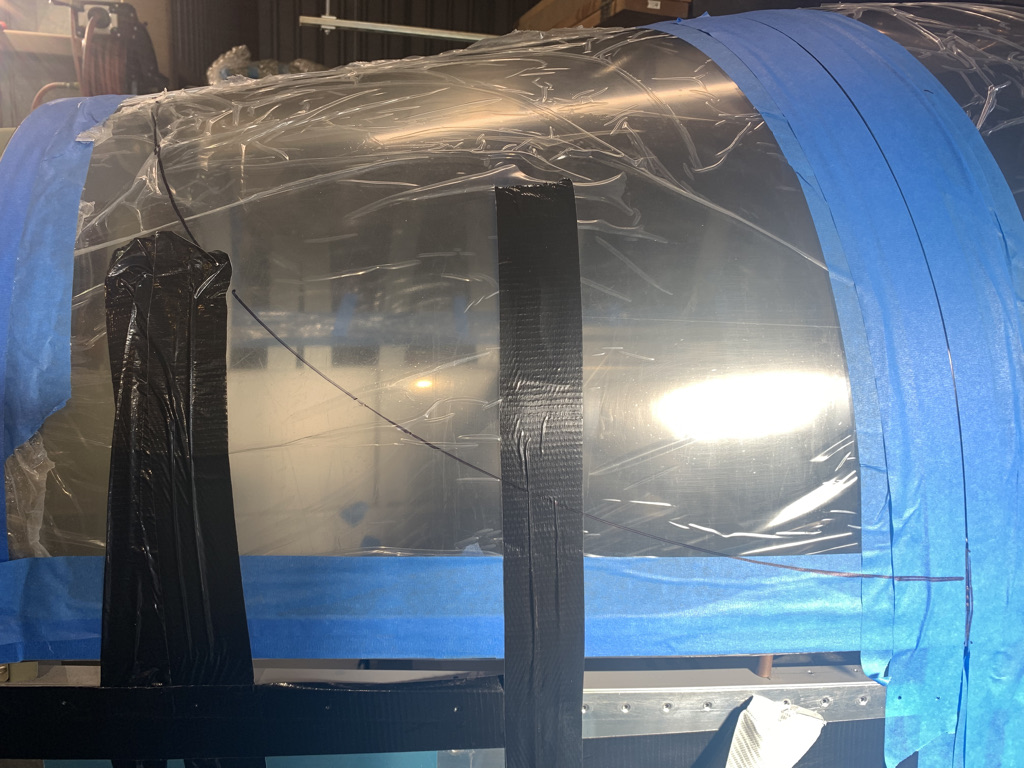
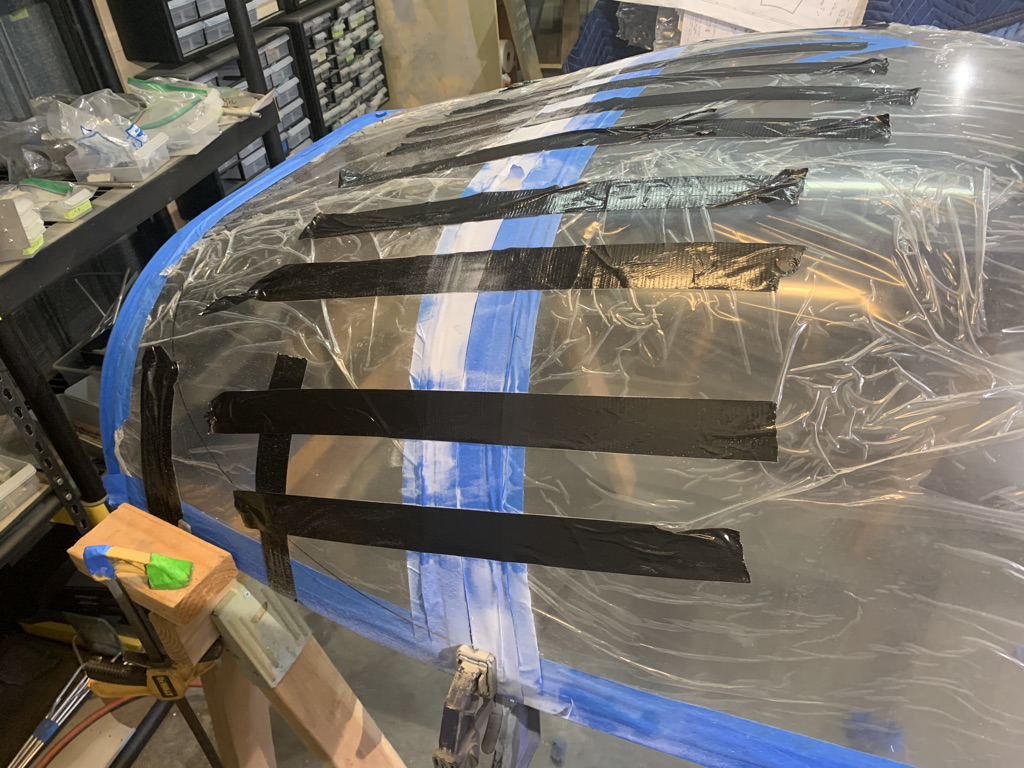
I got the canopy on the sawhorses and started cutting from left to right. You want to go in this direction so the plexiglass snow is flying away from you. Since the canopy was only supported in the front and back, I used a ton of tape to prevent it from splitting in half during the cutting process. The cutting occurred without incident. The only issue a had to wrestle with was getting the front and back sections separated from each other after the cutting was done. I needed to support both ends and remove the tape simultaneously. Obviously I should have gotten help, because when I was trying to get the front end on another sawhorse, it partially slipped off the main sawhorse. I’m super lucky I didn’t crack either half. Ultimately I got the canopy sections separated and undamaged.
