As I’ve done on the previous Z-bracket attempts, I used my pneumatic squeezer to set the nut plate rivets.

I fastened the Z-brackets to the spar.
Lessoned learned: In the past, I used clecos to hole the brackets in place. The screws do a much better job at locating the parts. When possible, the actual mounting hardware should be used when match drilling components.
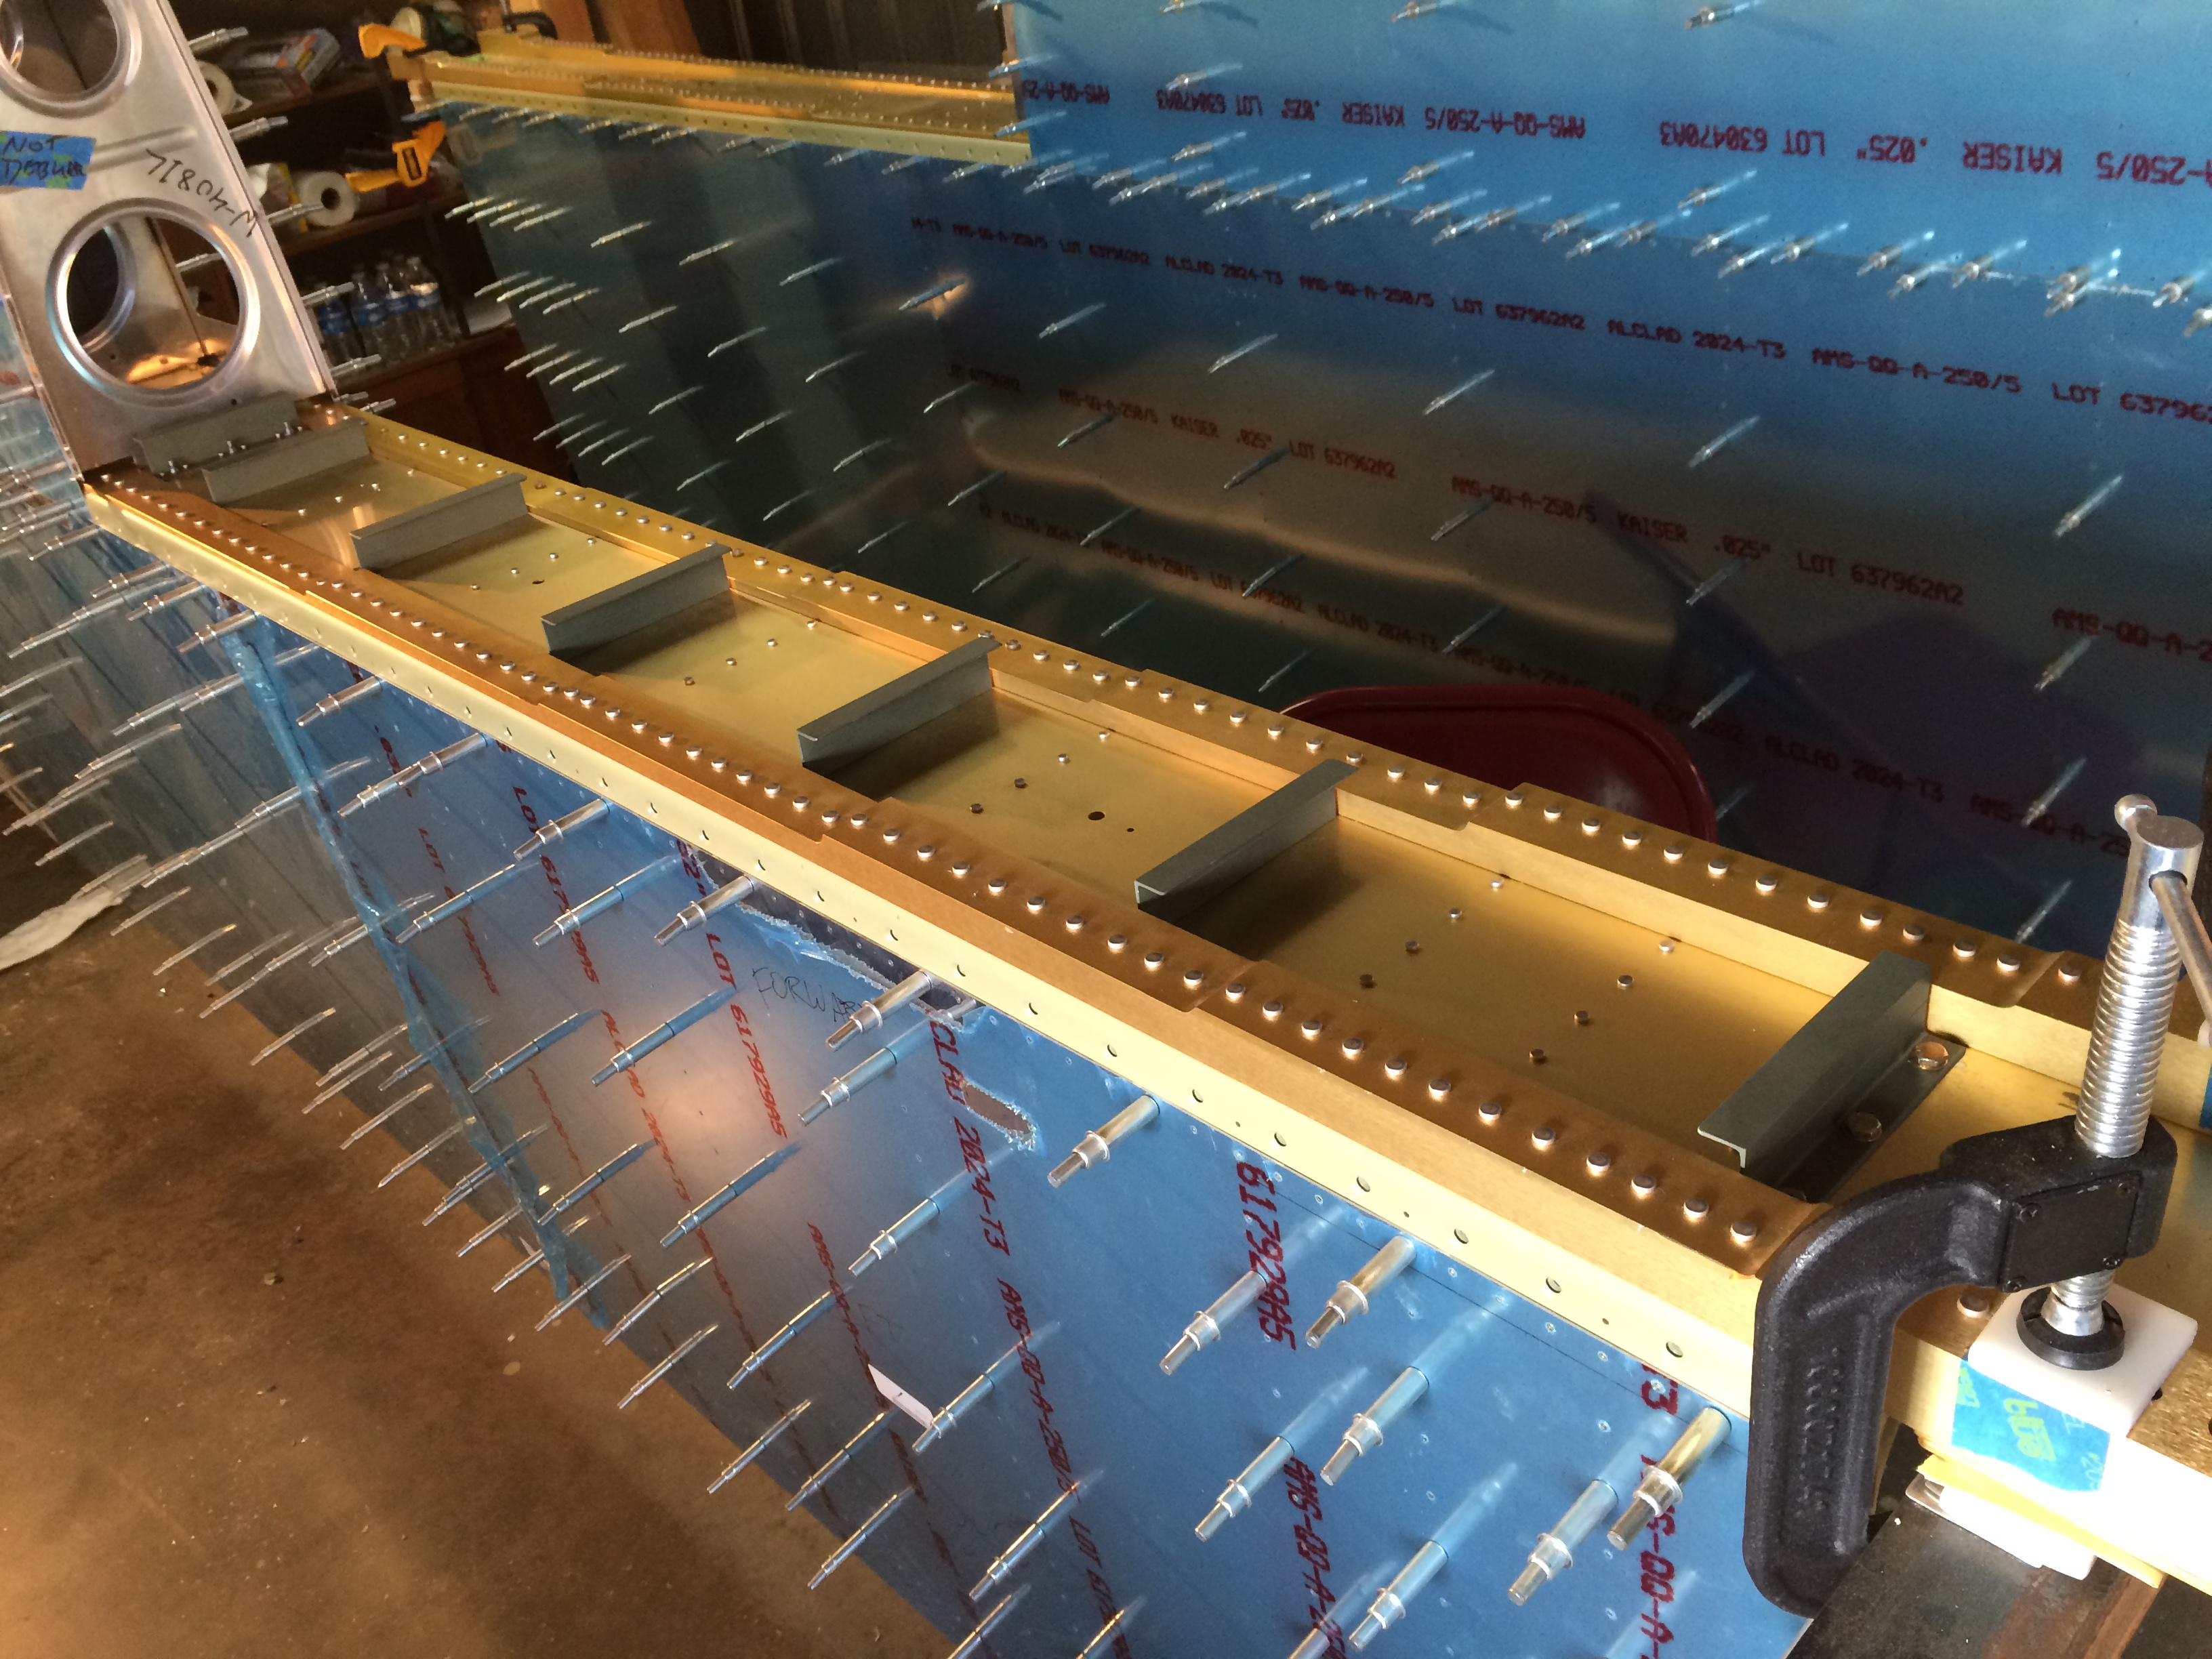
I really took my time making sure everything lined up with the leading edge, fuel tank, and Z-brackets.
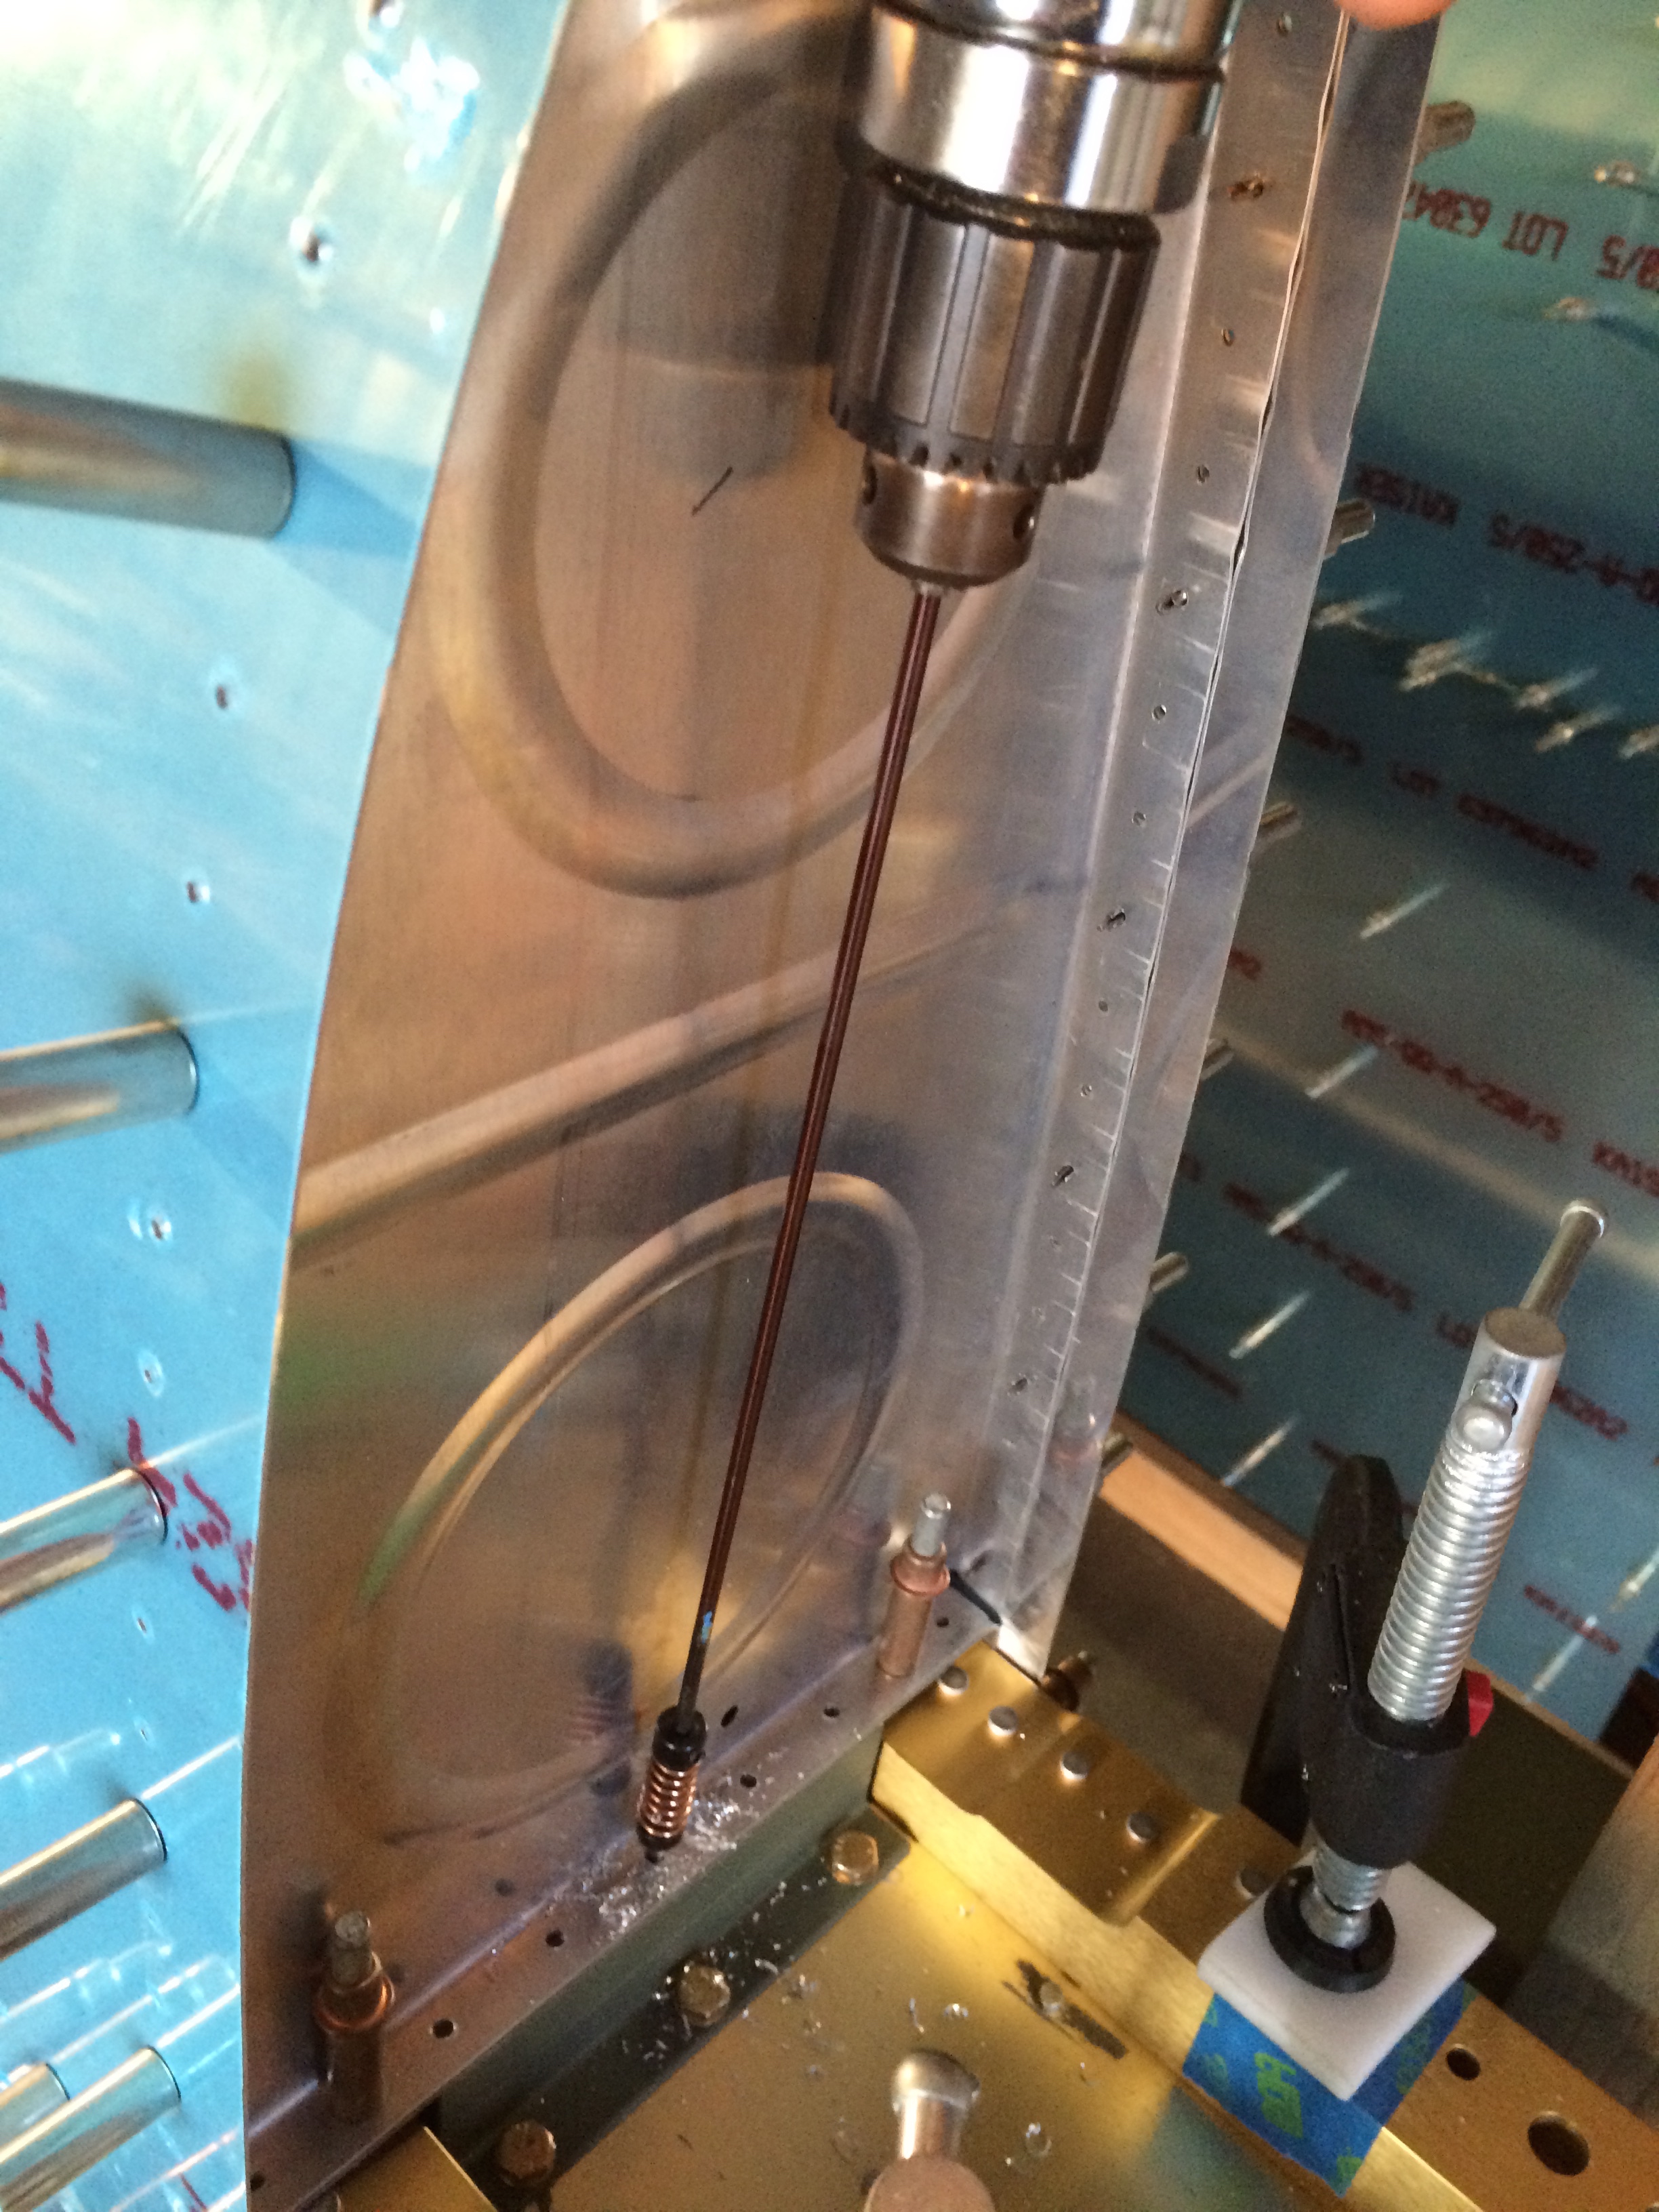
I match drilled the inner most Z-bracket, which will control the lateral location of the tank.
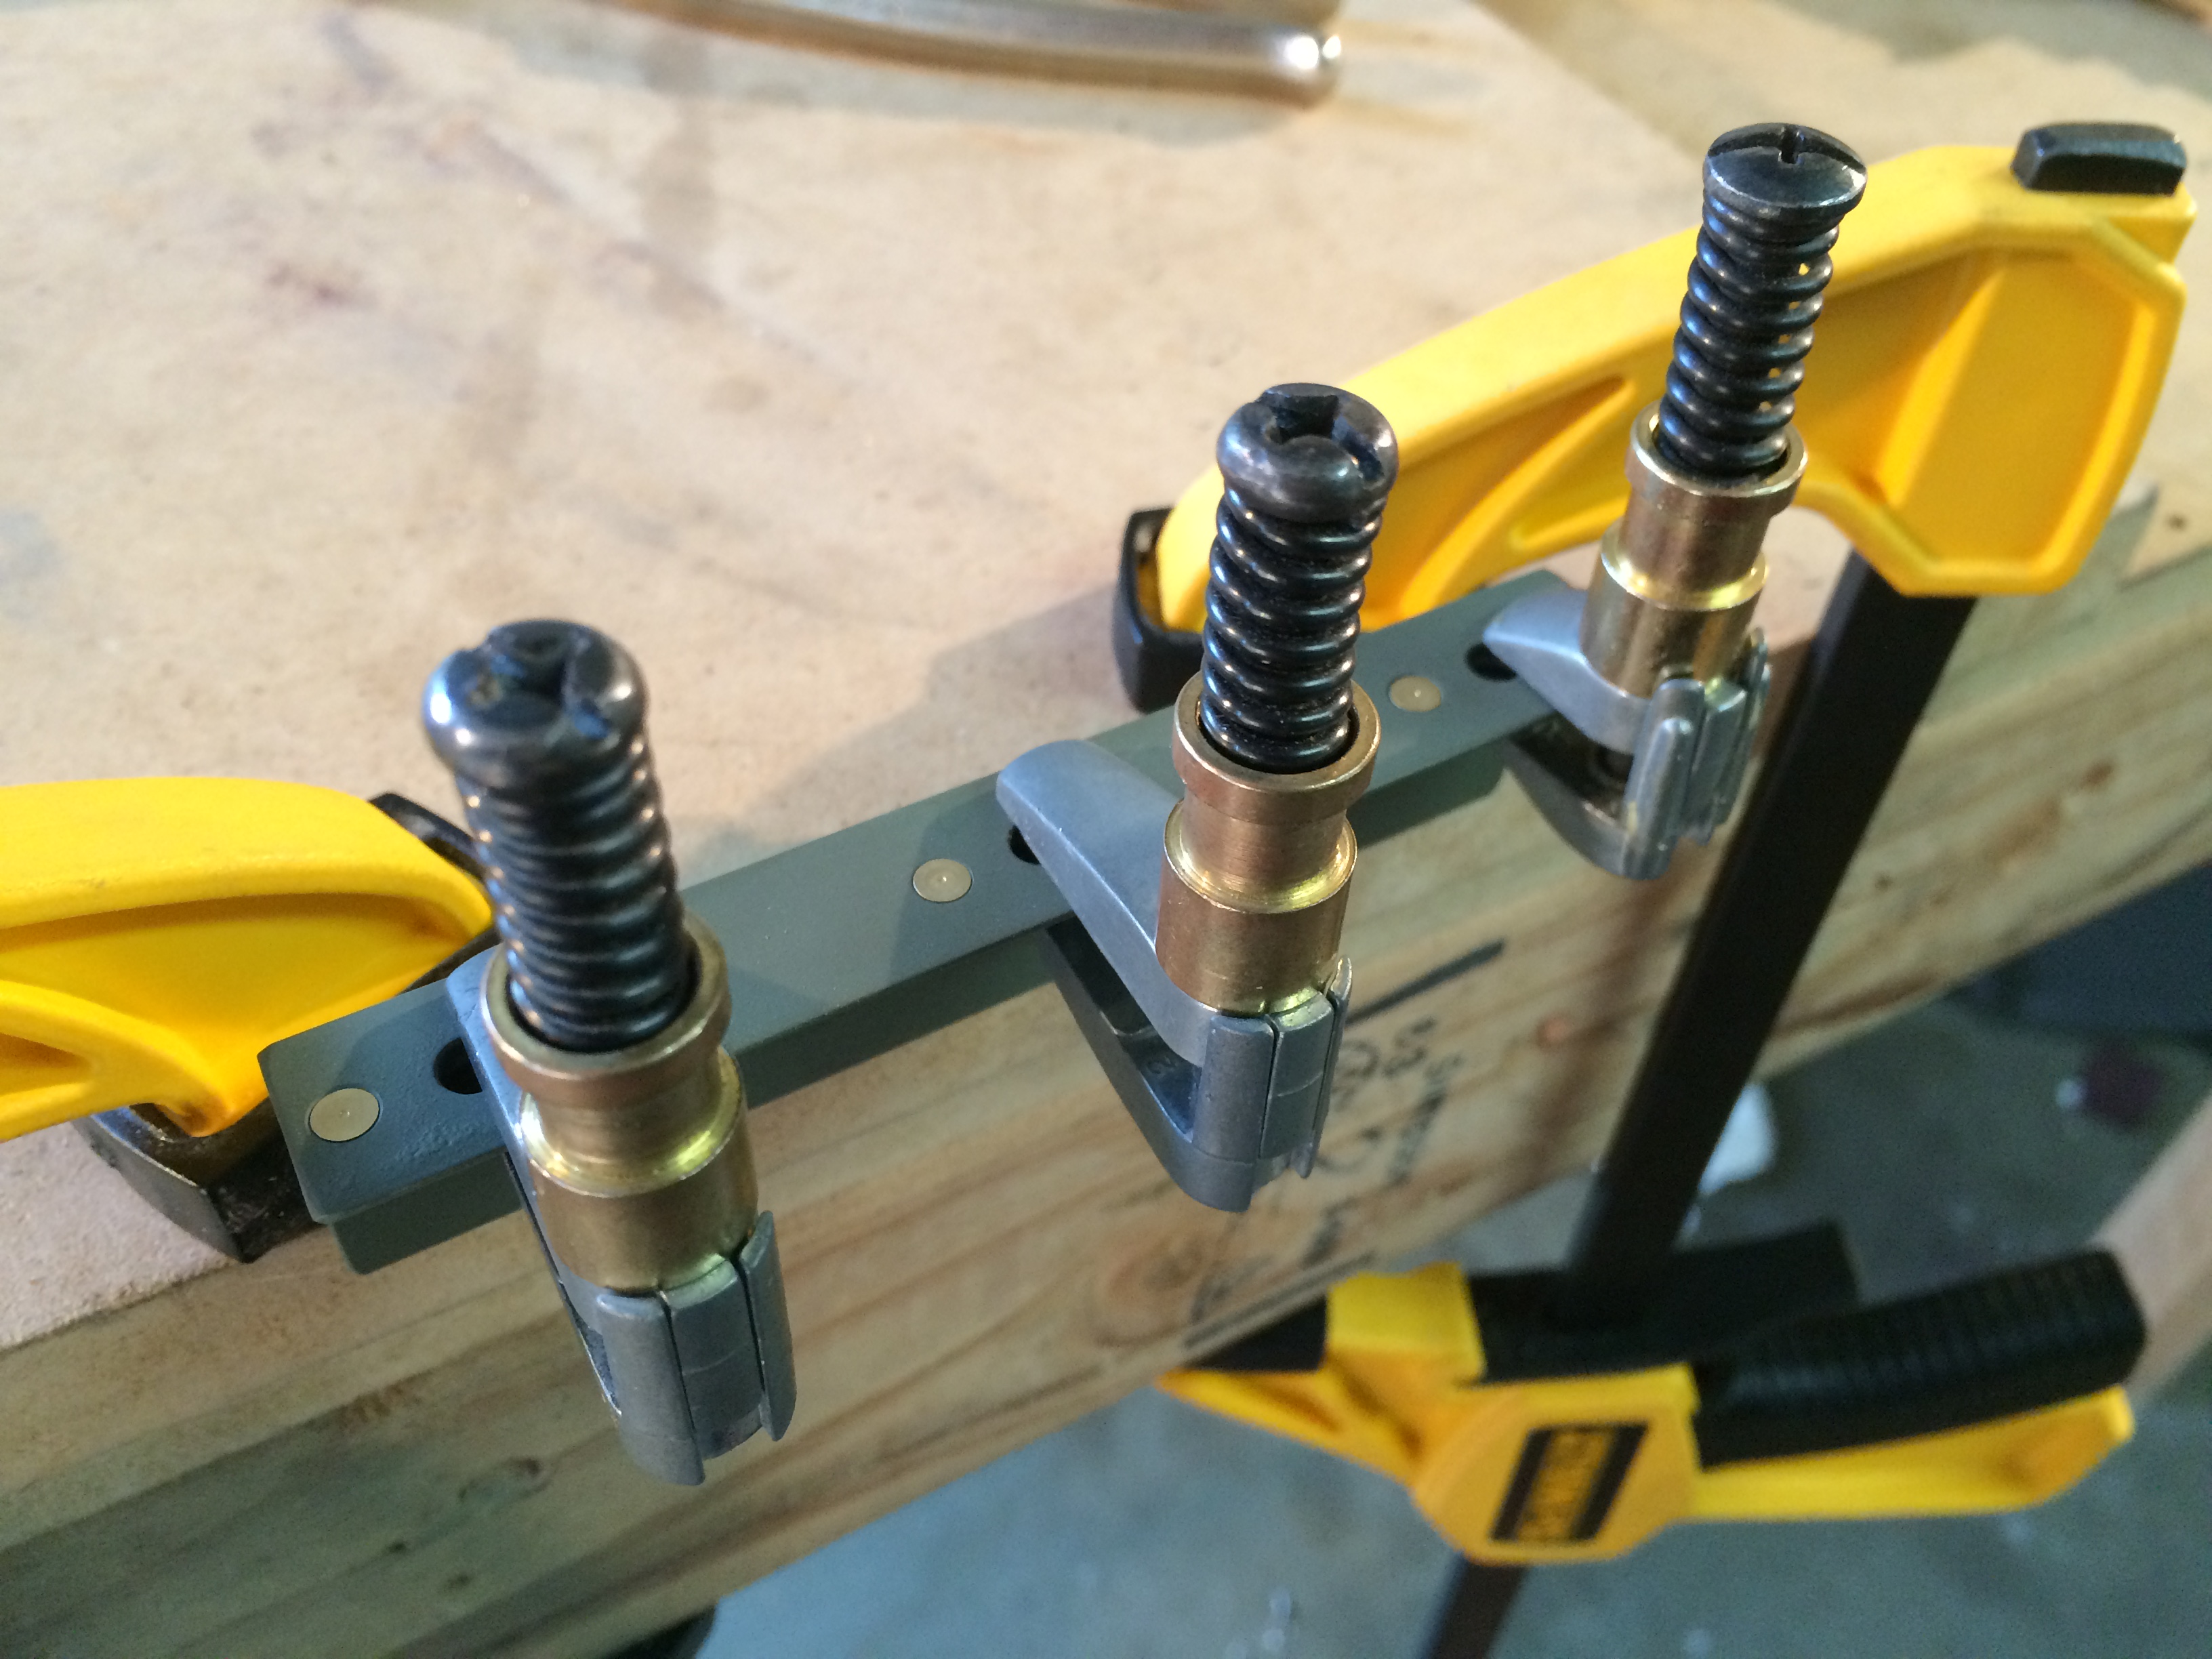
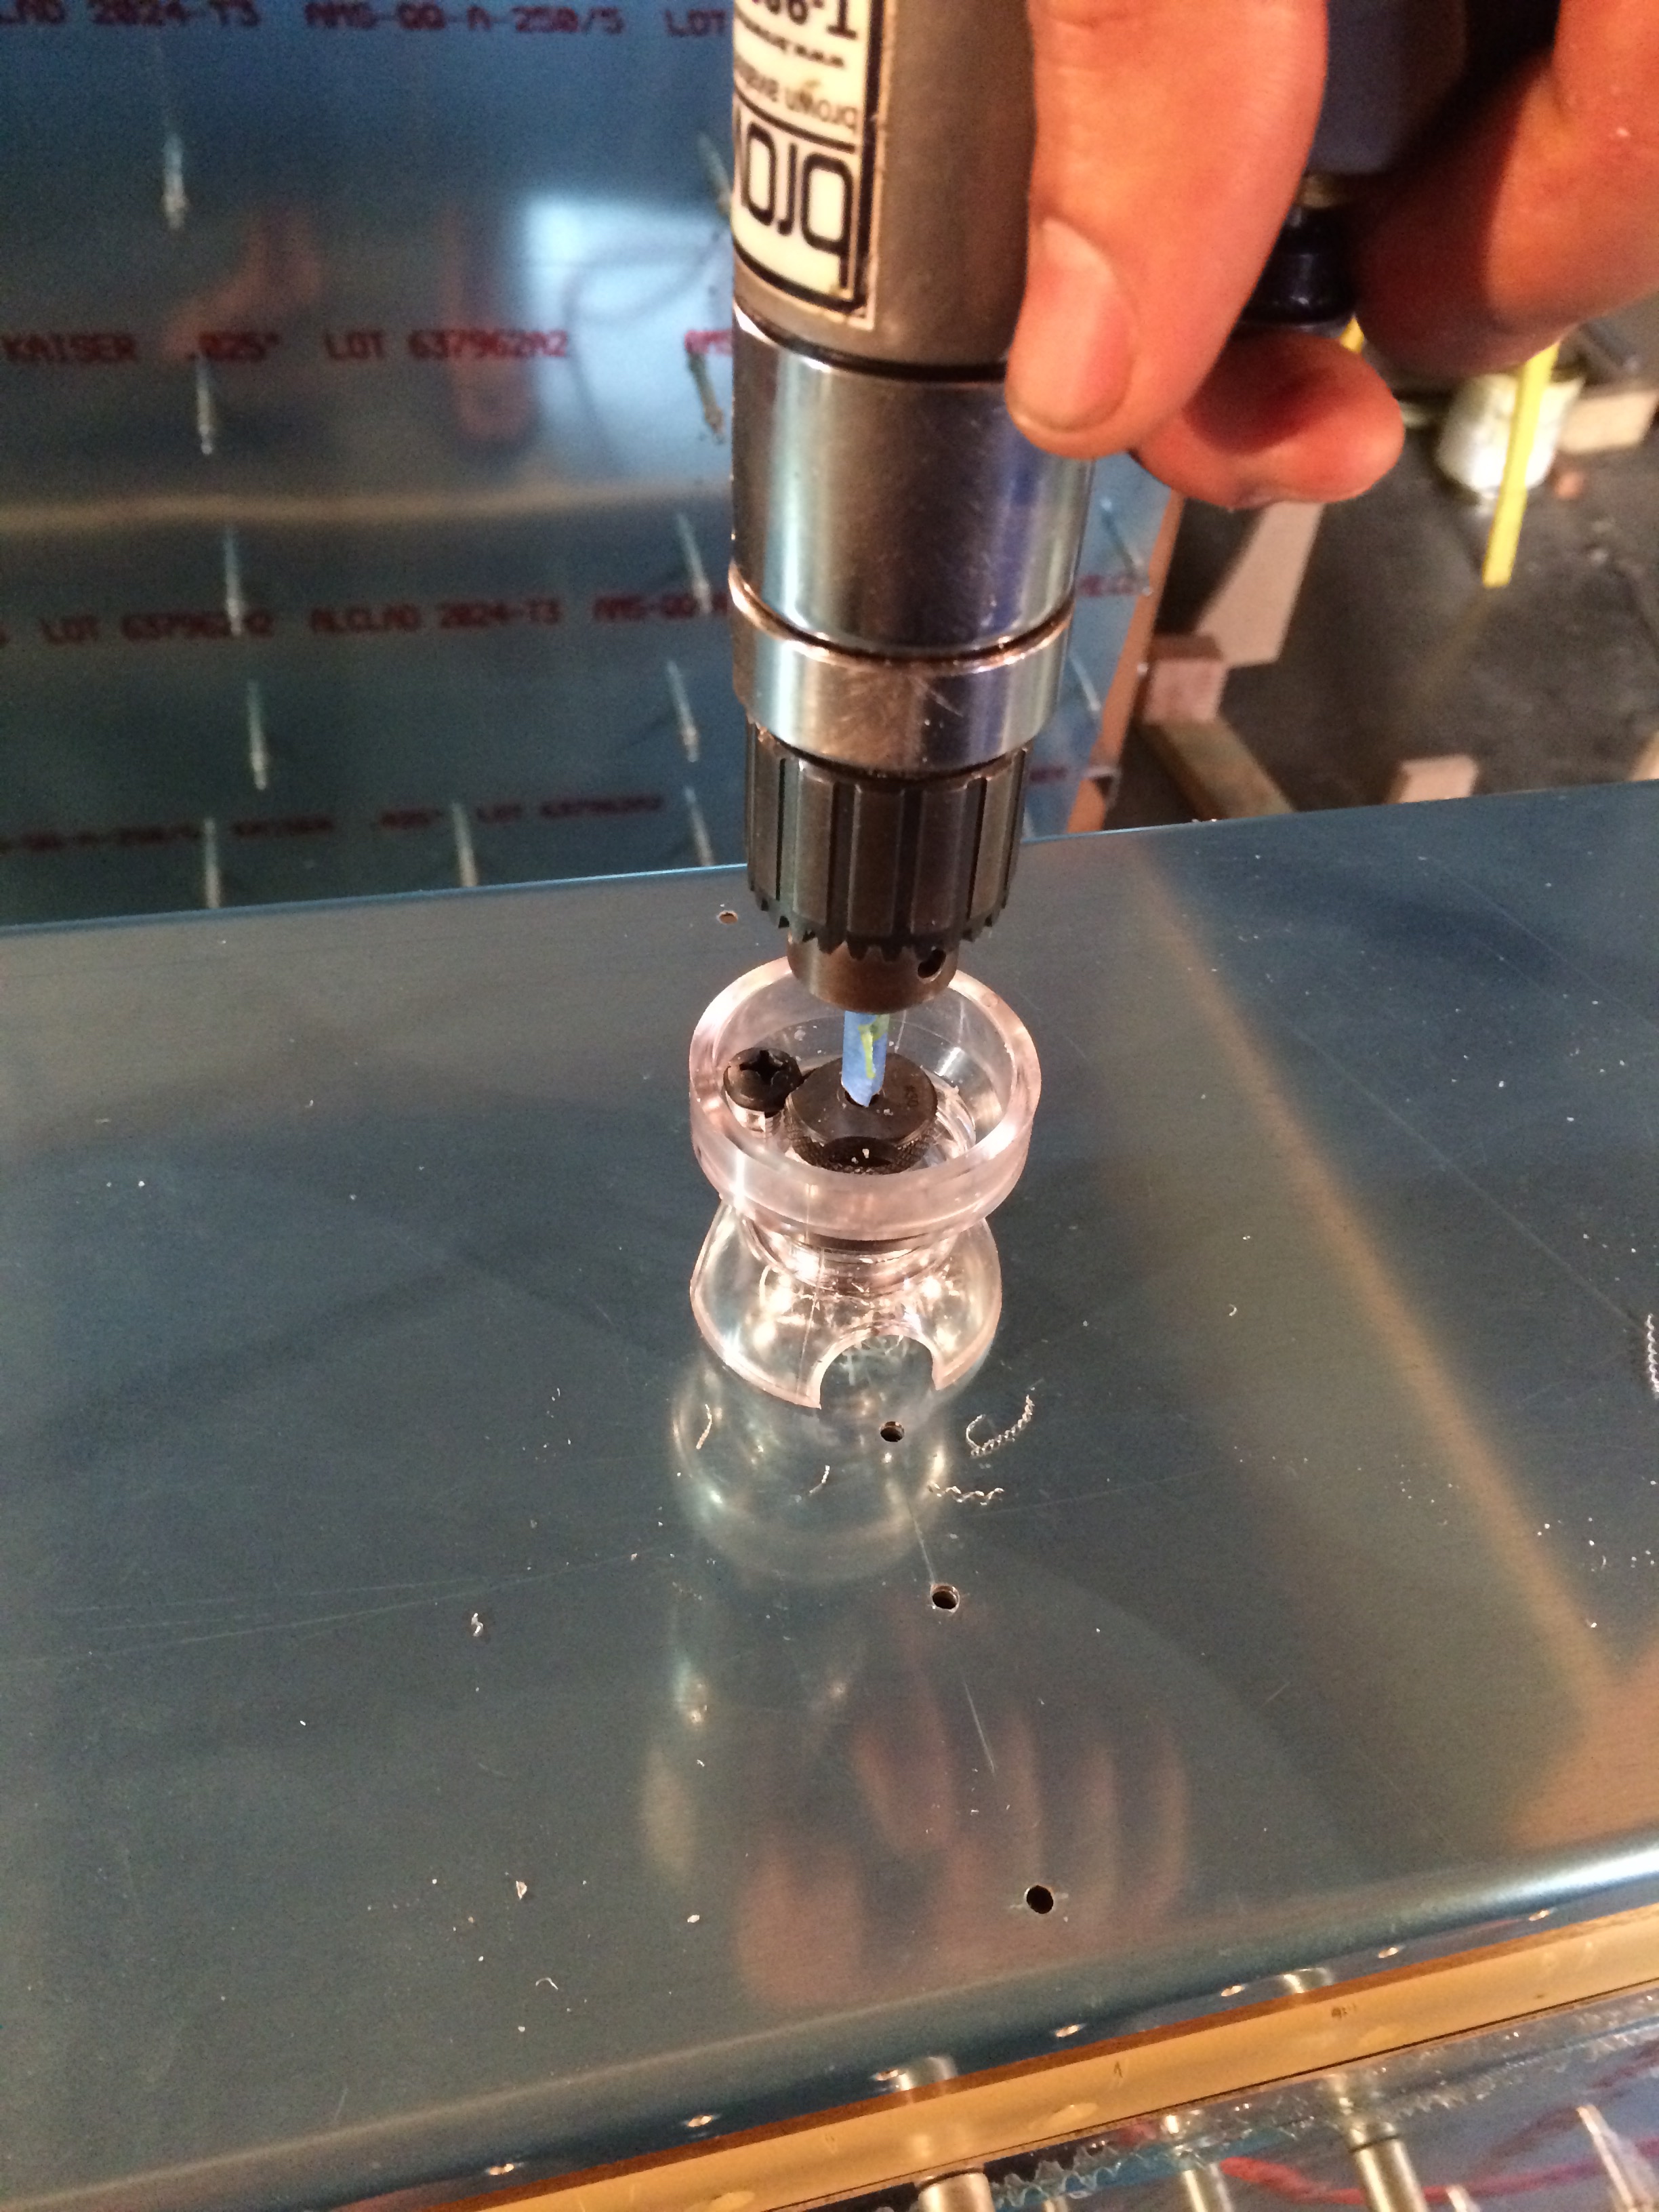
I removed the tank skin so I could match drill the rest of the Z-brackets. I got to use my new “egg cup” bushing holder.
The fuel tank ribs were celled to the baffle.
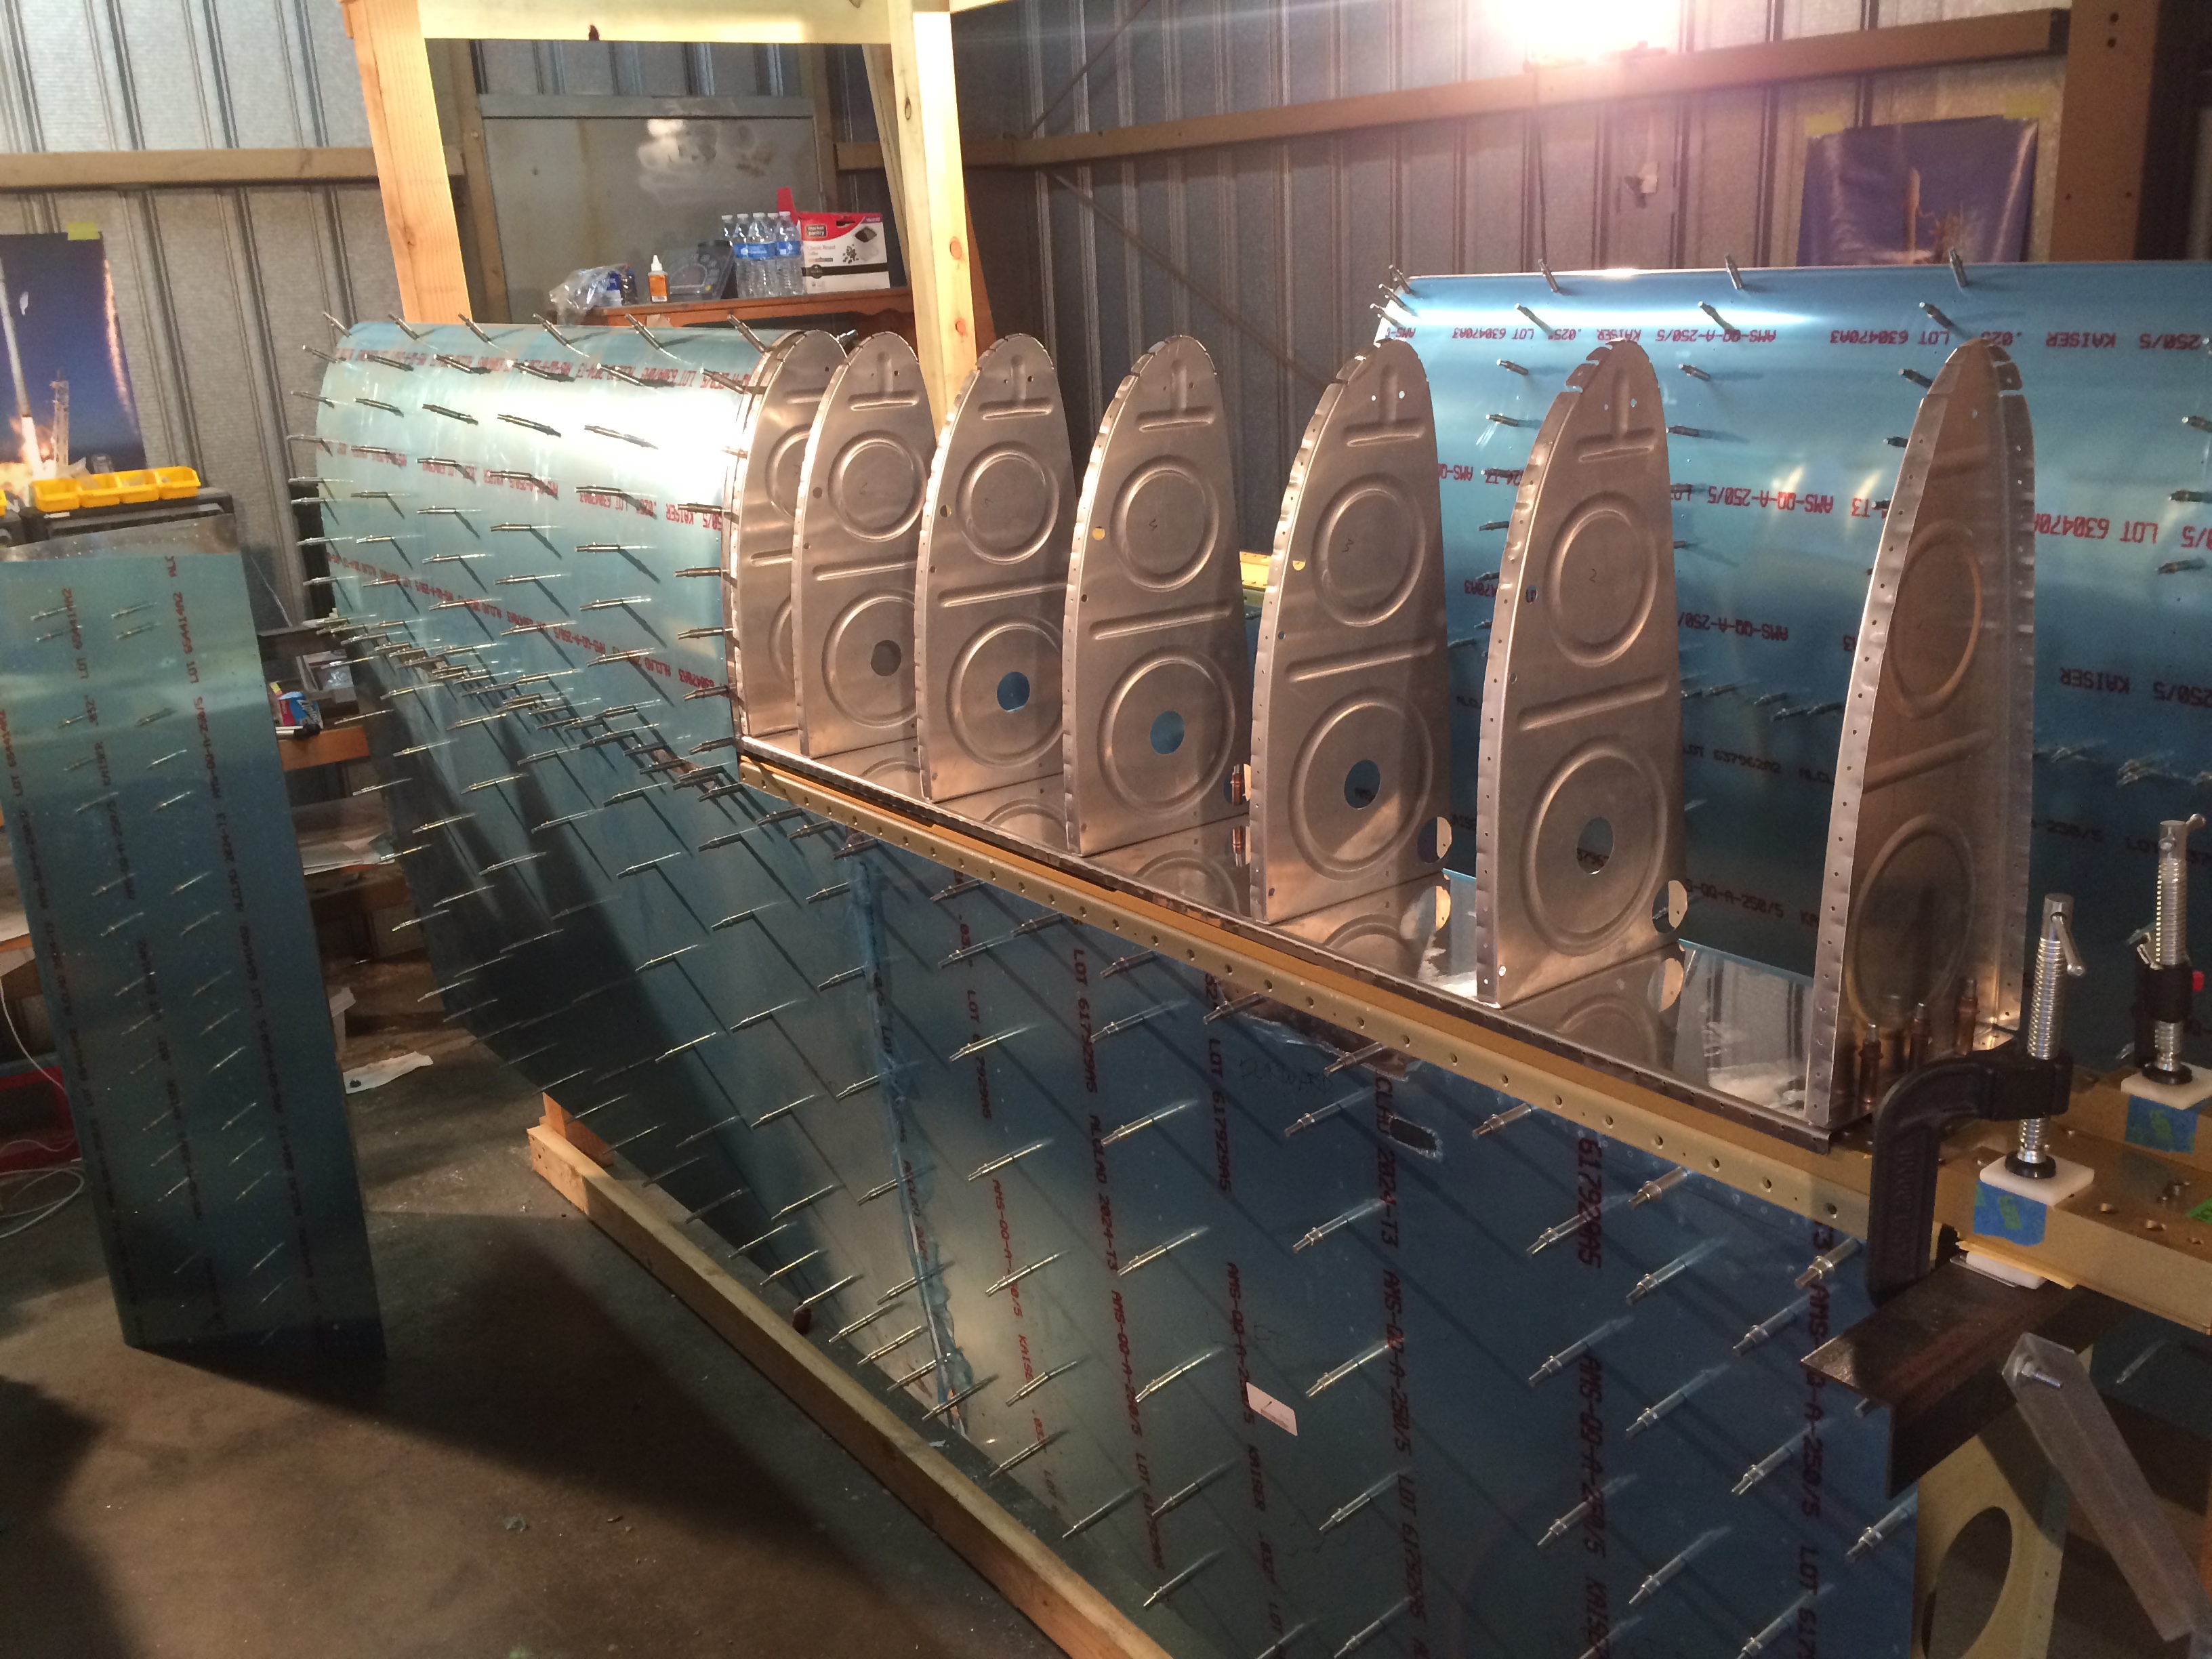
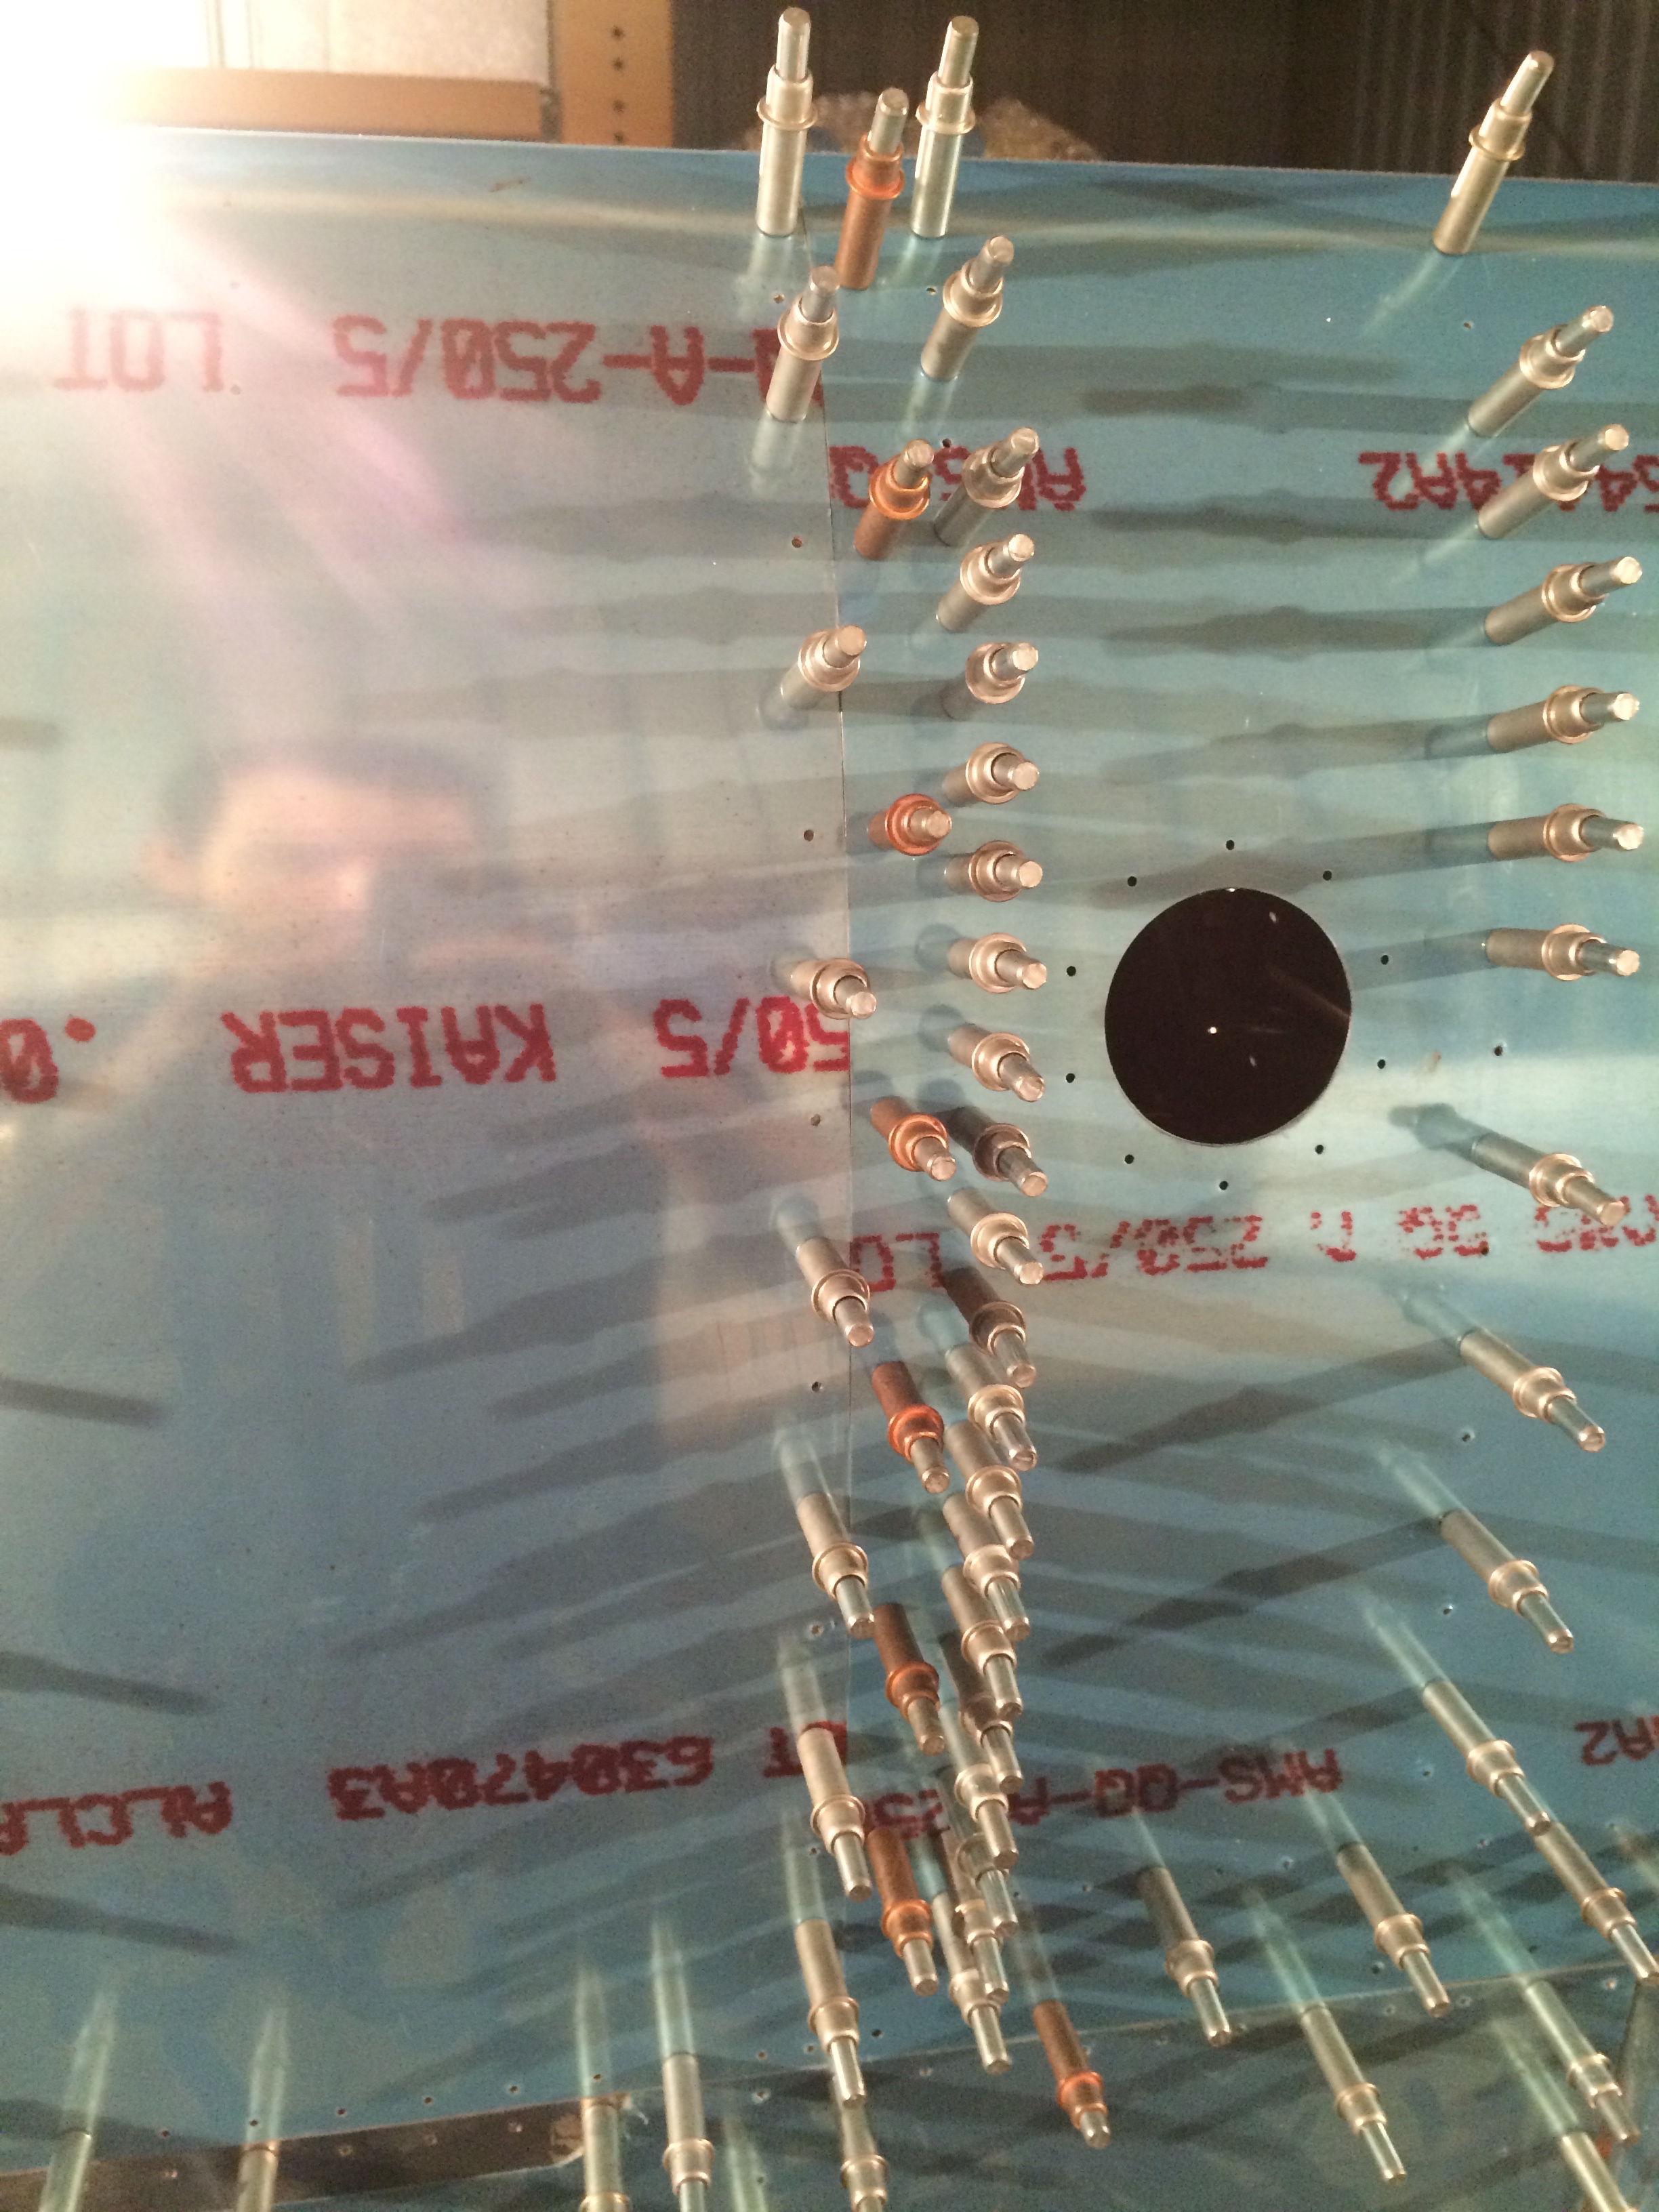
The fuel tank skin was clecoed to the ribs, baffle, and spar.

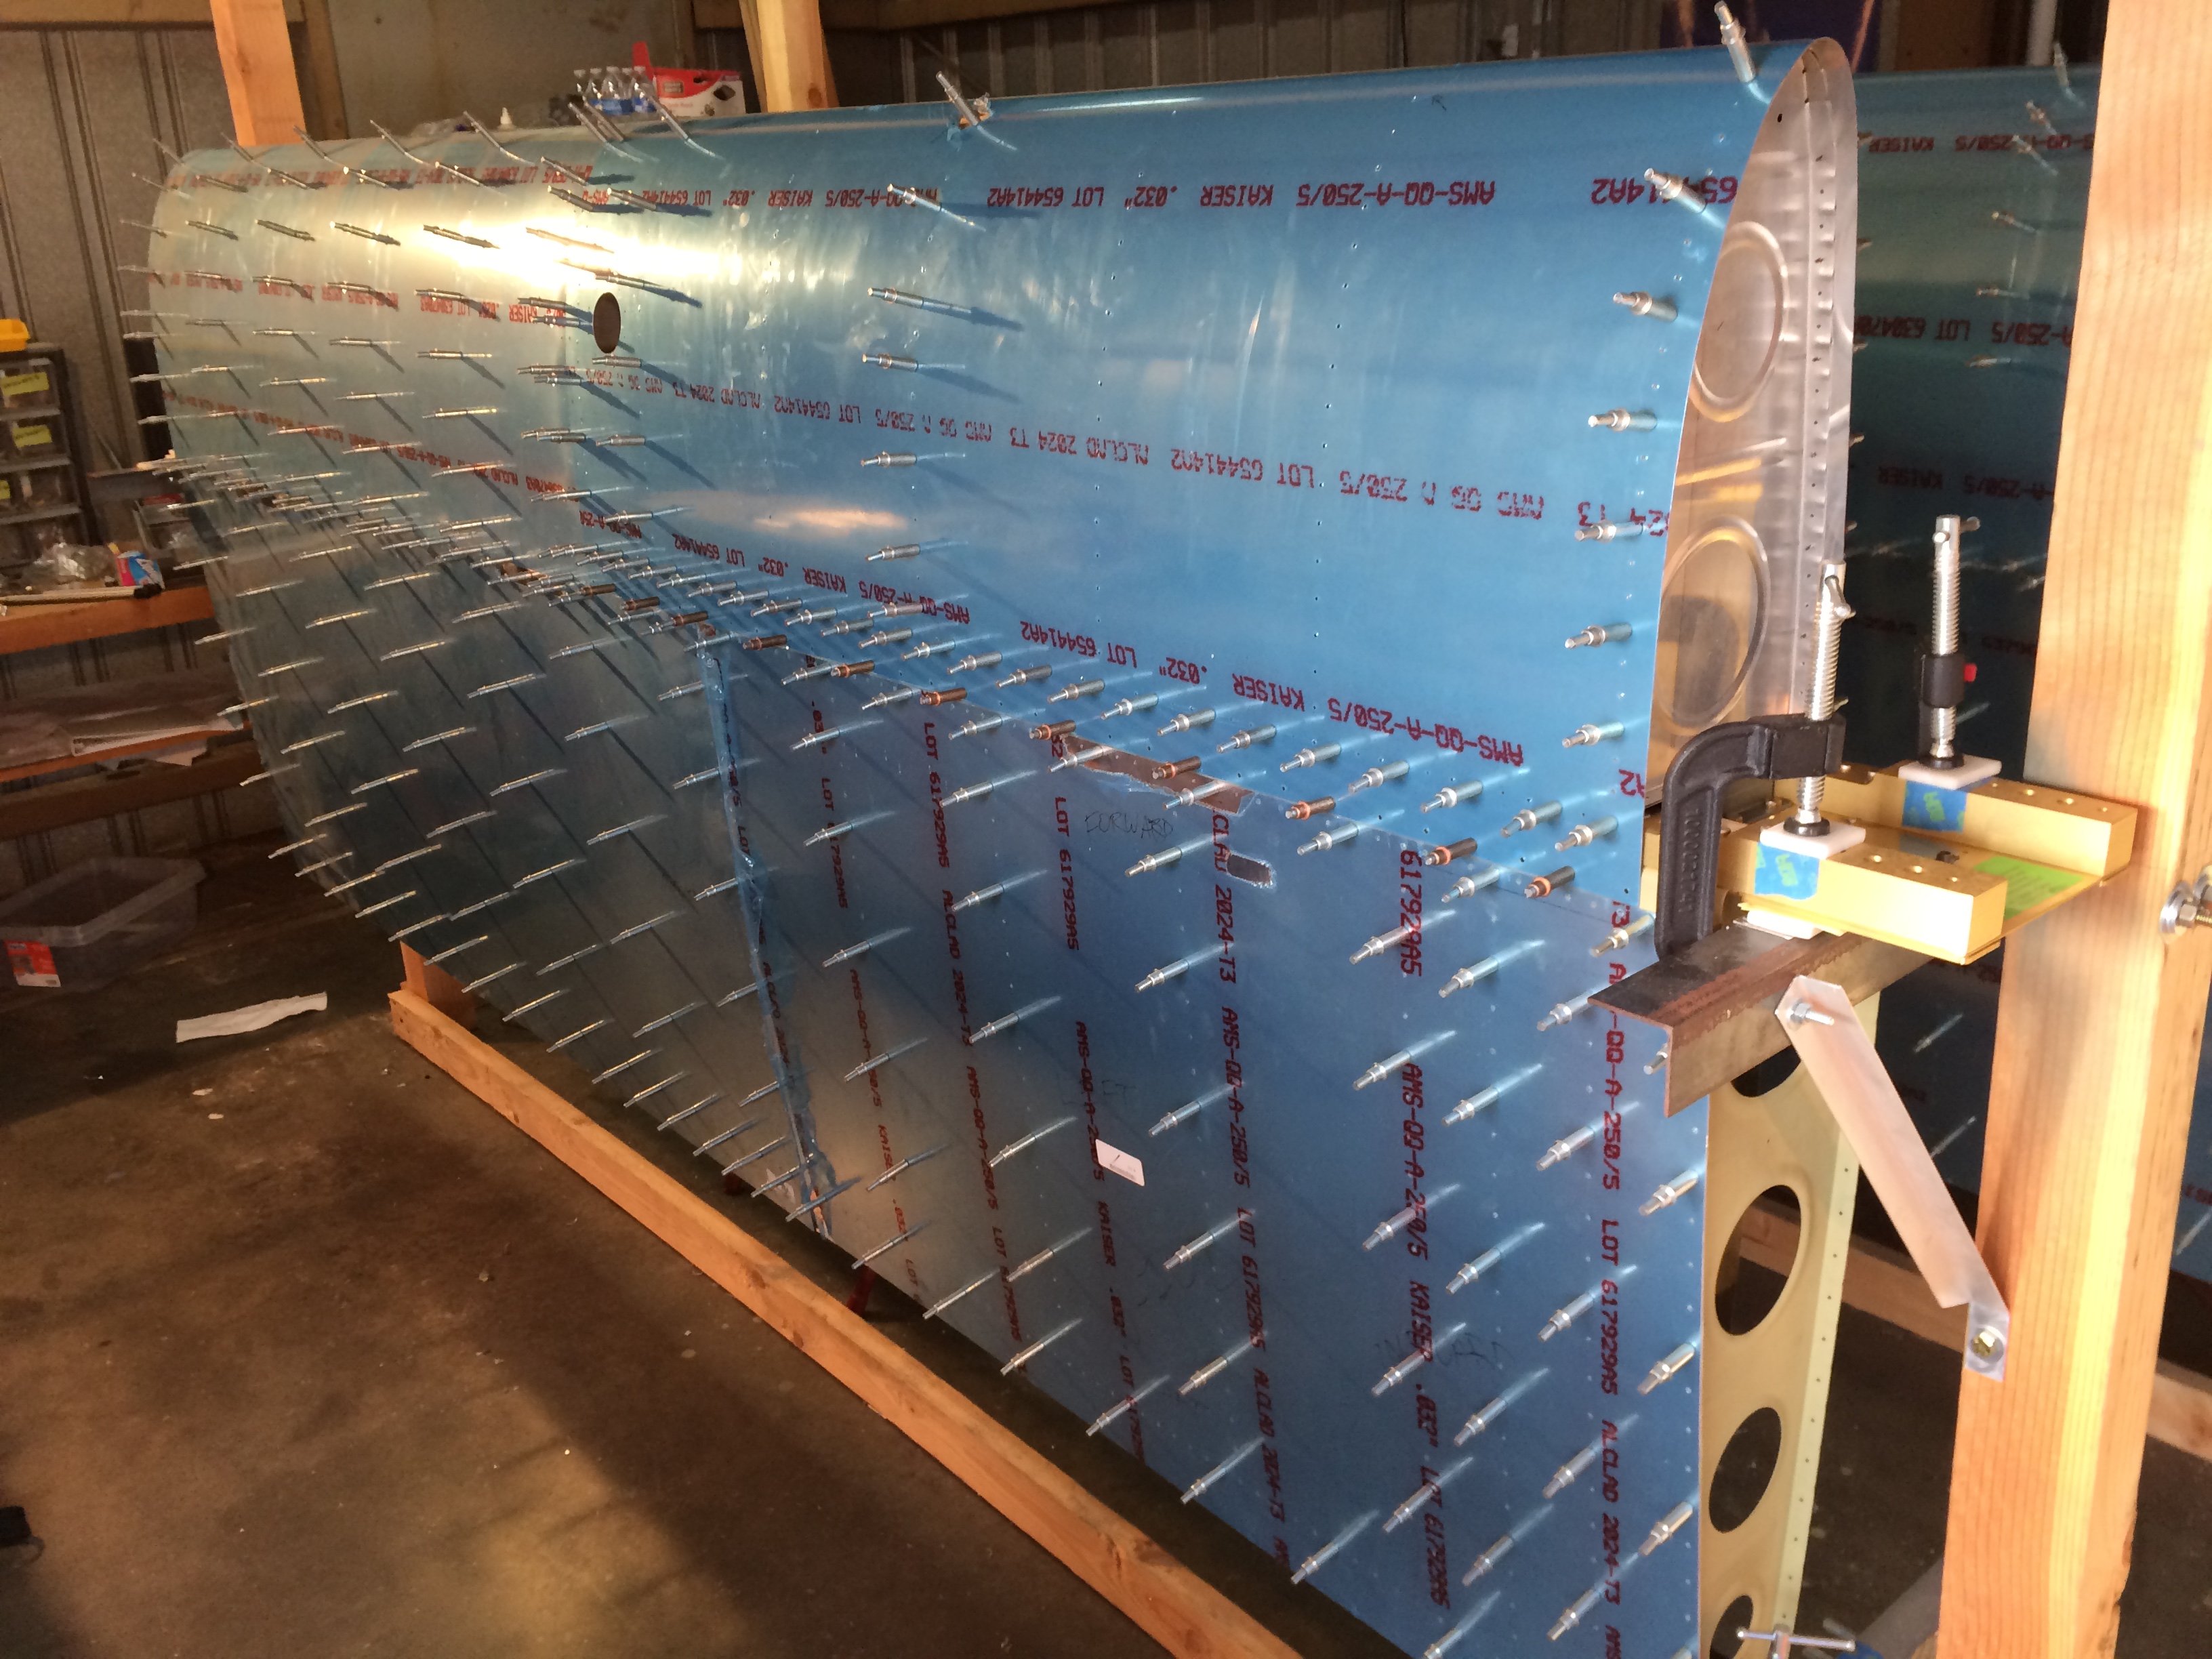
I finished up a productive day by match drilling the tank skin to the leading edge joiner strip.
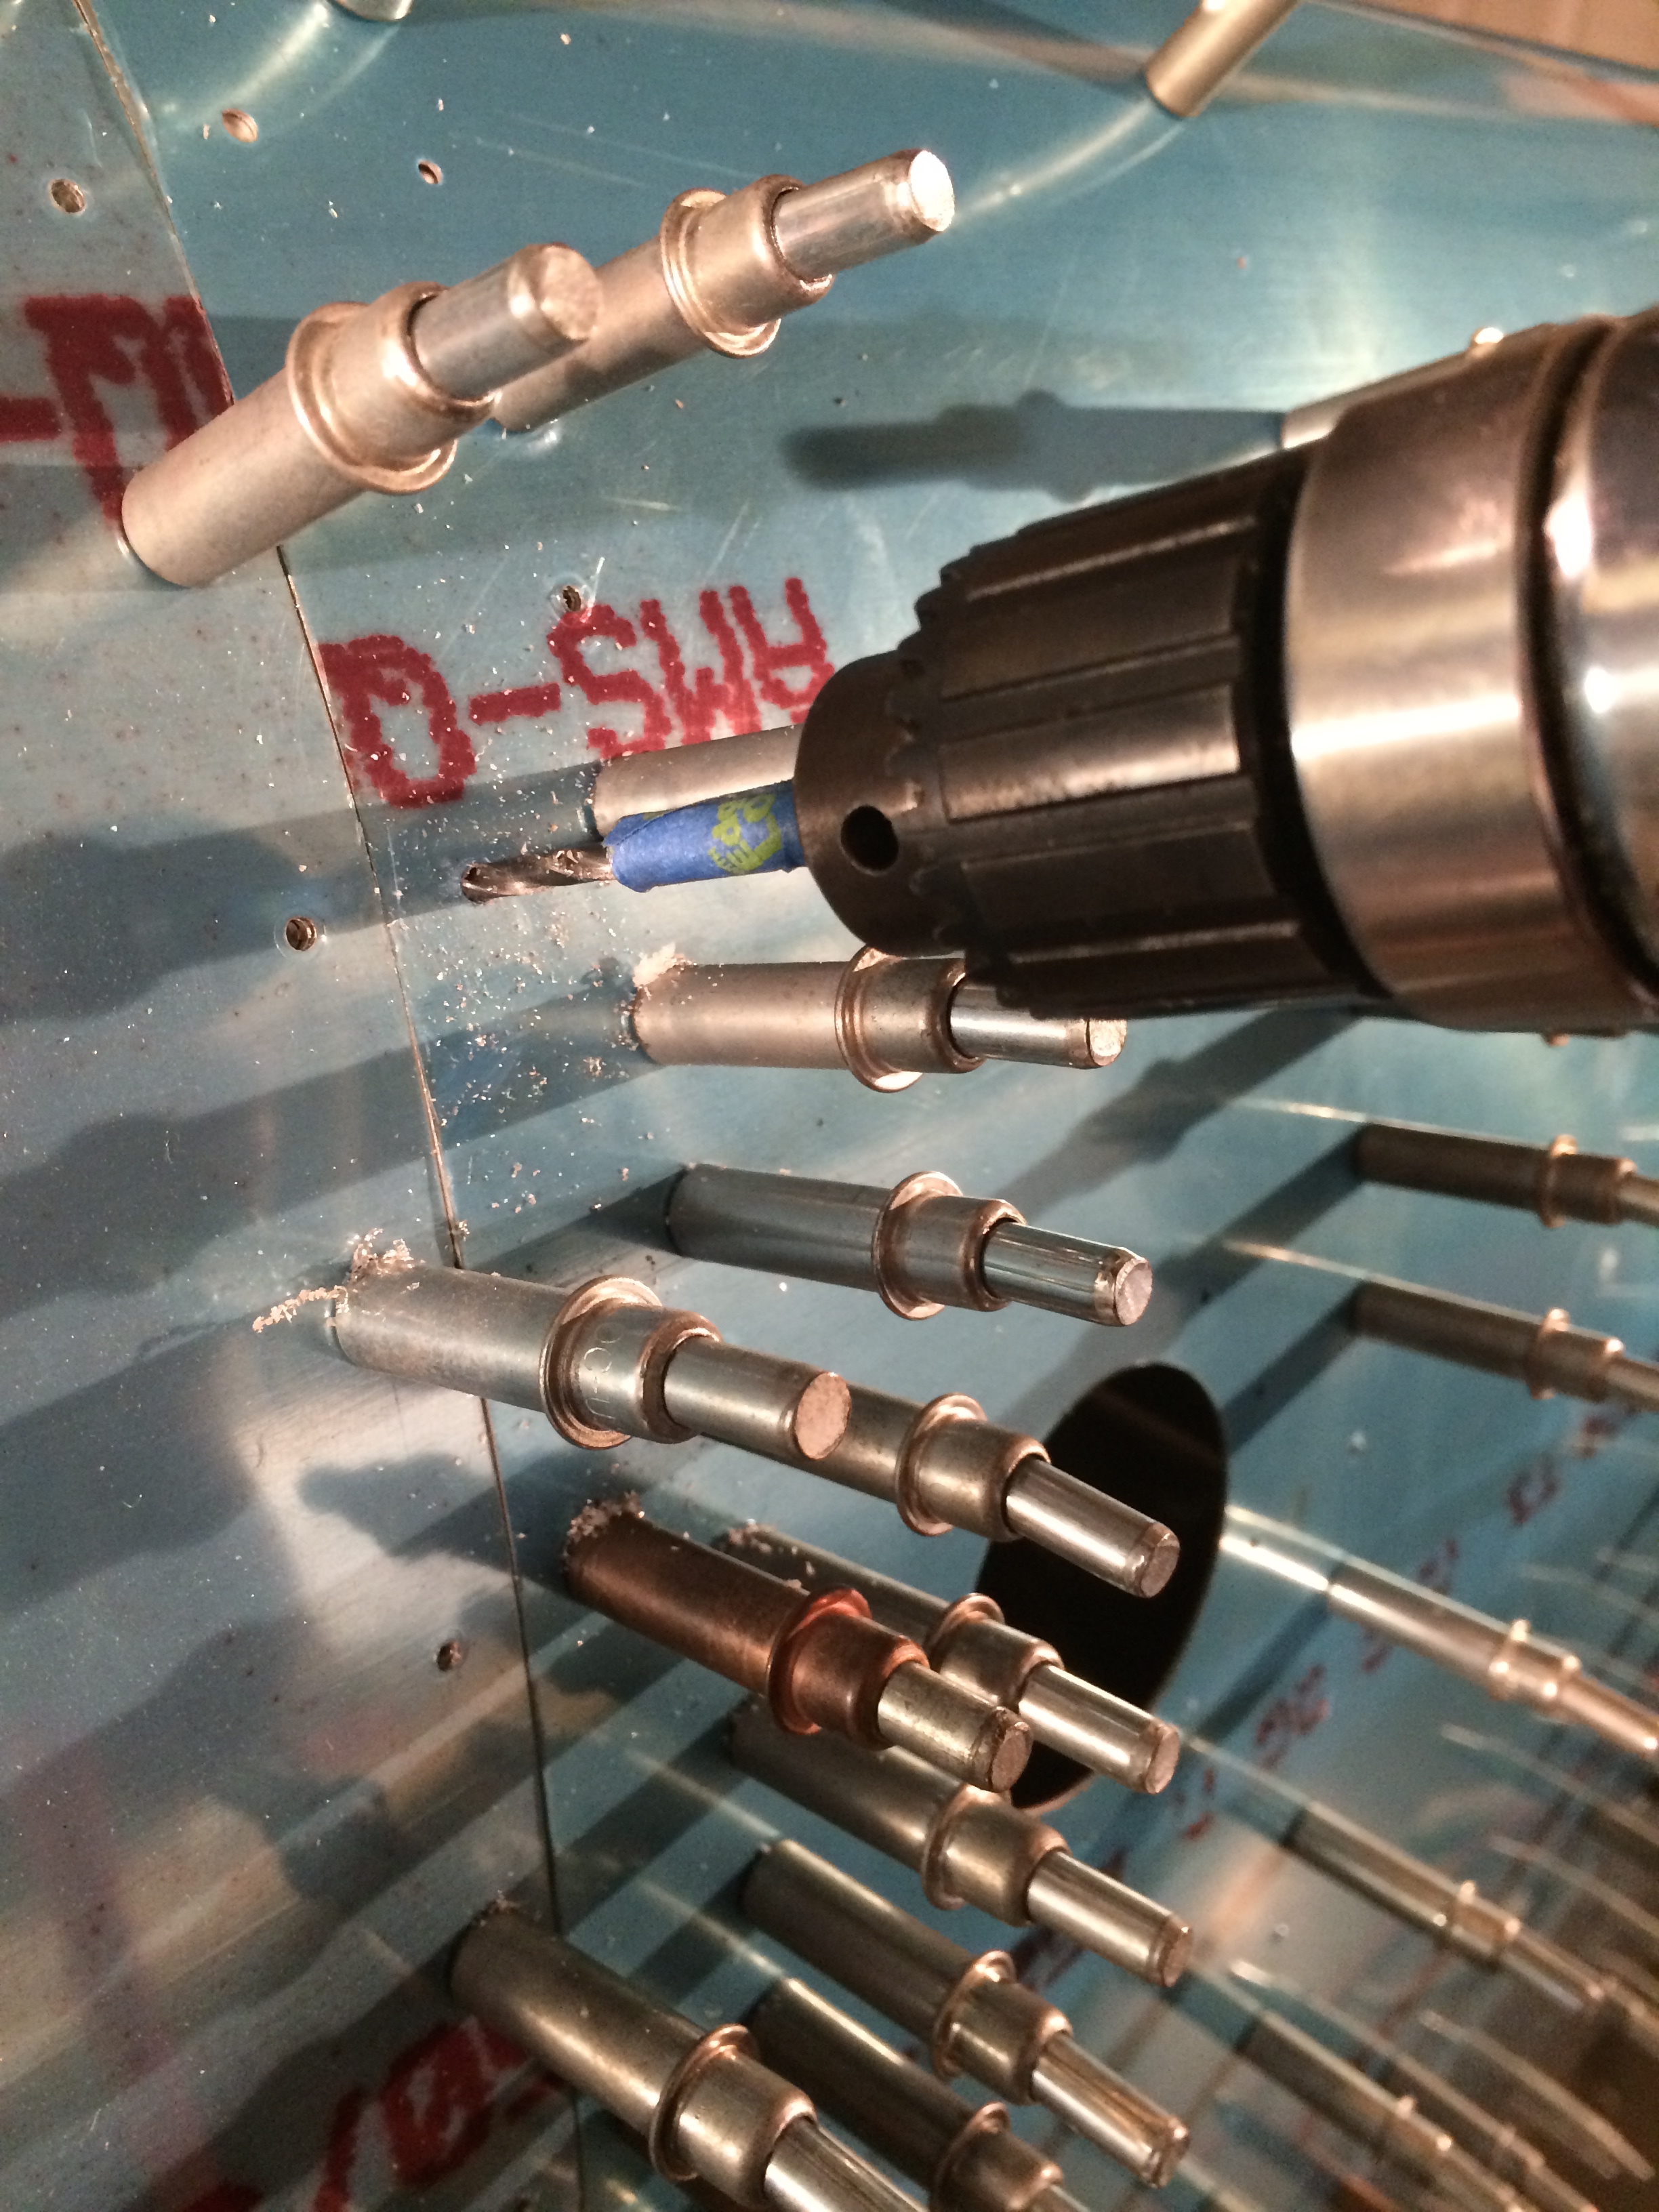
This is an awesome win. The skins line up perfectly.