I blended out some minor scratches on the surface of the wing and primed over the surface with the water based primer. I would have liked to have used the two-part primer, but it’s not practical to mix such a small batch.
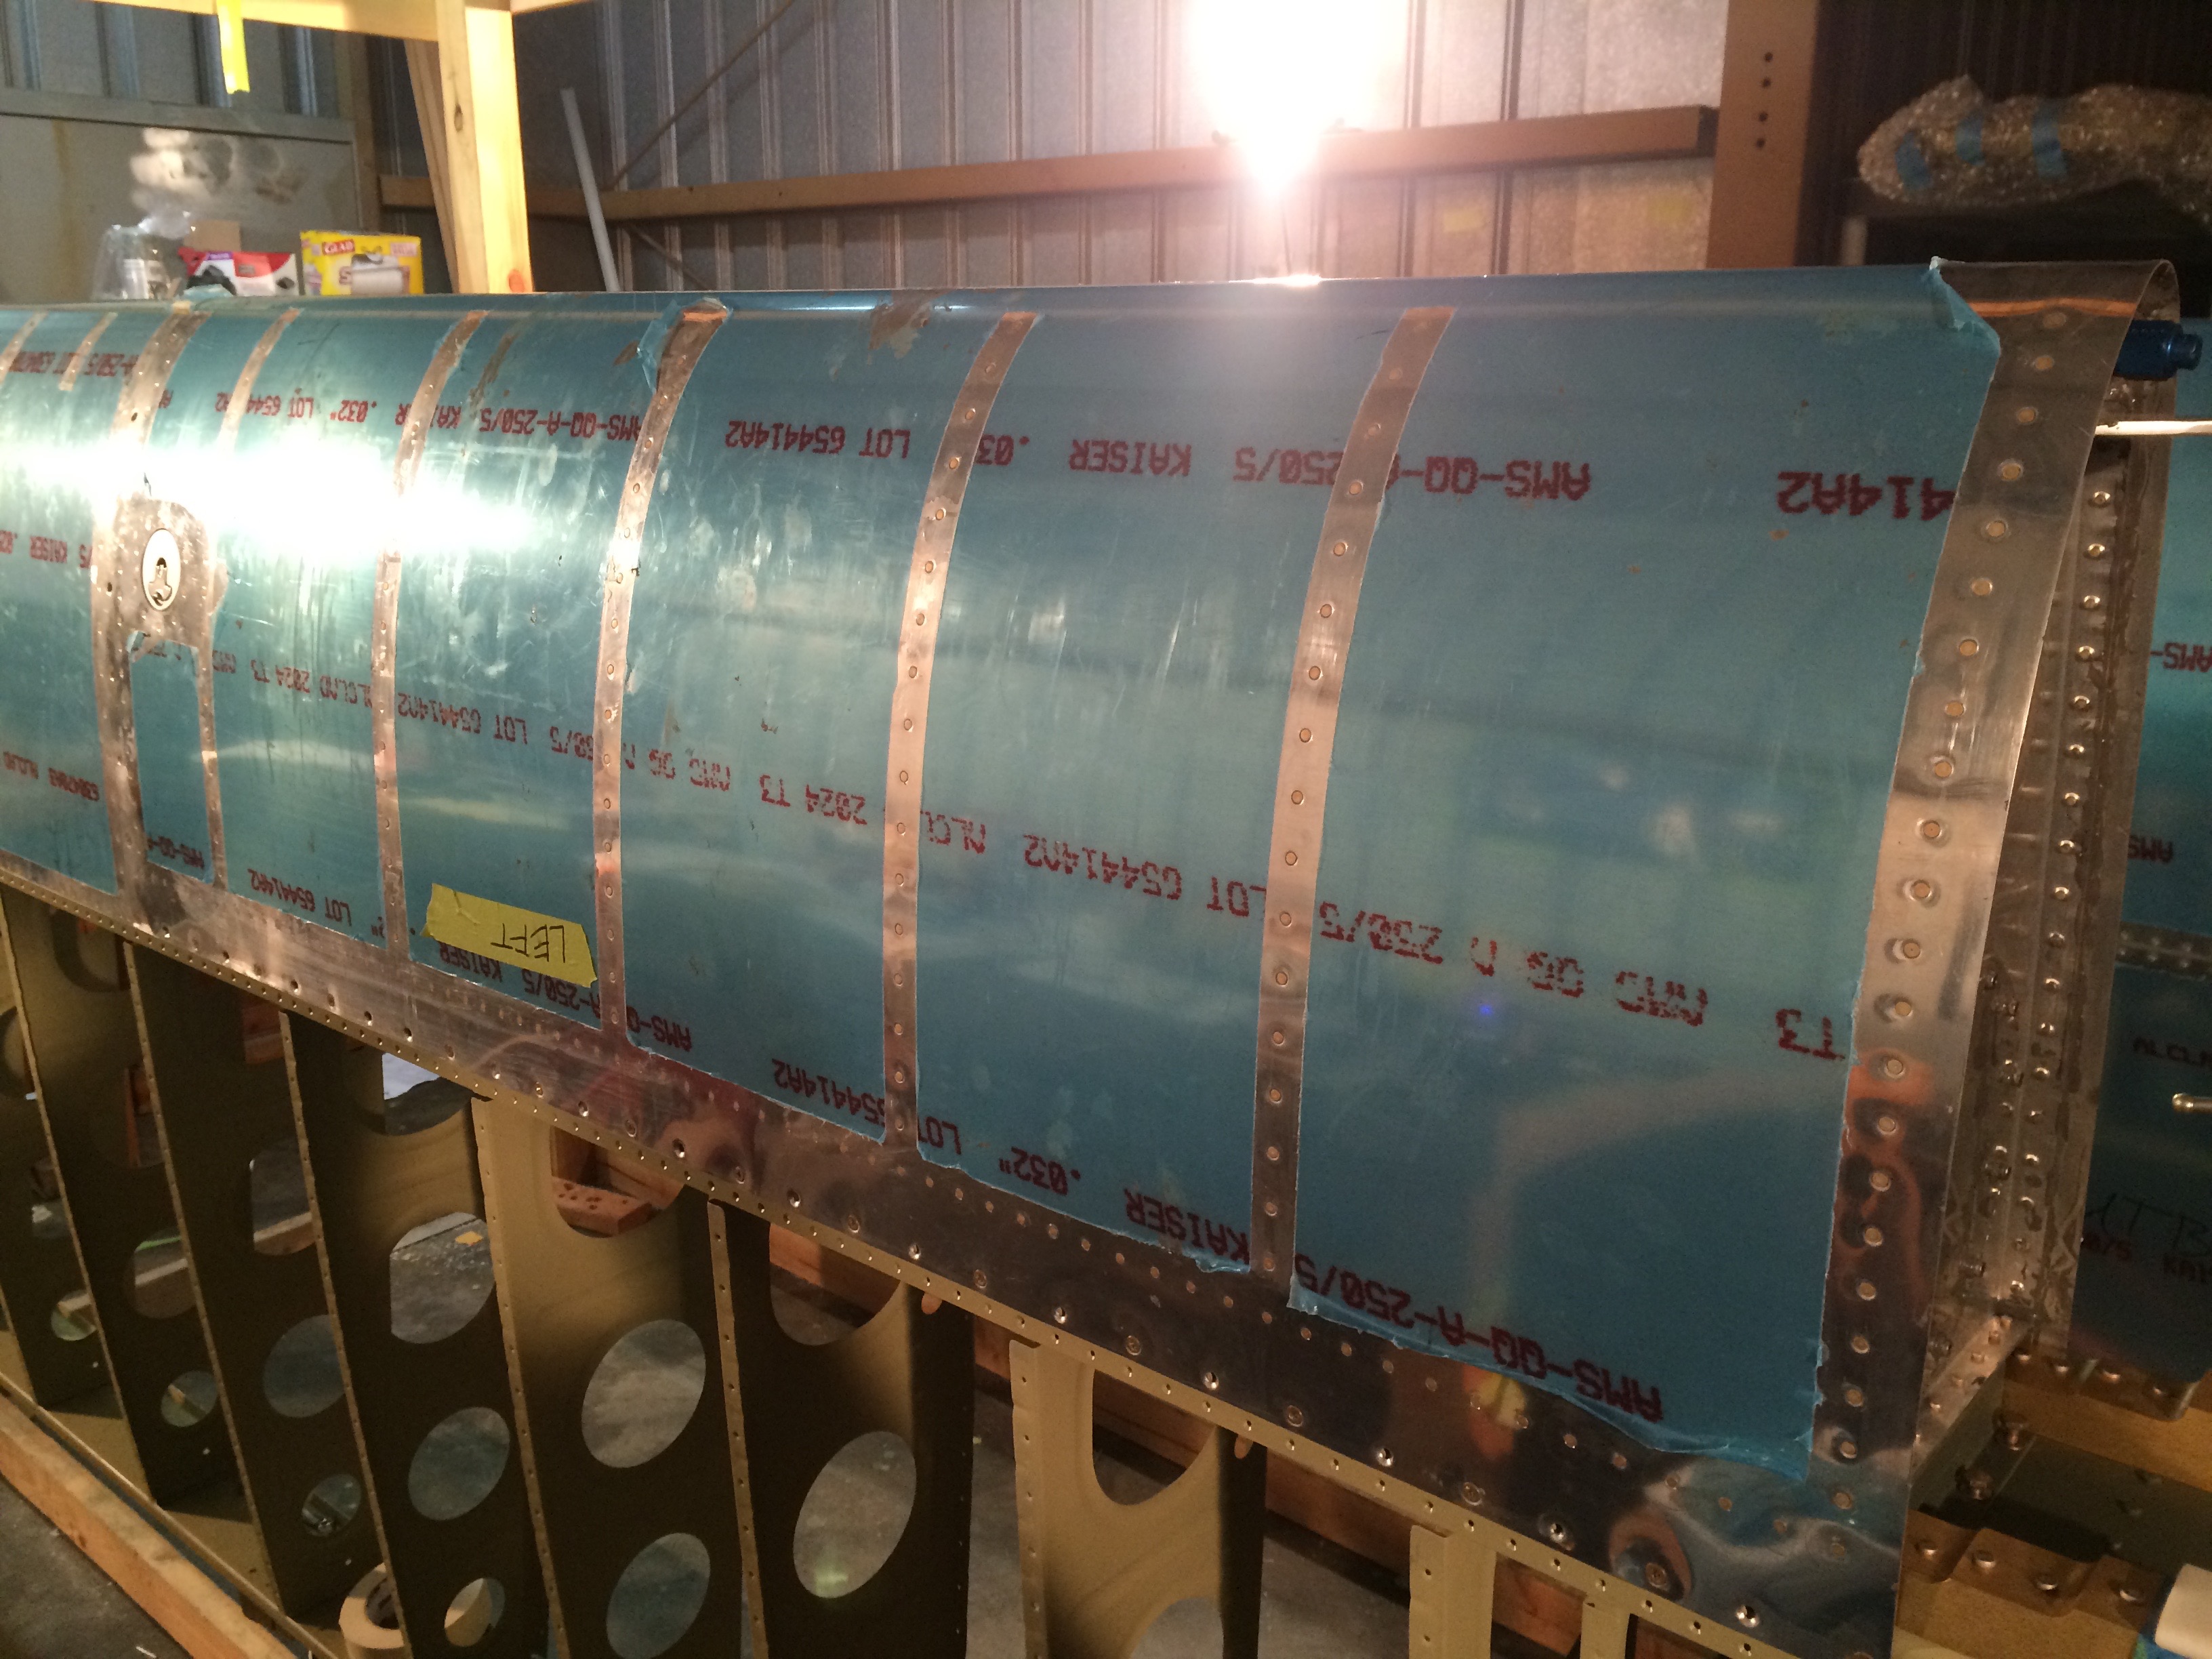
Before getting the tanks installed, I set the single rivet on each that that gets covered by the tank.
After some effort, I was able to get the tank to sit properly. I installed every other flat head screws around the outside of the tank. I probably didn’t need to used ratcheting straps, but I think this helped pull everything tightly together.

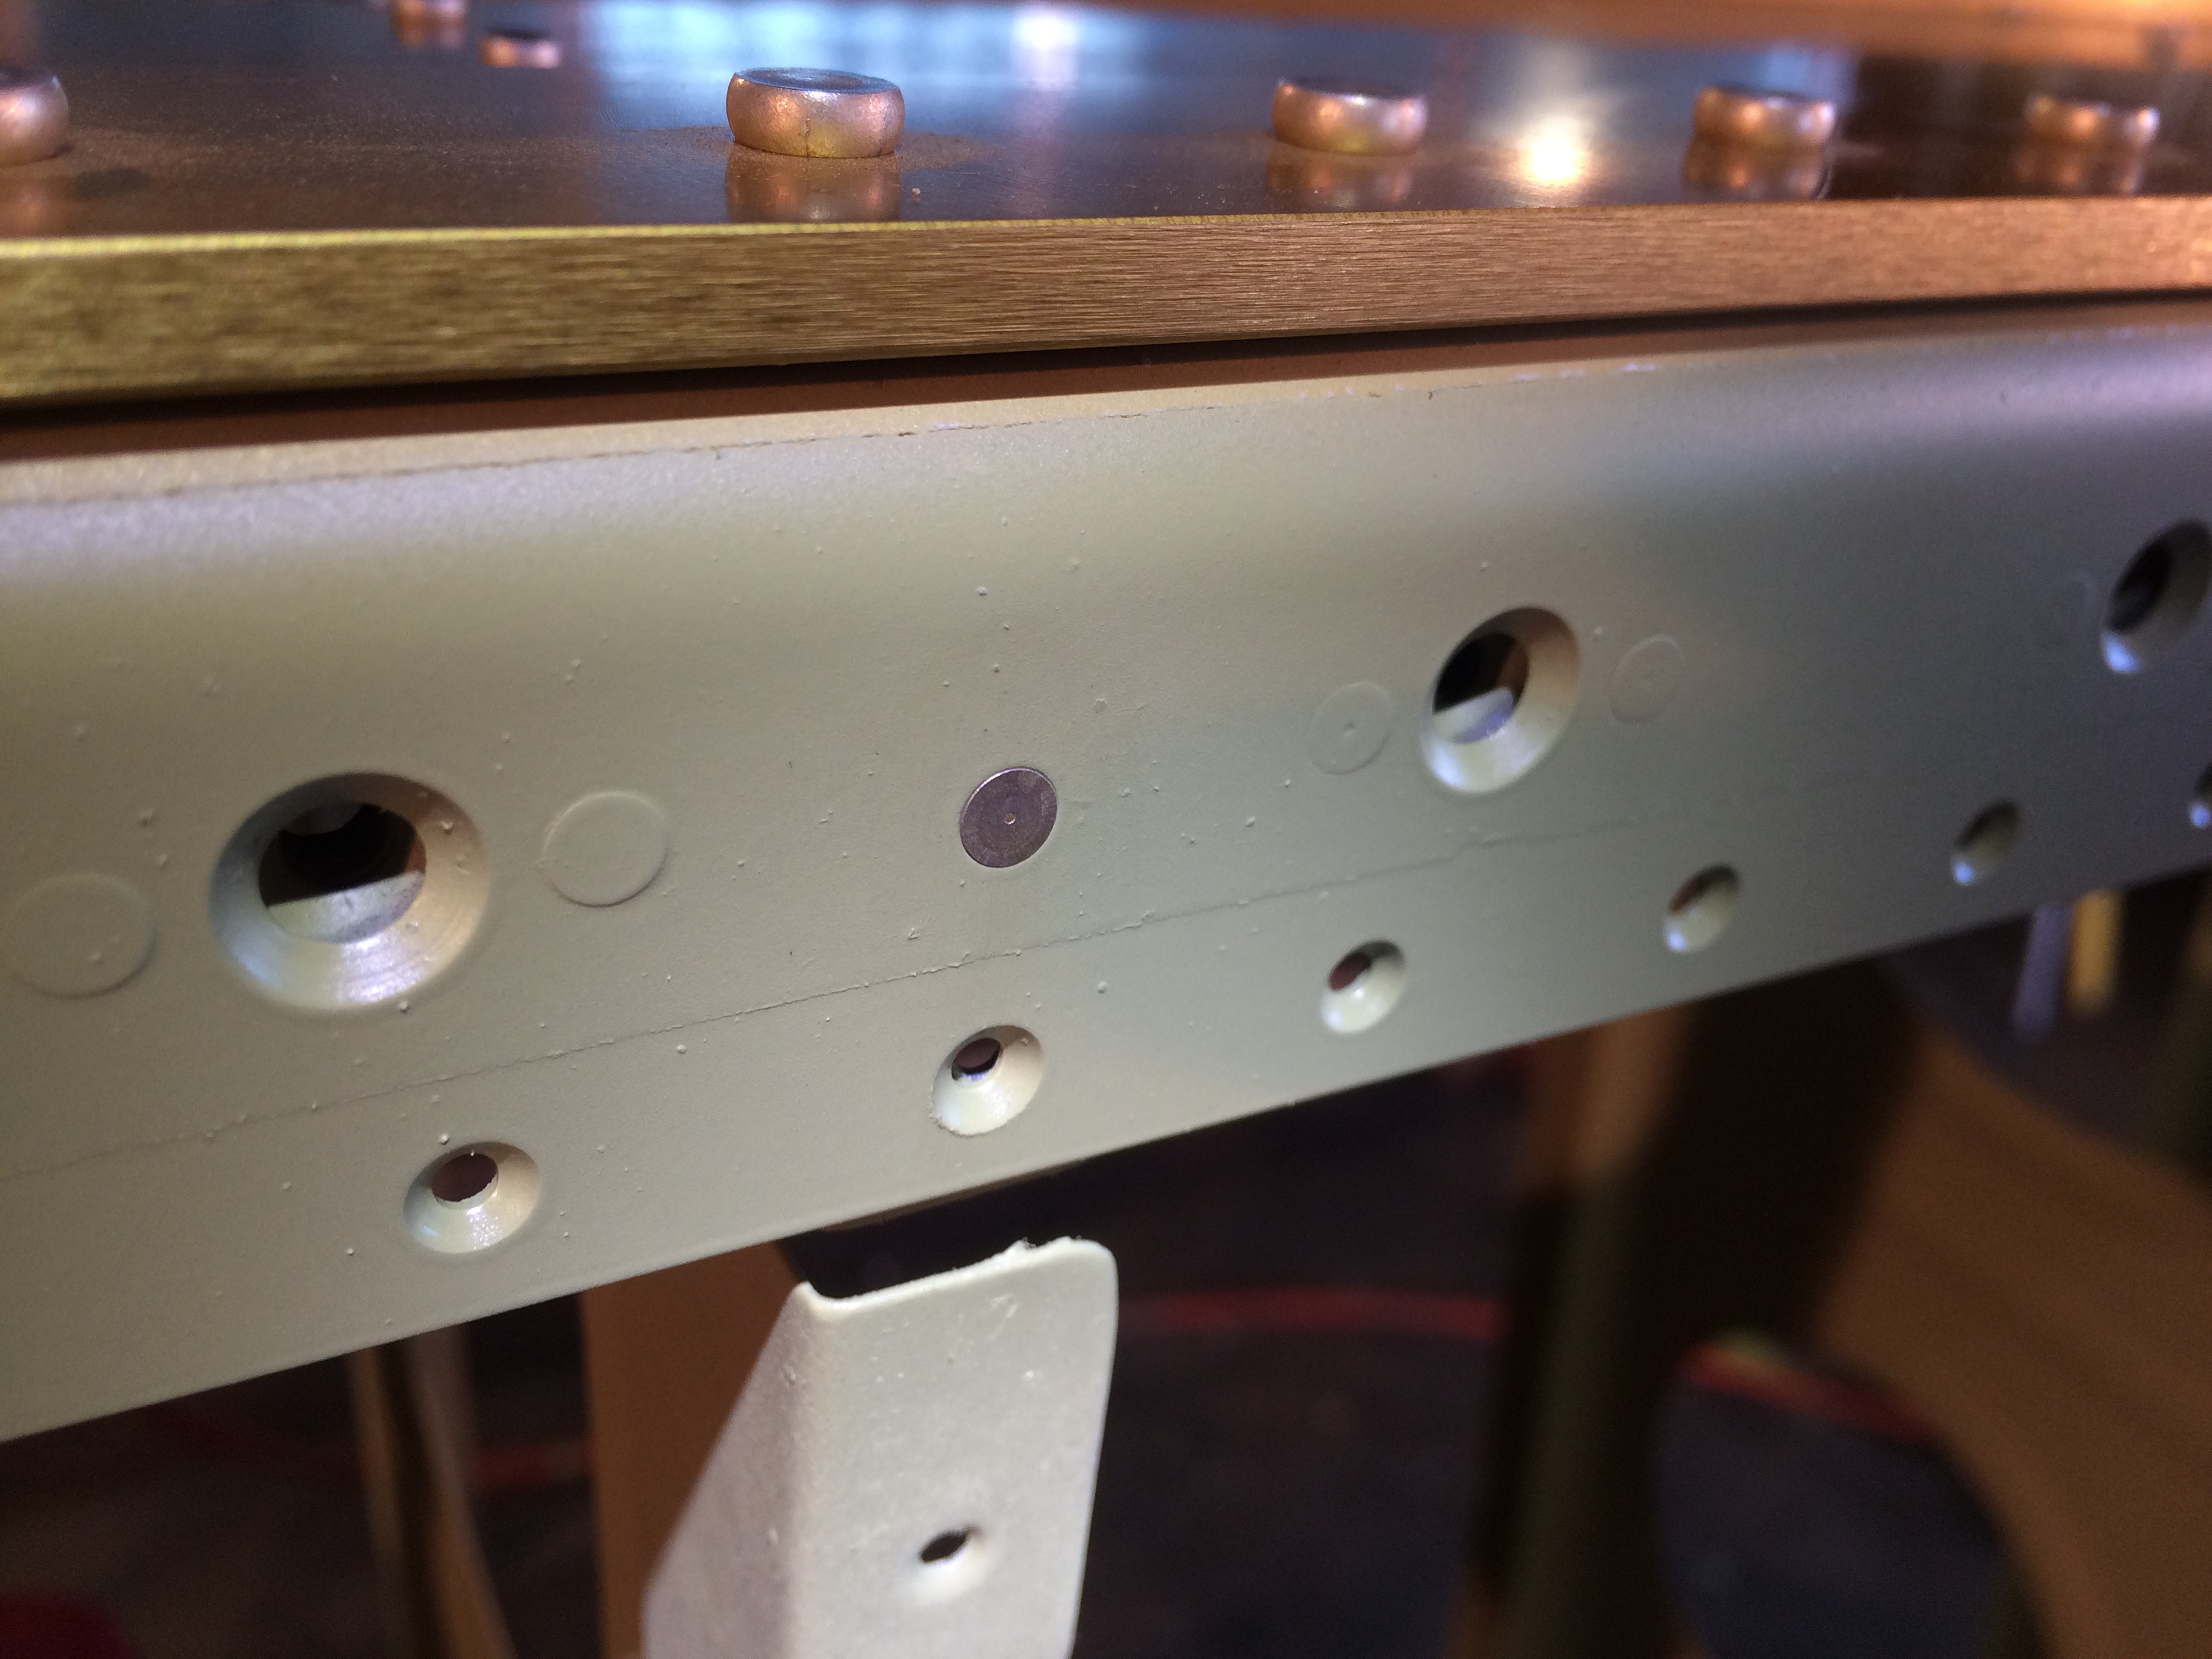
I had to leave the hangar a little early so I wasn’t able to get all the fasteners installed. I also need to check out a minor interference between the tank and the leading edge. It looks like the skins are overlapping slightly.